


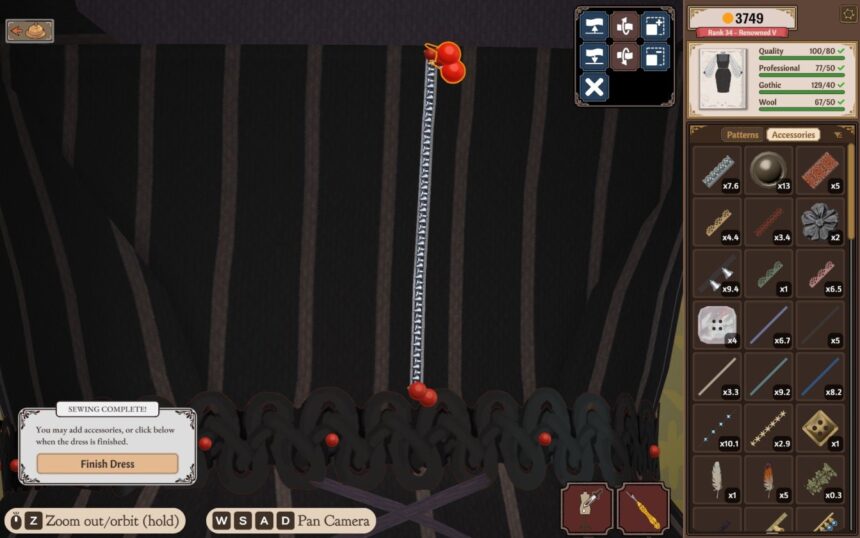
Dressmaker’s lack of a zipper or stud features can make certain outfit designs feel limited, but creative players have found clever workarounds. Adding a faux zipper can elevate your garments with a touch of realism, delivering that classic zipped look even without functionality. It’s a small detail that immediately amps up your clothing’s visual appeal and allows for greater customization.
The trick lies in using bell trims to mimic the interlocking teeth of a zipper. By placing two neat rows of small bells tightly side by side, you can simulate the signature pattern of a zipper’s teeth. Complement this by attaching a decorative piece like a bell, tassel, or chainmail as the zipper pull to finish the effect. You don’t need to install any mods to pull this off.
How to Make a Zipper in Dressmaker
Draw the First Zipper Line
Begin by selecting either the silver or gold flared bell trim and sketch a line where you want your zipper to appear on the garment. The metallic color choice helps reinforce the zipper illusion.
After placing the trim, resize it so the bells shrink to a small enough scale resembling zipper teeth rather than large decorative elements.
Add the Second Line
Create a second line parallel to the first, but have the bells face the opposite direction. Keep these lines close to each other for the best zipper effect.
Now fine-tune the alignment by moving the second line up or down until the bells of each row fit snugly between each other like the teeth of a zipper interlocking. It takes a bit of adjustment, but patience here is key to selling the illusion.
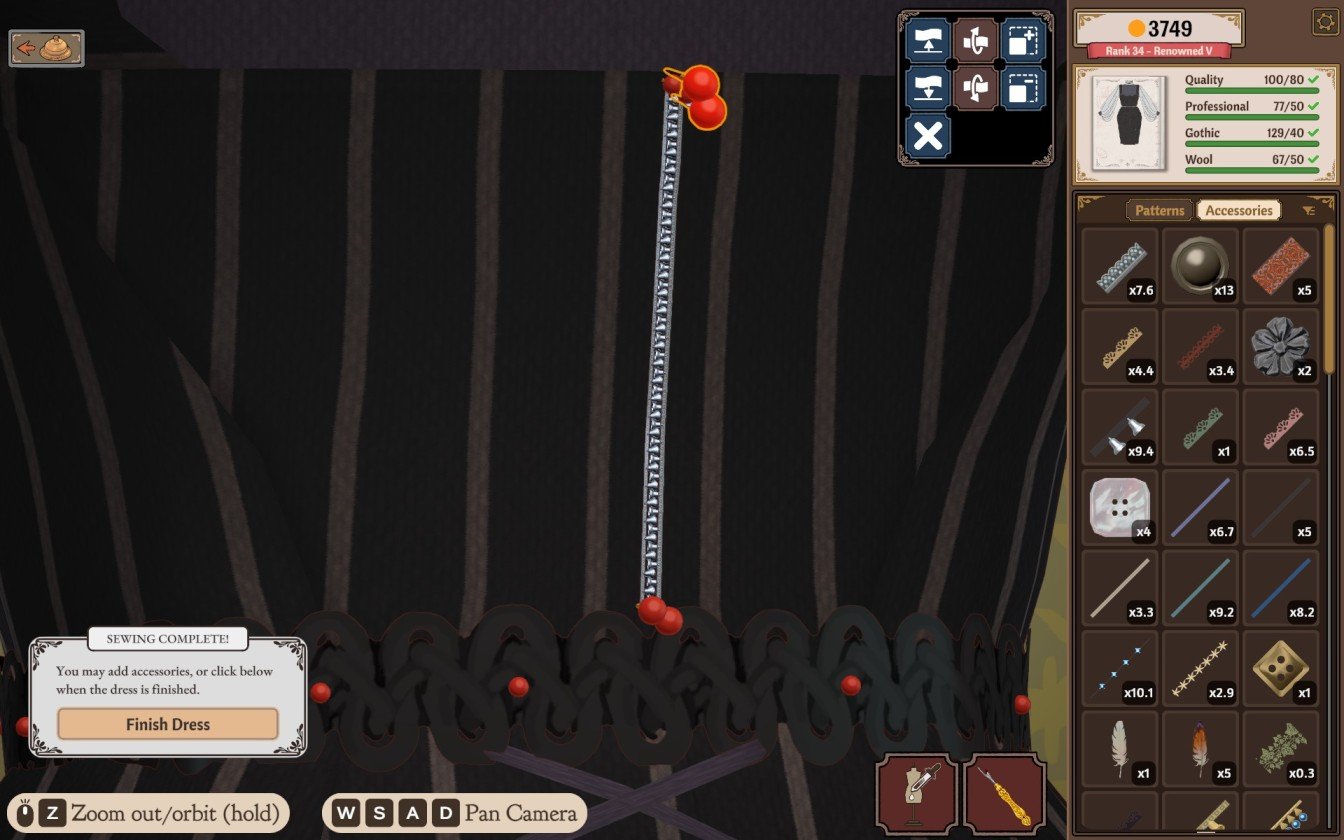
Add a Zipper Pull
To make your fake zipper more convincing, add a small ornament at one end to mimic a zipper pull. This anchor piece adds a touch of authenticity to the design.
- Single bell
- Tassel
- Piece of chainmail
Place the chosen decoration at the top or bottom of your zipper line depending on your garment’s design style and zipper placement.
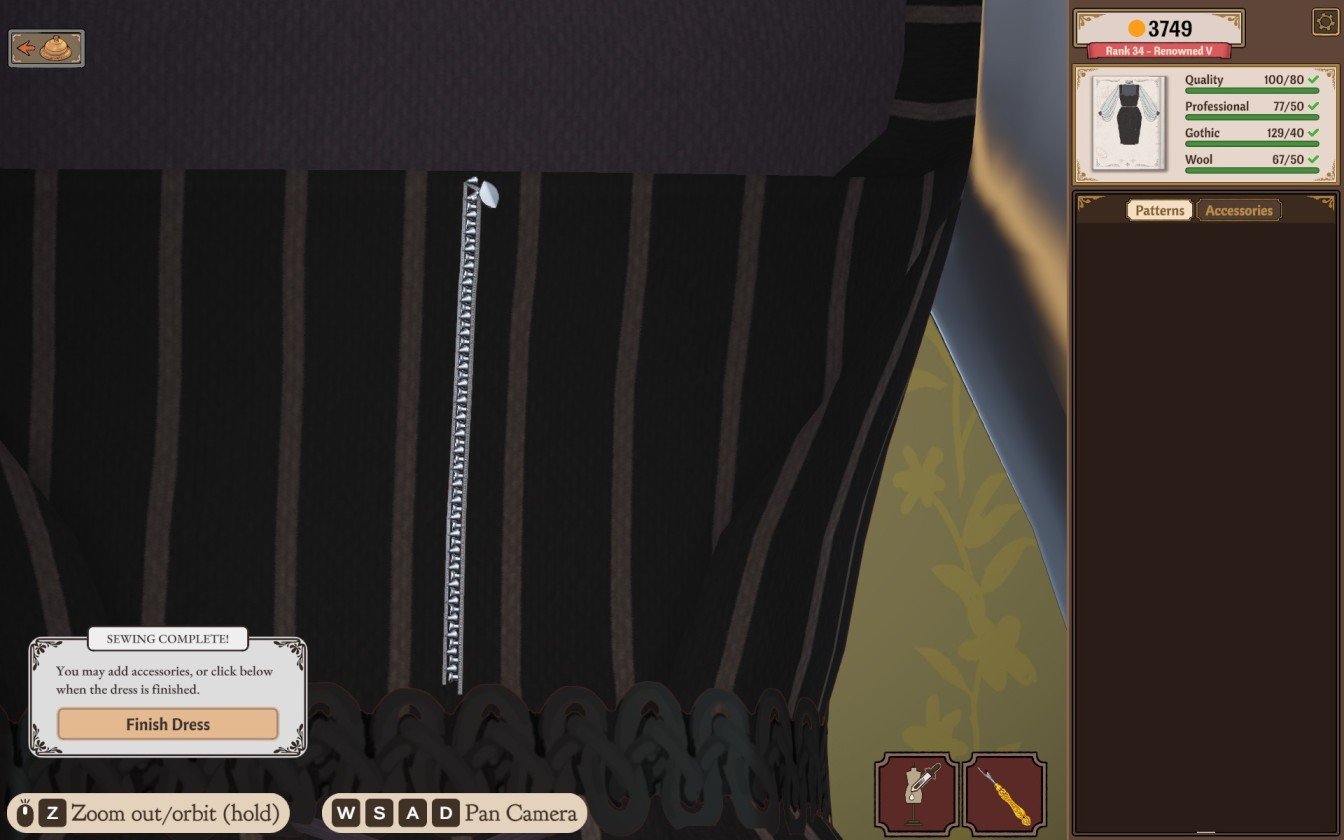
Where to Use Your Custom Zipper
This decorative zipper technique shines most on open jackets where it’s clearly visible. Feel free to experiment with different trims and colors that best match your clothing palette.
Keep your bells small and the two rows tightly aligned for realism. Remember that this zipper is purely visual—it won’t function to open or close your clothes but will add a stylish detail without any modding required.