
In Heartfall: A Tale in Three Lives, player choices dictate which story branch and climax you experience. Internal game data references twelve primary paths numbered Route 0 through Route 11, alongside several unused test scripts (catch_all, impy_ending, and scar_ending). Because multiple routes diverge directly from early decisions, maintaining manual backup saves at each major milestone is essential.
Route Overview
- Route 0 – Have We Been Here Before?: Follows the foundational storyline. Leads to So That’s How It Went and That’s Not How It Went.
- Route 1 – The Dark Forest: Involves base construction, betraying Scar, and retreating into isolation. Leads to Alone, Beloved and Die, Together.
- Route 2 – Dog-Eat-Dog World: Branches off Day 1 by confronting Martyn in the village. Contains achievements overlapping with Route 5 (All For Naught, Almost Home, Back Where It Started, I’ll Be Waiting).
- Route 3 – Live, Laugh, Divorce: Form an alliance with Jimmy and Scott. Features five relationship-based endings: Happily Egger After, Hate Loses, Hate Wins, Love Loses, and Love Wins.
- Route 4 – Ashes and Alliances: Partner with Joel to tame wolves and build a cabin. Leads to A Lonely Death, A New Family, and A Violent End.
- Route 5 – Should’ve Aimed for the Hand: Conspire with Martyn after the magic trick. Features Can we go to the desert?.
- Route 6 – The Cow Heist: Assist Scott and Jimmy with their livestock operation before base gathering. Leads to Perennial Garden and Scorched Earth.
- Route 7 – Welcome Home, Ally: Agree to aid Jimmy before returning to Route 0 and choosing to remember while sleeping. Leads to It’s Us Until The End, To Have Your Alliances, and Keep Them Too, Together in the Desert, and What Else Did You Expect.
- Route 8 – Music is Magic: Craft the music box with Impulse. Leads to Dal Segno al Coda, Dal Segno al Fin, Fallen Companions, Self-Inflicted Solitude, and Solitude.
- Route 9 – The Court of Last Chances: Visit the flower forest goose on Day 3. Leads to A Home Where You Are, Dusk Til Dawn, and Minutes Past Midnight.
- Route 10 – Any-fin is Possible: Fish up the secret book at the docks on Day 1. Unlocks Bass Friends Forever: True Pacifish, Fish or Be Fished: Fishmaster, and Goodbye Krill World: Fishing Anonymous.
- Route 11 – Wolf in Sheep’s Wool: Uncover the blinking statue at the spawn beach. Leads to A Promise Fulfilled and Never Alone Again.
Route 0: So That’s How It Went

To initiate Route 0 (Have We Been Here Before?), talk to Scar immediately upon exiting the library and accept his plan to burn the Mystic Tree. Retrieve the Flint and Steel hidden inside the mountain cavern near Tango. During nightfall at the village, kite a creeper directly into Scar to cause his initial death. When apologizing, pledge your loyalty to him until your first life is lost, travel with him to the desert, and spend the night at his camp.
Critical Early Choices
- Reject the Cow Heist: Decline the invitation from Jimmy and Scott the morning after night one; prioritize gathering your own building supplies.
- Avoid Martyn's Entanglements: When encountering Martyn in the village, do not excessively complain about Scar and decline his invitation. Later, after the tree illusion, refuse Martyn's proposal to commit a crime.
- Dogwarts Battle Survival: When Martyn launches an axe strike against you and Scar, do not intercept the blow. Dodging allows Scar to live while preserving your life count, keeping you on the canon narrative path.
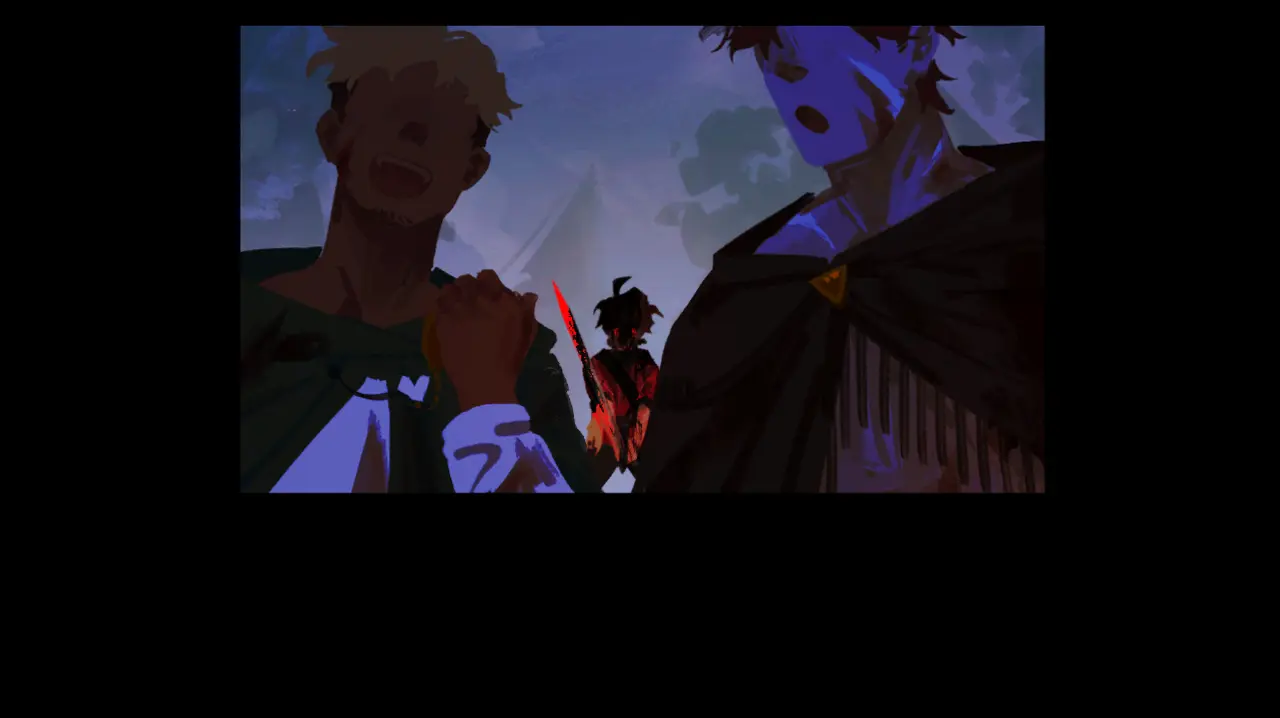
Following the defeat of Dogwarts, the remaining survivors are BigB, BDubs, Impulse, Scar, and yourself. Scar bargains with BDubs using a clock, directs BDubs to eliminate BigB despite a friendship token, and BDubs swiftly executes Impulse. Scar forces a duel between you and BDubs for a No Kill Pass, which BDubs claims regardless of your choices. Scar subsequently strikes you down, leaving you on your final red life.
Track Scar and BDubs down. BDubs falls no matter which target you prioritize. Refuse further combat with Scar until the specters of the fallen demand a duel in the sands. Face Scar in the final desert clash, defeat him, and leap from the clifftop to perish and unlock So That’s How It Went.
Route 0: That’s Not How It Went

To unlock the alternate Route 0 conclusion, establish the baseline sequence identical to the primary branch: assist Scar in torching the Mystic Tree using Tango's cave flint, trigger his creeper demise in the village settlement, swear allegiance until your first death, and bunk overnight in the desert dunes.
Maintain the standard filters early on: turn down Scott and Jimmy's cow operation, keep your grievances muted when greeting Martyn, and refuse to participate in Martyn's post-magic trick schemes.
The Pivotal Divergence
During the assault on Dogwarts, Martyn will swing his battleaxe toward Scar. Choose to take the hit. Intercepting this blow burns your life reserves early, placing you on red and irrevocably fracturing the canon timeline.
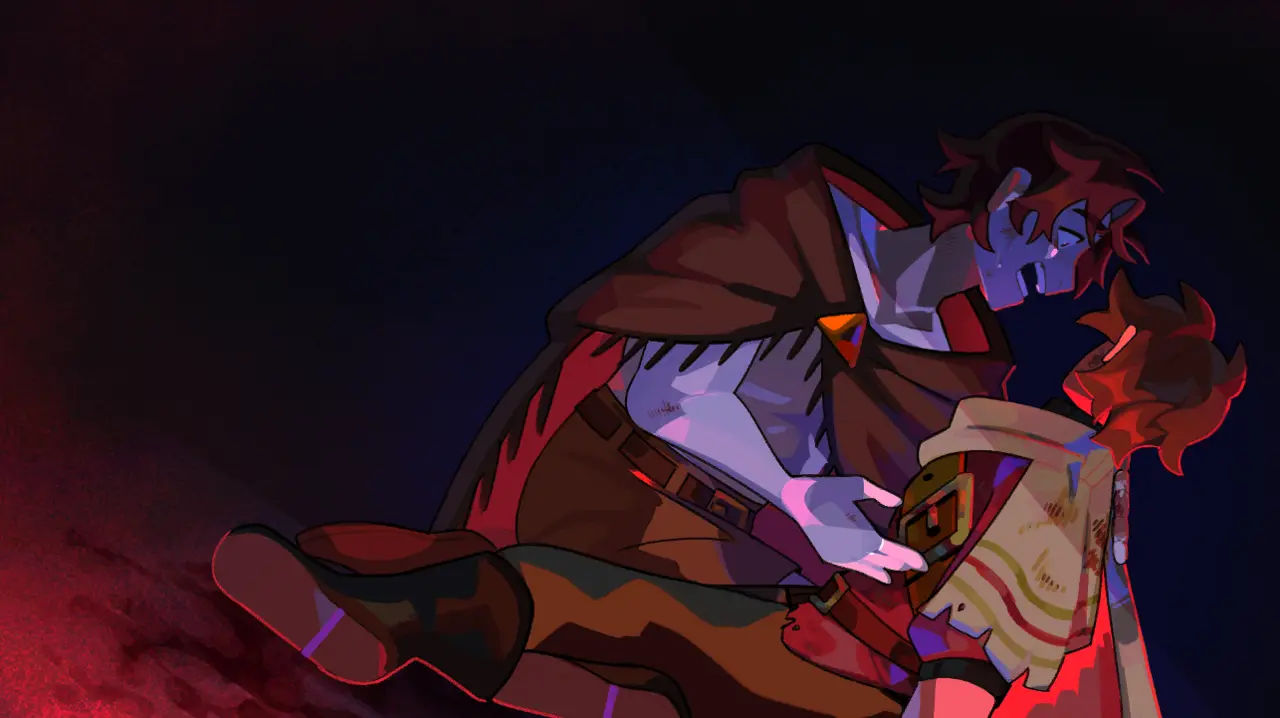
Scar manages to survive the skirmish and reunites with you once you respawn on your red life. In the prolonged engagement that follows at Dogwarts, both you and Scar are overwhelmed and slain in combat. Once the credits sequence concludes, you will receive the That’s Not How It Went achievement.
Route 4: A Lonely Death

To enter Route 4 (Ashes and Alliances), leave the library and track west past Jimmy's cow pasture into the woods to find Joel. Assist him across multiple dialogue prompts until several wild wolves are tamed. Speak to him a second time and accept his proposal to construct a shared woodland cabin.
Content Warning: Contains depictions of severe gore and blood.
Story Progression to Session Six
Early story deaths cannot be avoided: Joel inevitably dies during Tango’s Dare to Flare trial, and you will lose a life while attempting to tame an aggressive wolf. Soon after, a structural fire engulfs the cabin at night, consuming the remaining wolves and stripping Joel down to his red life. Cleo later confesses to igniting the structure in retaliation for Joel withholding Mystic Wood.
Form an uneasy alliance at the Crastle with Cleo and BDubs. During a subsequent clash against Dogwarts, intercept an attack for Joel, falling to red status. Reaffirm repeatedly that you are willing to die for him. Ahead of the climactic session, seek aid from Etho, Scar, Scott, and Jimmy (only Jimmy accepts enthusiastically).
Create a manual save during Session 5's evening. When Session 6 begins, locate Joel outside the Crastle walls. When prompted, select run away with Joel to abandon Cleo and BDubs.
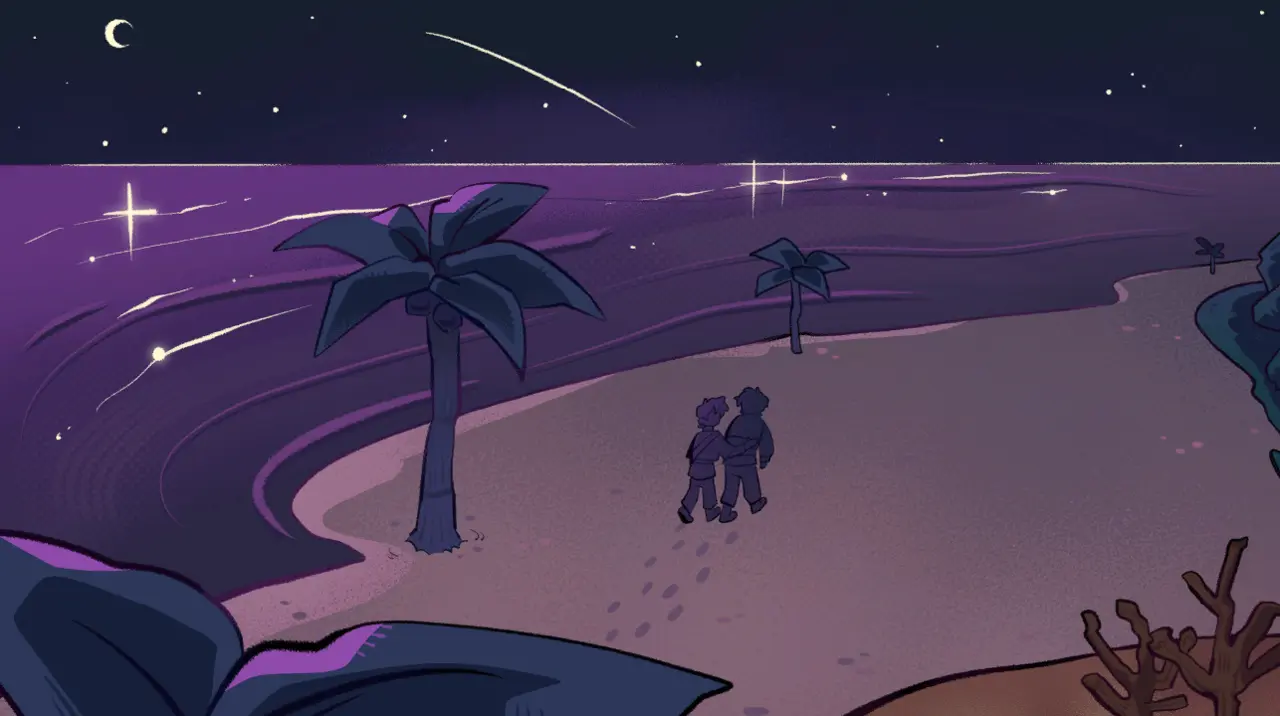
Flee toward Scott and Jimmy's territory seeking sanctuary, only to find Jimmy already dead. Scott brands both of you cowards and turns you away. Retreat to the shoreline to make camp.
Martyn soon tracks you down, confirming that Etho, Scar, Scott, BDubs, and Cleo perished in the battle. Martyn attacks your position; Joel steps into the lethal blow meant for you and dies. With Joel gone, abandon all resistance and allow Martyn to strike you down, unlocking A Lonely Death.
Route 8: Dal Segno al Coda

To begin Route 8 (Music is Magic), exit the library and talk to Impulse. Agree to retrieve his requested materials: harvest timber from the forest and collect diamonds stored inside a crate along the beach. Deliver the supplies, then agree to reveal the discovery you made inside the village structure on day one.
Content Warning: Features elements of body horror.
Navigating the Music Box Investigation
Continue working closely with Impulse. When Pearl appears at dusk, agree to bring her rations when prompted to keep her aligned with your group. Aid Impulse in researching library archives to assemble the Red Jasper temporal music box, which can repair armor integrity but cannot mend physical bodily trauma.
When skirmishing in the desert alongside Cleo, BDubs, and Pearl, Martyn will ambush the party. Your faction alignment dialogue here does not alter the outcome. However, during Martyn’s assault, you must command Pearl to run. Pearl possesses only a single life; if she dies here, this achievement becomes unobtainable. Accept and safeguard the music box when a red-status Impulse hands it to you.
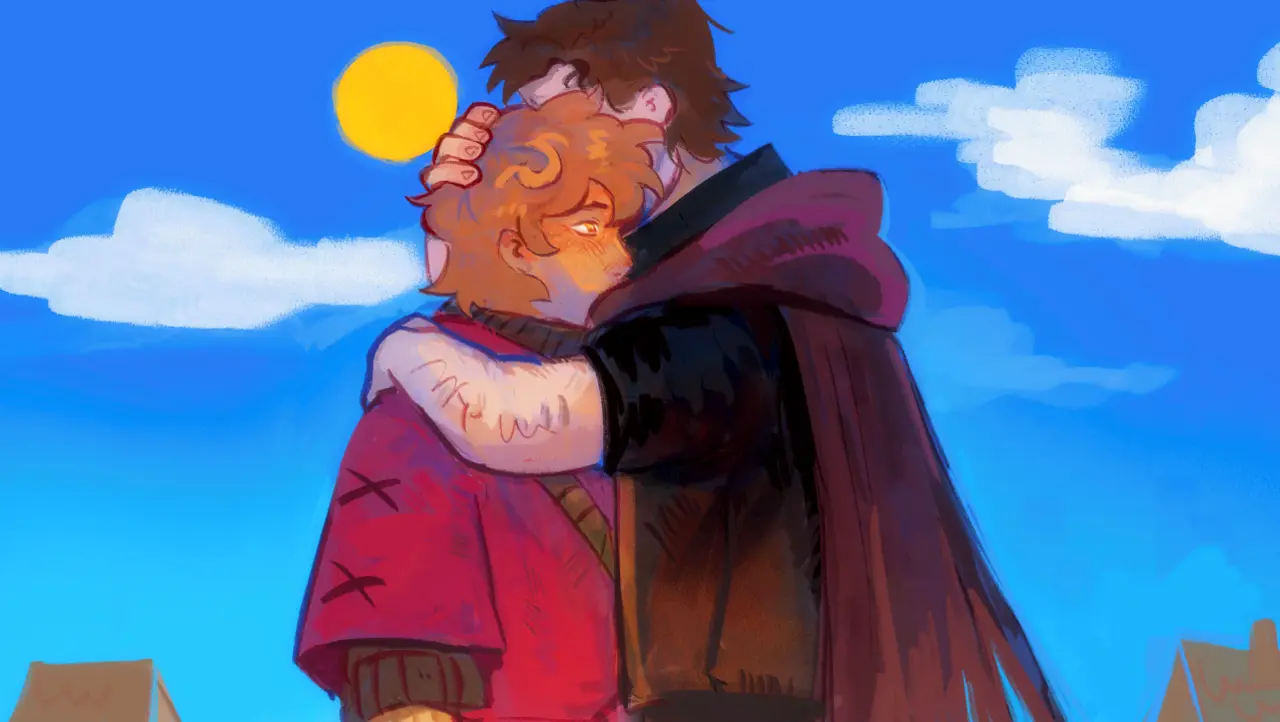
Pearl draws Martyn away, allowing you both to escape and rendezvous with Impulse inside the village. Following the Dogwarts showdown, only six combatants remain: BDubs, Impulse, Pearl, Scar, Martyn, and yourself. Accompany Pearl into the village settlement to locate a weakened Martyn and eliminate him.
Return to the Crastle to discover Scar deceased. BDubs blames Impulse for the tragedy and slays him on the spot. Immediately execute BDubs in retribution. Pearl will then plead with you to activate the music box and rewind the island to restore Impulse. Agree and choose to rewind the music box to immediately secure Dal Segno al Coda.
Route 8: Fallen Companions

Follow the identical setup for Route 8: collect forest wood and beach crate diamonds for Impulse, reveal the village secret, and bring food to Pearl when she approaches you at sunset.
Content Warning: Features elements of body horror.
Triggering Pearl’s Demise
To obtain Fallen Companions, Pearl must perish prior to the timeline rewinding. This can be accomplished through two distinct methods:
- Method 1 (Desert Skirmish): When Martyn ambushes your party in the desert, instruct Pearl to attack him rather than fleeing. When she begins losing the struggle, choose to remain silent. Martyn will kill her.
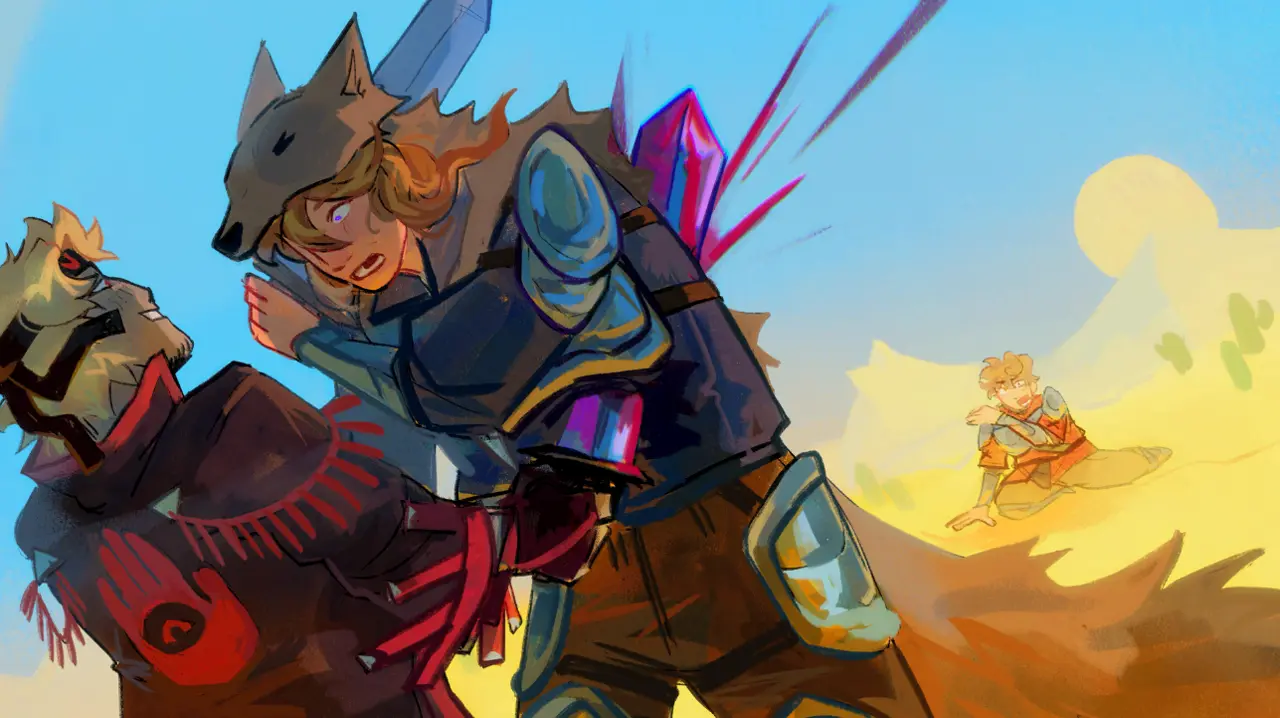
- Method 2 (Crastle Finale): Keep Pearl alive through the battle and Martyn's execution. When BDubs strikes down Impulse at the Crastle, do not attack him. Attempt to talk BDubs down instead. Pearl will leap forward to strike BDubs; choose to physically hold her back. Your intervention breaks her guard, allowing BDubs to land a fatal blow.
Employing either method successfully triggers Pearl's permanent death scene, granting the Fallen Companions achievement.
Route 8: Self-Inflicted Solitude

Enter Route 8 using the standard procedures: supply Impulse with timber and beach crate diamonds, disclose the village interior discovery, and maintain Pearl’s survival through the desert ambush by commanding her to flee.
Content Warning: Features elements of body horror.
Hunt down Martyn in the village alongside Pearl, dispatch him, and return to the Crastle. Witness BDubs slay Impulse, then execute BDubs in retaliation. Once alone with Pearl, she will plead for you to crank the music box to resurrect Impulse.
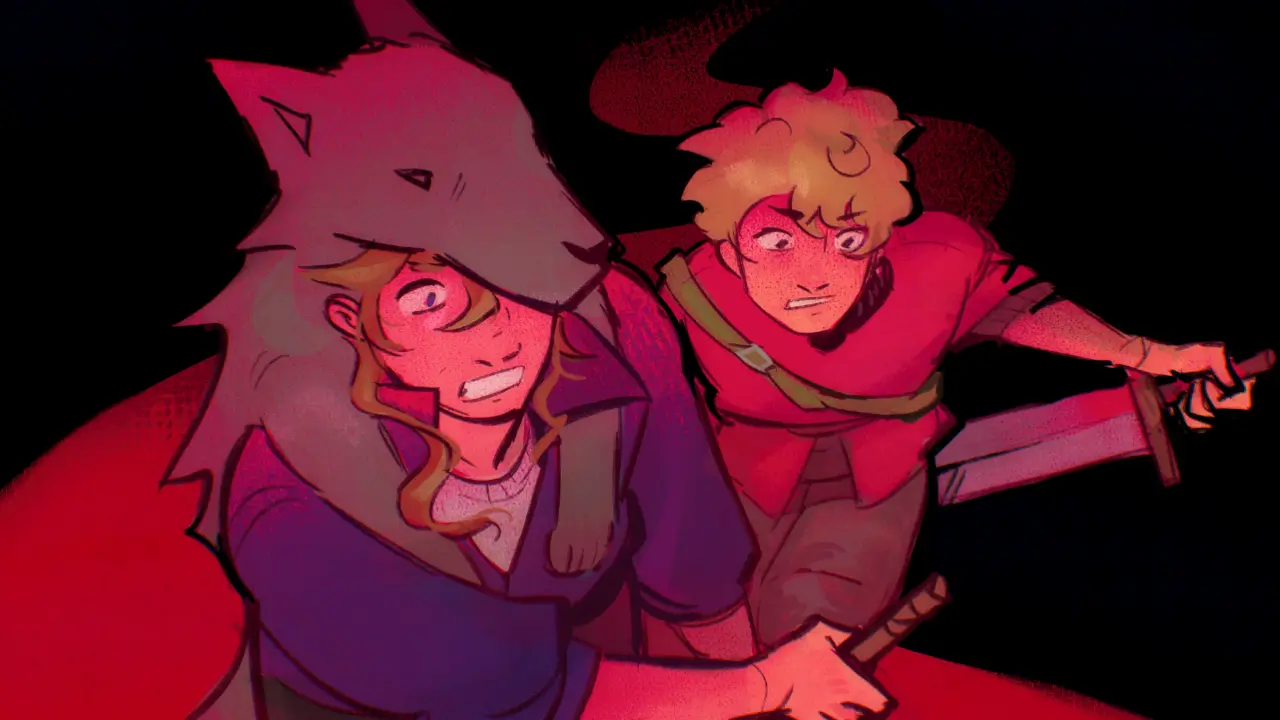
Express your hesitation and refuse to wind the music box. The game will prompt you multiple consecutive times to reconsider; persistently choose to refuse on every single prompt until the system stops asking.
Frustrated by your stubbornness, Pearl confronts you. Choose to destroy the music box completely to prevent her from meddling with time. Disgusted, Pearl cuts ties and walks away into the wilderness, abandoning you to complete isolation and unlocking Self-Inflicted Solitude.
Route 8: Solitude

Begin by accepting Impulse’s fetch quest outside the library. Deliver timber from the woods and diamonds from the shore crate, and agree to disclose your village house discovery.
Content Warning: Features elements of body horror.
Alienating Pearl and Impulse
Assist Impulse through Day 1 until Pearl reveals herself at dusk. When she states that she is starving and asks you for food, refuse to feed her. Maintain your refusal across all prompts until she departs in anger.
Return to the village settlement. Impulse reveals that he has been in league with Pearl all along. Deeming your temperament unsuitable for his plans, he casts you out. Conclude the brief conversation to immediately receive Solitude.
Route 10: Bass Friends Forever: True Pacifish
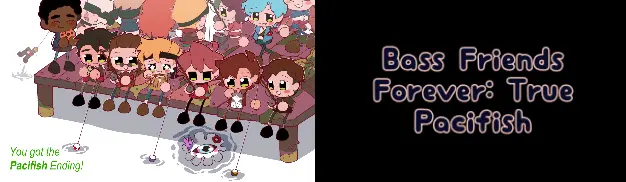
To initiate Route 10 (Any-fin is Possible), approach the wooden signage positioned near the dock on Day 1. Cast your line and fish repeatedly until you hook a book.
Content Warning: Depicts themes of unreality, depersonalization, scopophobia, and trypophobia.
Daily Fishing and Gift Deliveries
Spend each in-game day fishing from the docks to pull unique items from the water. Every artifact belongs to a specific resident and must be hand-delivered before going to sleep each night. Dialogue clues or consultations with Scar point toward the rightful owners:
- Cookie: Deliver to BigB.
- Guitar: Deliver to Ren.
- Giraffe Sculpture: Deliver to Skizz.
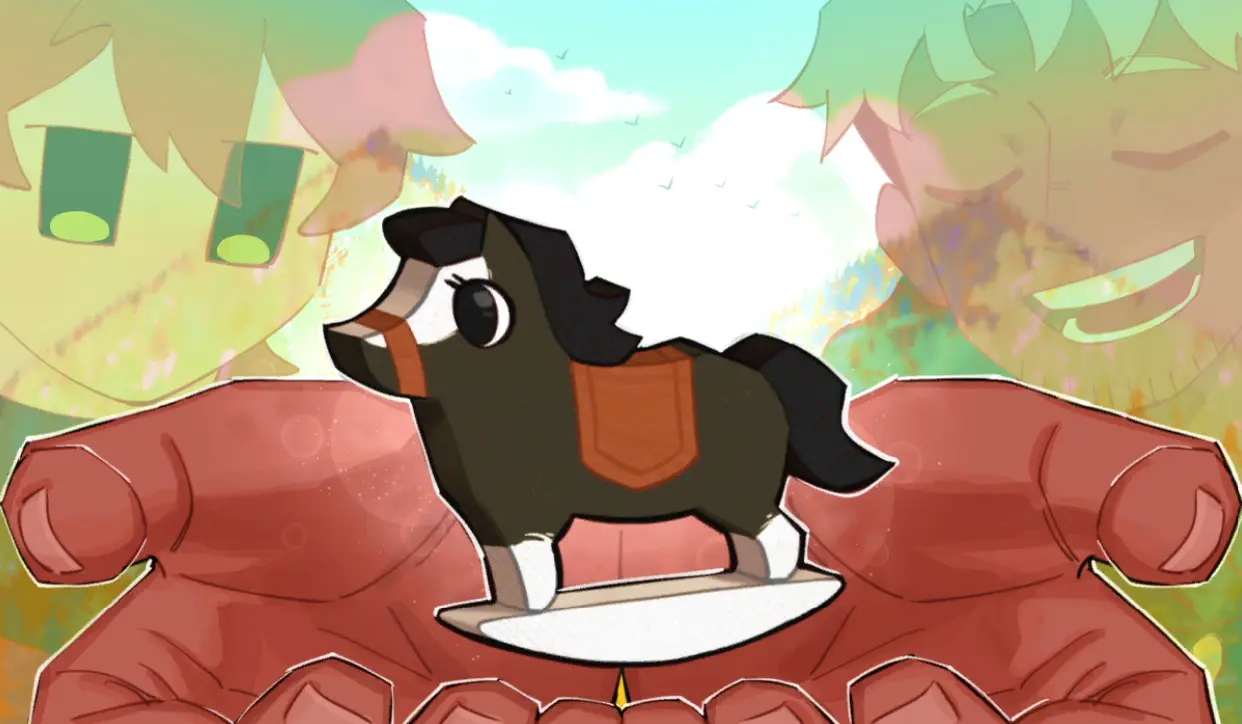
Each resident who receives their treasure arrives at the dock the following morning to join your fishing circle. Whenever a slug-like Watcher surfaces from the water ordering you to cease, continually toss it back into the depths.
Once the dock is populated, Martyn arrives representing Dogwarts to demand bloodshed. Cast your line to fish up a volume of manga; hand it to Martyn to eliminate his hostility. Martyn will request that you pacify Ren as well. Fish up a guitar and present it to Ren. Ren abandons the conflict, brings a stage to the shoreline, and performs a guitar solo.
Once Scar joins the gathering, the Watcher returns in a monstrous state. Place Scar's flowers atop its head and present it with your fishing rod. The pacified Watcher will ask for angling lessons, concluding the sequence and unlocking Bass Friends Forever: True Pacifish.
Route 11: A Promise Fulfilled

To begin Route 11 (Wolf in Sheep’s Wool), walk behind the pool where Grian awakens at the start of the game and locate the stone figure positioned near the water's edge.
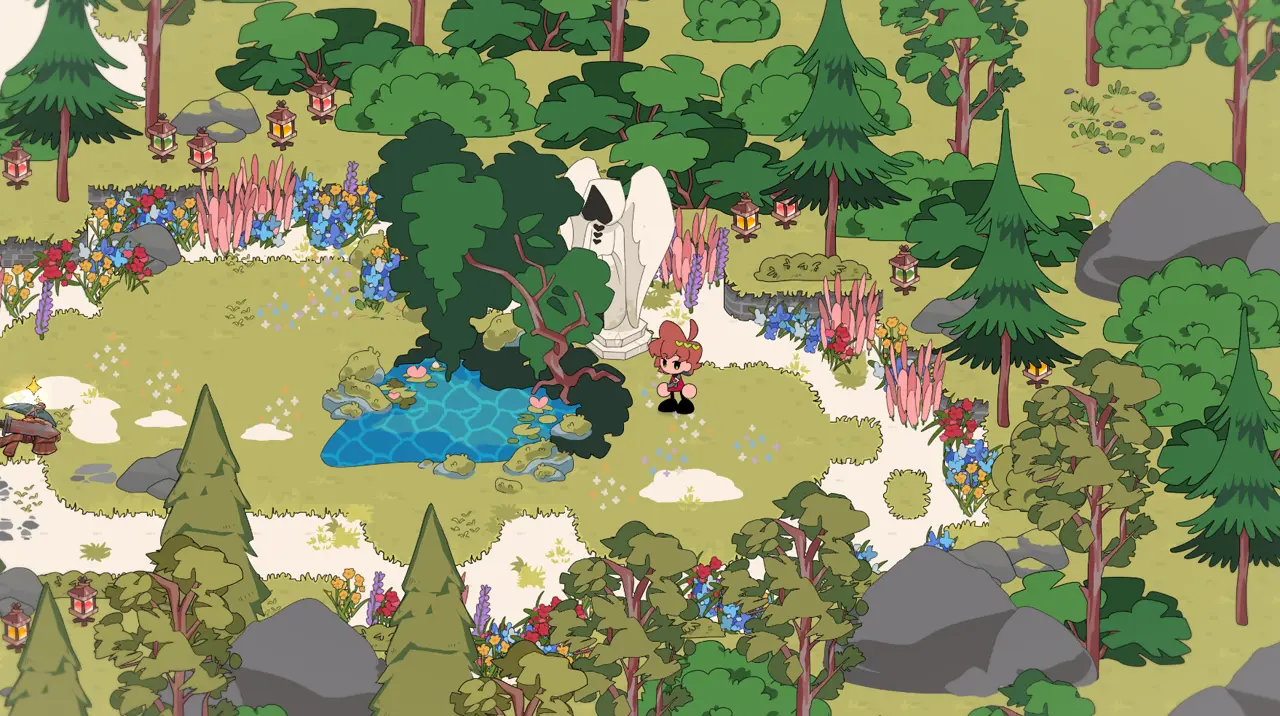
The stone monument does not emit an interaction gleam. Walk directly up to it and tap your interaction key repeatedly until a prompt to stare appears. Disregard the narrator's warnings and stare at the statue until it blinks.
Content Warning: Involves horror, severe body horror, starvation, depersonalization, derealization, trypophobia, and scopophobia.
Altar Reconstruction and Awakening
Head west along the beachline to locate an ancient altar. Accept the task to recover its shattered fragments hidden across the map: one in the forest, one inside the structure containing the who’s who board, and one inside the mountain cavern. Return the relics to the statue.
Grian's dormant Watcher faculties will begin resurfacing. Steal the Enchanter and hurl it directly into the volcano's magma chamber. Martyn deduces Grian’s true nature and scatters the survivors. The next morning, convince Scar, Joel, and the former Evolutionists (Jimmy, Martyn, BigB) to dismantle the remaining island altars.
Rendezvous at the volcano summit to escape. When Watcher entities manifest along the ascent, press onward regardless of dialog stances. At the final threshold, you will face a definitive prompt: choose to do something drastic.
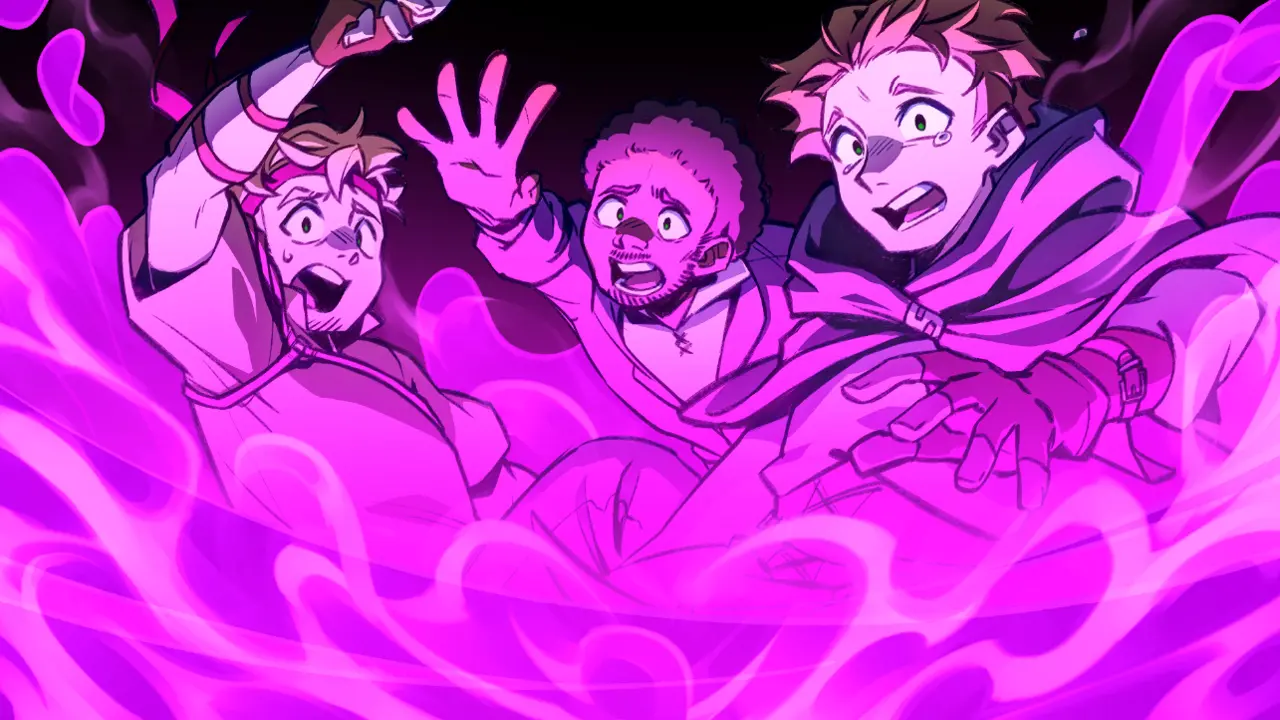
Channel your Watcher power to tear open a rift underneath your allies, casting them through to safety while remaining behind on the island. The Watchers surround and execute Grian as the portal collapses. Having secured your companions' survival, you perish without remorse, earning A Promise Fulfilled.
Route 11: Never Alone Again

To pursue the darker culmination of Route 11, return to Grian's awakening pool at the start of a new playthrough and approach the stone figure situated along the rear perimeter.
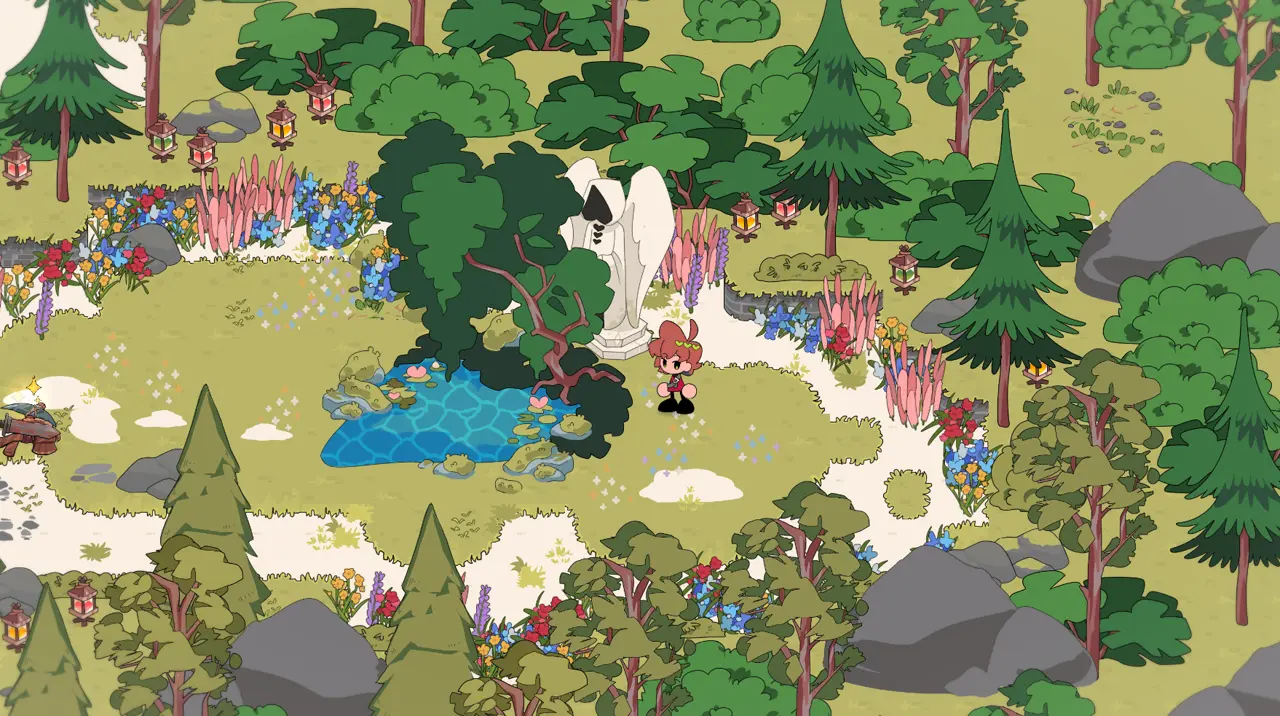
Interact with the dormant monument until the prompt allows you to lock eyes with it. Keep staring continuously until the eyelids blink. Travel west across the shoreline to discover the coastal altar and accept the quest to assemble its relics.
Gather the three pieces from the mountain cavern, the woods, and the village structure housing the identity board, then reassemble the altar. Progress through the storyline as Grian recalls his Watcher past, incinerates the Enchanter inside the volcano caldera, and rallies the islanders to shatter the remaining ritual structures.
Push through the Watcher apparitions blocking the volcano trail. At the final narrative divergence between taking drastic action or remaining by your allies' side, select stay with my friends.
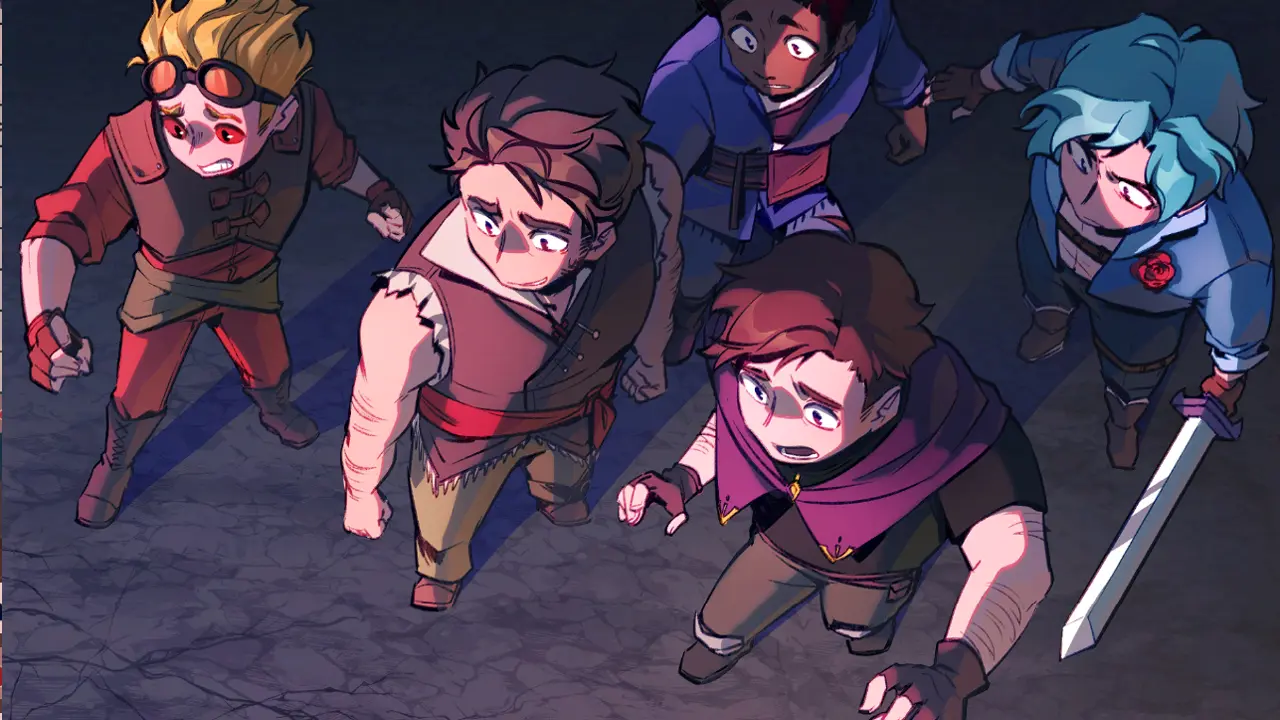
Rather than shepherding the survivors to freedom, choosing to stay with them causes Grian's corrupted Watcher instincts to overwhelm him, culminating in him consuming his companions. This grim conclusion unlocks the Never Alone Again achievement.