



- Homicipher uses a structured narrative method where each unlocked scene serves as a checkpoint. Understanding this system is crucial for tracking story progress and accessing all content.
- Progression in Homicipher hinges on following precise steps through its branching storylines, with some choices funneling you towards specific outcomes while others open unique paths.
- The walkthrough clarifies how to sequence your selections across chapters to unlock every scene and ending, emphasizing the importance of key dialogue choices and QTE performances.
- The adventure begins with Chapter 1, launching you into the foundational scenes that set the stage.
- Scene 1A : Initiate your journey by starting the game here.
- Scene 1B : Link back to 1A and prioritize winning the Quick Time Event to stay on the main story route.
- Scene 1C : All choices here lead to the same next scene, making it a narrative funnel point.
- Scene 1D : Similarly, options merge into a single progression point with no branches.
- Scene 1E : Starting from 1D, interact with the left door and select “go” to continue. This scene also funnels subsequent decisions into one path.
- Scene 1F : Progress directly from 1E without branching choices.
- Scene 2A : From 1F, choose the response “no” to proceed.
- Scene 2B : Alternatively from 1F, pick up the item to branch here.
- Scene 2C : Continue the storyline flowing from 2B without additional branching.
- Scene 2D : All paths from 2C converge here.
- Scene 2E : The narrative continues funneling at this point.
- Scene 2F : Another funneling scene advancing the storyline unbranched.
- Scene 3A : Paths emerge together here.
- Scene 3B : From 3A, hide in the right nook and avoid picking up the crowbar for this variation.
- Scene 3C : Alternatively, from 3A, grab the crowbar before hiding to unlock different dialogue.
- Scene 3D : Whether from 3B or 3C, paths merge here.
- Scene 3E : All options lead clearly forward.
- Scene 3F : From 3E, click the left-pointing arrow to continue.
- Scene 4A : Here, choose the option to “talk” to advance the story.
- Scene 4B : A funnel point combining all prior choices.
- Scene 4C : Returning to 1A, intentionally fail the QTE to trigger an alternate event.
- Scene 4D : Continue from 4C without deviation.
- Scene 4E : All narrative threads converge here.
- Scene 4F : Begin at 4E, then fail the QTE here to access a unique path.
- Scene 5A : Following 4F, select “talk” to proceed.
- Scene 5B : This is another narrative funneling scene continuing the story.
- Scene 5C : The next funnel point carrying the plot forward.
- Scene 5D : Consolidates previous options.
- Scene 5E : Beginning from 4E, win this QTE to trigger an ending; on the end screen, choose “Beyond.”
- Scene 5F : After 5E, survive a rapid series of Quick Time Events by winning all for successful progression.
- Chapter 2 opens right after the intense QTE sequence of 5E, pushing story boundaries further.
- Scene 1A : Start from Chapter 1’s 4B scene. Every choice here ends the episode, so navigate carefully with the two downward clicks.
- Scene 1B : All choices funnel into this unified scene.
- Scene 1C : From 1B, move upward, optionally inspect the doll, proceed left, inspect the doll again, and select “attack.”
- Scene 1D : The storylines combine here.
- Scene 2B : Speak with Ms. Blue-Clad, inspect the hole beside her, retrieve the item, talk to her again, then choose “go” through the door.
- Scene 2C : Pick up the lighter from 2B, light the lantern, then deliberately fail the QTE for this segment.
- Scene 2D : All choices lead forward.
- Scene 2E : From 2D, inspect the left door and select “use” to continue.
- Scene 2F : Consolidates the story into a unified scene.
- 3B
- 3C
- 3D
- 3E
- 4A
- 4B
- 4C
- 4D
- 4E
- 5A
- 5B
- 5C
- 5D
- 5E
- Chapter 3
- 1A
- 1B
- 1C
- 1D
- 1E
- 1F
- 2A
- 2B
- 2C
- 2D
- 2E
- 2F
- 3A
- 3B
- Scene 3C : Open the right door and knock here to progress.
- 3D
- 3E
- 3F
- 4A
- 4B
- 4C
- 4D
- 4E
- 4F
- 5A
- 5B
- 5C
- 5D
- 5E
- 5F
- Chapter 4
- 1A
- 1B
- 1C
- 1D
Homicipher crafts an intense narrative experience where every choice matters, and unlocking all its moments reveals the full scope of its story. Mastering the flow through its almost 200 scenes requires understanding its unique system and the nuances of its Quick Time Events, which can challenge even seasoned players.
Within Homicipher, players navigate a complex web of story scenes, each representing critical junctures. Efficient unlocking hinges on knowing how scenes connect and how your choices shape different story branches.
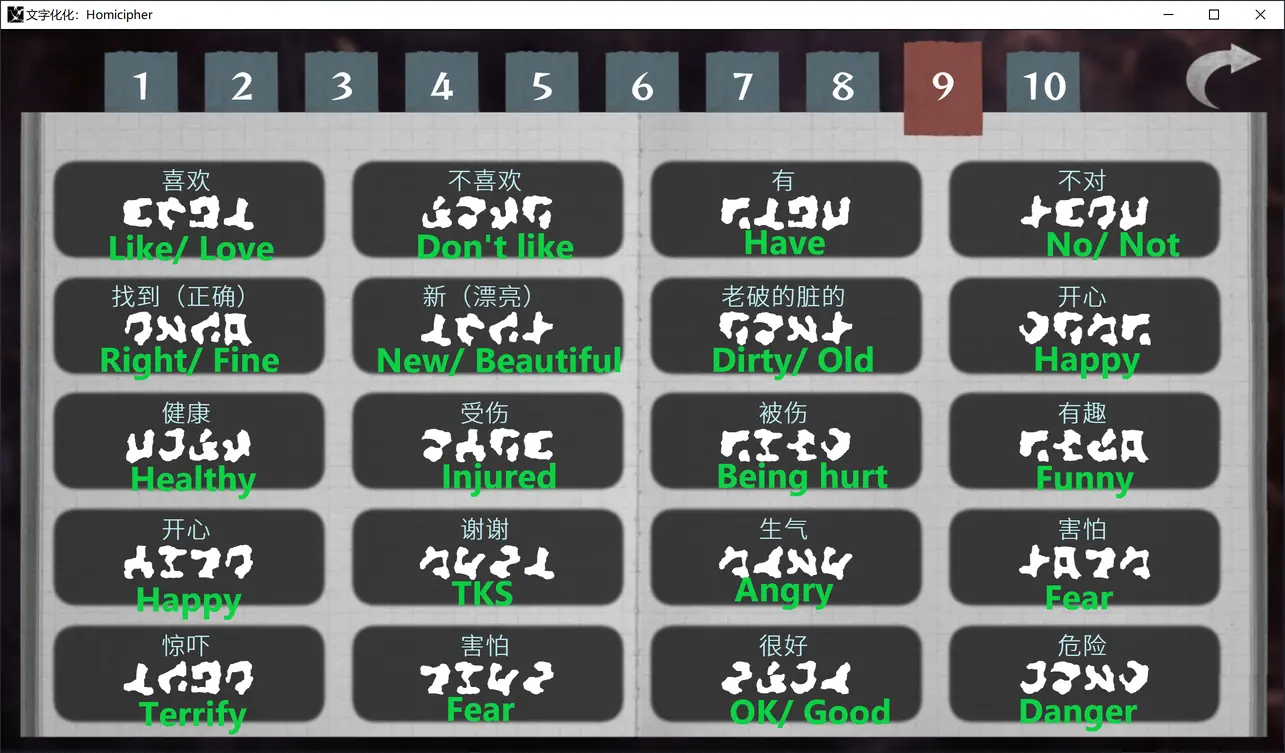
Homicipher uses a structured narrative method where each unlocked scene serves as a checkpoint. Understanding this system is crucial for tracking story progress and accessing all content.

Progression in Homicipher hinges on following precise steps through its branching storylines, with some choices funneling you towards specific outcomes while others open unique paths.
The walkthrough clarifies how to sequence your selections across chapters to unlock every scene and ending, emphasizing the importance of key dialogue choices and QTE performances.
Unlocking hidden or missing scenes and triggering all potential endings involves carefully managing your decisions and Quick Time Event outcomes. This approach ensures maximum story reveals.
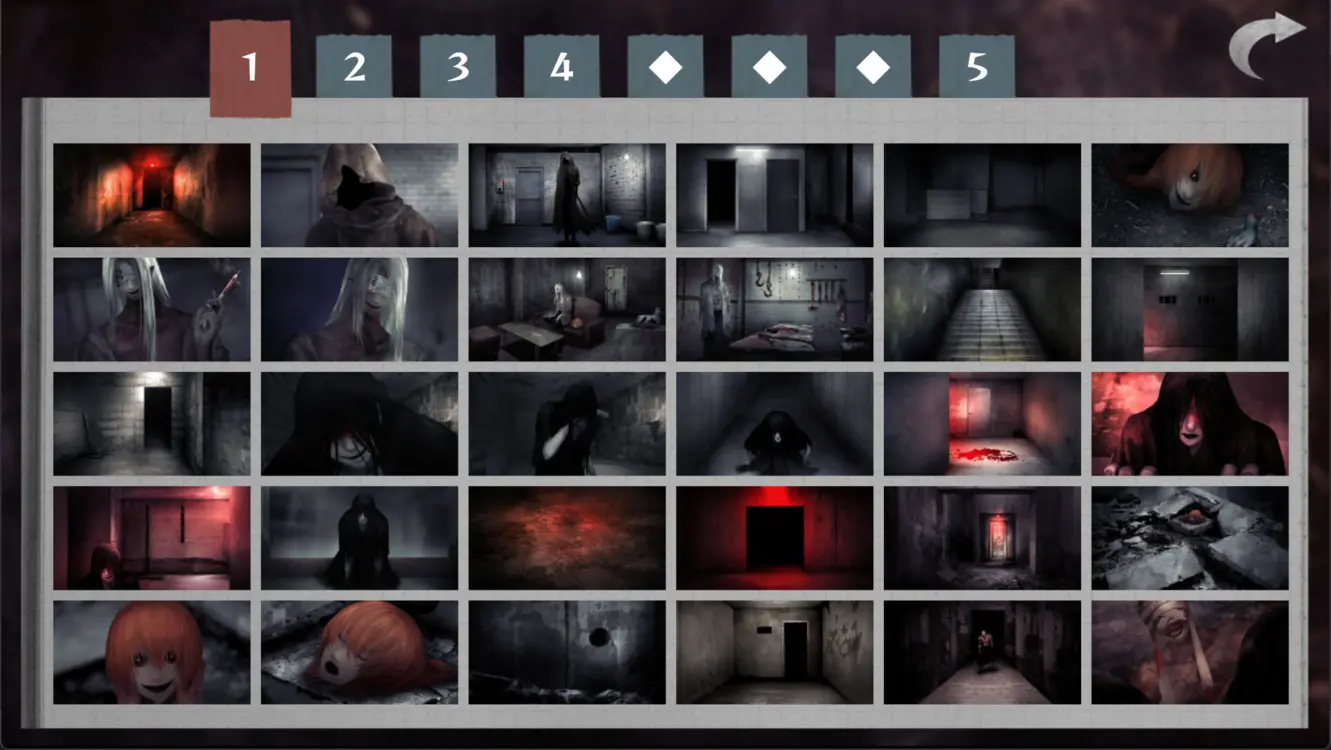
Before diving in, it’s important to grasp how the game’s scene and choice system operates to avoid confusion and missteps during playthroughs.
- Defining Scenes: “Scenes” refer to the 195 story moments accessible through the game menu’s chapter checkpoint system.
- Scene Identification: Each scene is marked by an alphanumeric grid, with rows numbered and columns lettered (e.g., 1A) for straightforward navigation.
- Choice Directions: For dialogue in different languages, select options based on their menu position (top, middle, bottom) to maintain consistency and avoid spoilers.
- Action Choices: Single-option actions are omitted from instructions; focus remains on scenes with meaningful decisions.
- Scene Context: References point to scenes within the same chapter unless otherwise stated, simplifying guidance.
- Story Flow: Many choices funnel into a single subsequent scene, ensuring a streamlined narrative despite different dialogues.
- QTE Guidance: Follow prompts to either succeed or fail Quick Time Events, which influence story progression and endings.
- Choice Availability: Some options unlock only after advancing to certain points in the story, requiring multiple playthroughs or returns.
The adventure begins with Chapter 1, launching you into the foundational scenes that set the stage.
Scene 1A : Initiate your journey by starting the game here.
- Start game.
Scene 1B : Link back to 1A and prioritize winning the Quick Time Event to stay on the main story route.
- Start from scene 1A.
- Win QTE.
Scene 1C : All choices here lead to the same next scene, making it a narrative funnel point.
- From scene 1B, all options funnel you into this scene.
Scene 1D : Similarly, options merge into a single progression point with no branches.
- From scene 1C, all options funnel you into this scene.
Scene 1E : Starting from 1D, interact with the left door and select “go” to continue. This scene also funnels subsequent decisions into one path.
- Start from scene 1D.
- Click the left door and choose “go.”
- All further options funnel you into this scene.
Scene 1F : Progress directly from 1E without branching choices.
- Continue scene 1E.
Scene 2A : From 1F, choose the response “no” to proceed.
- Start from scene 1F.
- Choose “no.”
Scene 2B : Alternatively from 1F, pick up the item to branch here.
- Start from scene 1F.
- Choose “pick up.”
Scene 2C : Continue the storyline flowing from 2B without additional branching.
- Continue scene 2B.
Scene 2D : All paths from 2C converge here.
- From scene 2C, all options funnel you into this scene.
Scene 2E : The narrative continues funneling at this point.
- From scene 2D, all options funnel you into this scene.
Scene 2F : Another funneling scene advancing the storyline unbranched.
- From scene 2E, all options funnel you into this scene.
Scene 3A : Paths emerge together here.
- From scene 2F, all options funnel you into this scene.
Scene 3B : From 3A, hide in the right nook and avoid picking up the crowbar for this variation.
- Start from scene 3A.
- Hide in the nook on the right.
- Do NOT pick up the crowbar.
Scene 3C : Alternatively, from 3A, grab the crowbar before hiding to unlock different dialogue.
- Start from scene 3A.
- Get the crowbar.
- Hide in the nook on the right.
Scene 3D : Whether from 3B or 3C, paths merge here.
- Starting from scene 3B or 3C (doesn’t matter which), all options funnel you into this scene.
Scene 3E : All options lead clearly forward.
- From scene 3D, all options funnel you into this scene.
Scene 3F : From 3E, click the left-pointing arrow to continue.
- Start from scene 3E.
- Click the arrow pointing left.
Scene 4A : Here, choose the option to “talk” to advance the story.
- Start from scene 3F.
- Choose “talk.”
Scene 4B : A funnel point combining all prior choices.
- From scene 4A, all options funnel you into this scene.
Scene 4C : Returning to 1A, intentionally fail the QTE to trigger an alternate event.
- Start from scene 1A.
- Fail QTE.
Scene 4D : Continue from 4C without deviation.
- Continue scene 4C.
Scene 4E : All narrative threads converge here.
- From scene 4D, all options funnel you into this scene.
Scene 4F : Begin at 4E, then fail the QTE here to access a unique path.
- Start from scene 4E.
- Fail QTE.
Scene 5A : Following 4F, select “talk” to proceed.
- Start from scene 4F.
- Choose “talk.”
Scene 5B : This is another narrative funneling scene continuing the story.
- From scene 5A, all options funnel you into this scene.
Scene 5C : The next funnel point carrying the plot forward.
- From scene 5B, all options funnel you into this scene.
Scene 5D : Consolidates previous options.
- From scene 5C, all options funnel you into this scene.
Scene 5E : Beginning from 4E, win this QTE to trigger an ending; on the end screen, choose “Beyond.”
- Start from scene 4E.
- Win QTE to trigger an ending.
- On the end screen, choose “Beyond.”
Scene 5F : After 5E, survive a rapid series of Quick Time Events by winning all for successful progression.
- Start from scene 5E.
- A series of QTEs will occur back-to-back. Win them all.
Chapter 2 opens right after the intense QTE sequence of 5E, pushing story boundaries further.
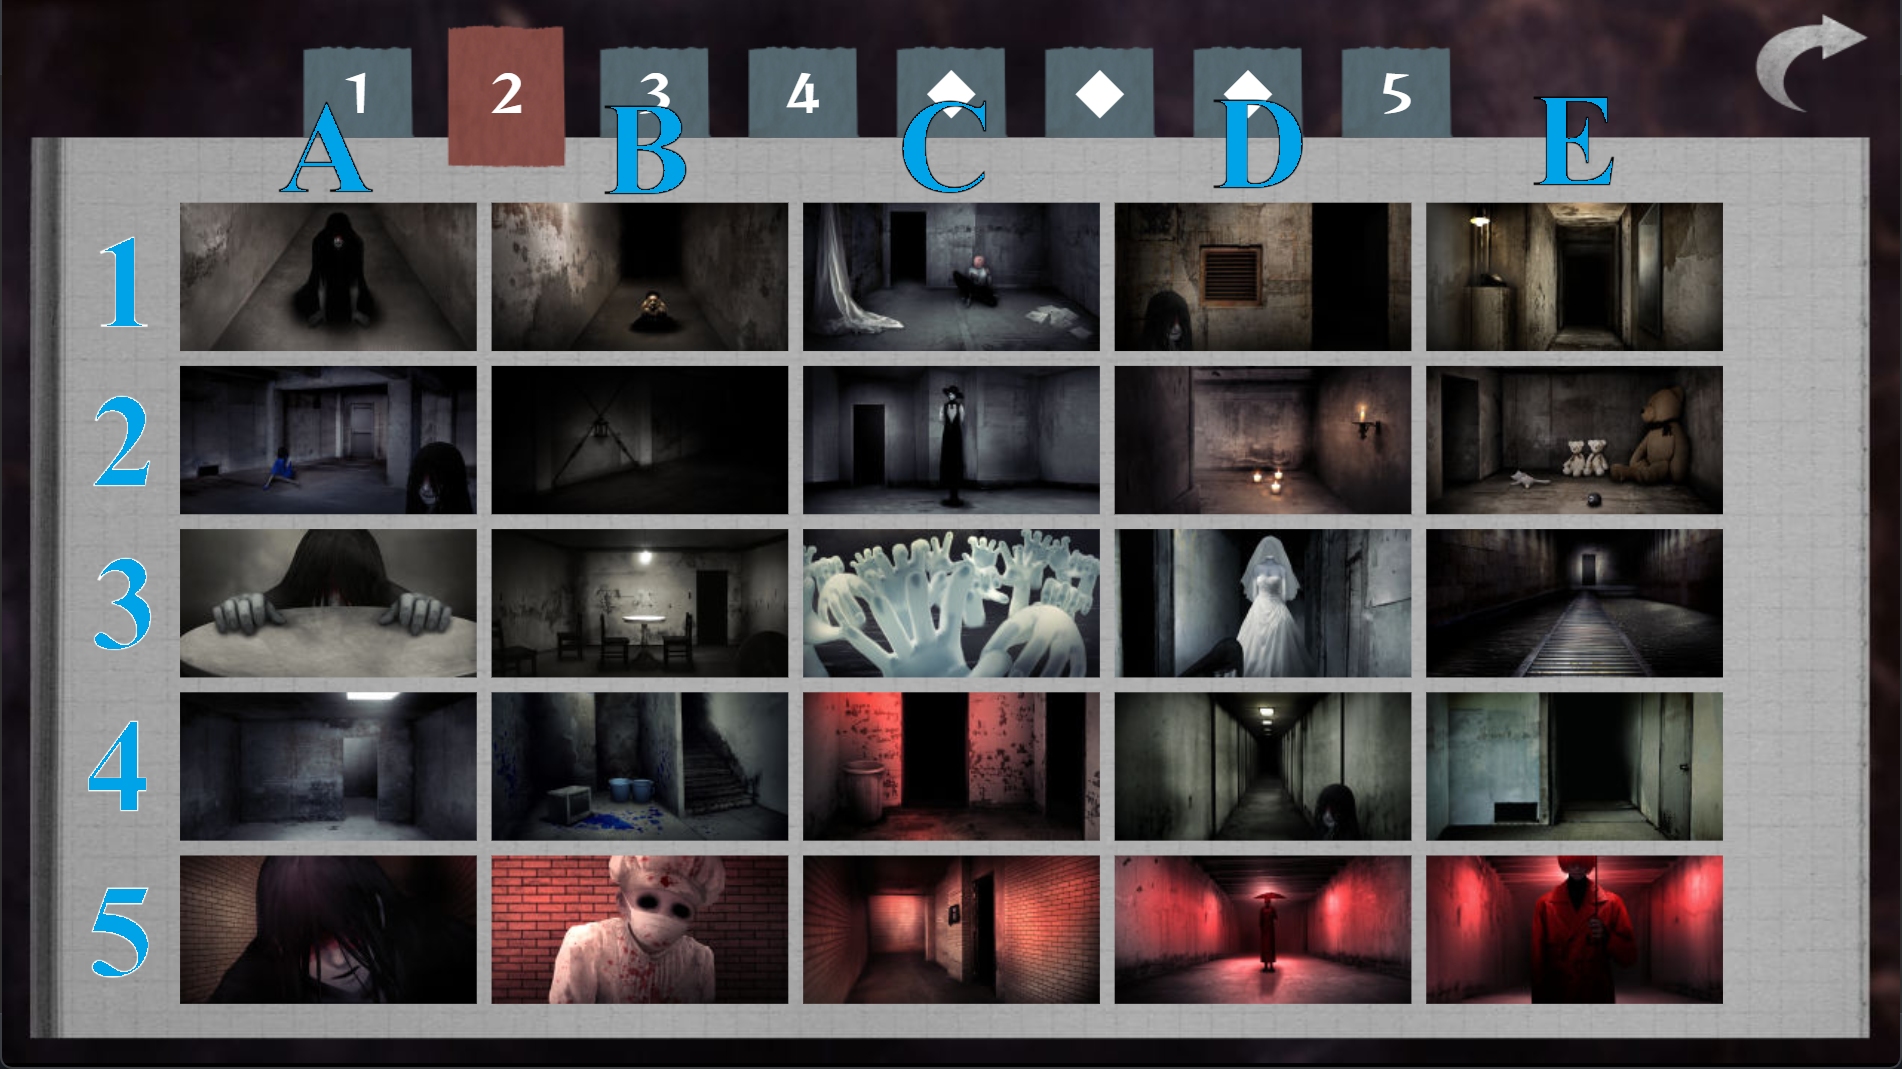
Scene 1A : Start from Chapter 1’s 4B scene. Every choice here ends the episode, so navigate carefully with the two downward clicks.
- Start from scene 4B of Chapter 1.
- All options funnel into the Episode END screen.
- Click the arrow pointing down twice.
Scene 1B : All choices funnel into this unified scene.
- From scene 1A, all options funnel you into this scene.
Scene 1C : From 1B, move upward, optionally inspect the doll, proceed left, inspect the doll again, and select “attack.”
- Start from scene 1B.
- Click the arrow pointing up (looking at the doll is optional).
- Click the arrow pointing left.
- Look at the doll.
- Choose “attack.”
- All further options funnel into this scene.
Scene 1D : The storylines combine here.
- From scene 1C, all options funnel you into this scene.
1E is a direct funnel of the previous scene’s choices.
- From scene 1D, all options funnel you into this scene.
Scene 2A: From 1E, most options funnel together; looking into the mirror thrice unlocks a small secret.
- From scene 1E, all options funnel you into this scene (though there is a small secret if you look at the mirror 3 times).
Scene 2B : Speak with Ms. Blue-Clad, inspect the hole beside her, retrieve the item, talk to her again, then choose “go” through the door.
- Start from scene 2A.
- Speak to Ms. Blue-Clad.
- Click on the rectangular hole to the left of Ms. Blue-Clad.
- After retrieving the item, speak to Ms. Blue-Clad again.
- Click on the door and choose “go.”
Scene 2C : Pick up the lighter from 2B, light the lantern, then deliberately fail the QTE for this segment.
- Start from scene 2B.
- Pick up the lighter.
- Look at the lantern and light it.
- Fail the QTE.
- All further options funnel you into this scene.
Scene 2D : All choices lead forward.
- From scene 2C, all options funnel you into this scene.
Scene 2E : From 2D, inspect the left door and select “use” to continue.
- Start from scene 2D.
- Click the arrow pointing left (looking at candles is optional).
- Click the arrow pointing right and choose “go.”
Scene 2F : Consolidates the story into a unified scene.
- From scene 2E, all options funnel you into this scene.
3B
- From scene 3A, all options funnel you into this scene.
3C
- From scene 3B, all options funnel you into this scene (the QTE outcome doesn’t matter).
3D
- Start from scene 3C.
- Win the QTE.
3E
- From scene 3D, all options funnel you into this scene.
4A
- Start from scene 3E.
- Choose “run.”
4B
- From scene 4A, all options funnel you into this scene.
4C
- Start from scene 4B.
- Click the arrow pointing up the stairs.
4D
- From scene 4C, all options funnel you into this scene.
4E
- Start from scene 4D.
- Talk to Mr. Crawling.
- Choose “walk.”
- When prompted with an arrow pointing left, ignore it and click down the hall.
5A
- Start from scene 4E.
- Click the arrow pointing up.
- All further options funnel you into this scene.
5B
- Continue scene 5A.
5C
- Start from scene 5B.
- Choose “smile.”
5D
- From scene 5C, all options funnel you into this scene.
5E
- Start from scene 5D.
- Choose to attack or say anything except your in-game name. (You can type anything and have him repeat it—have fun with it!)
Chapter 3
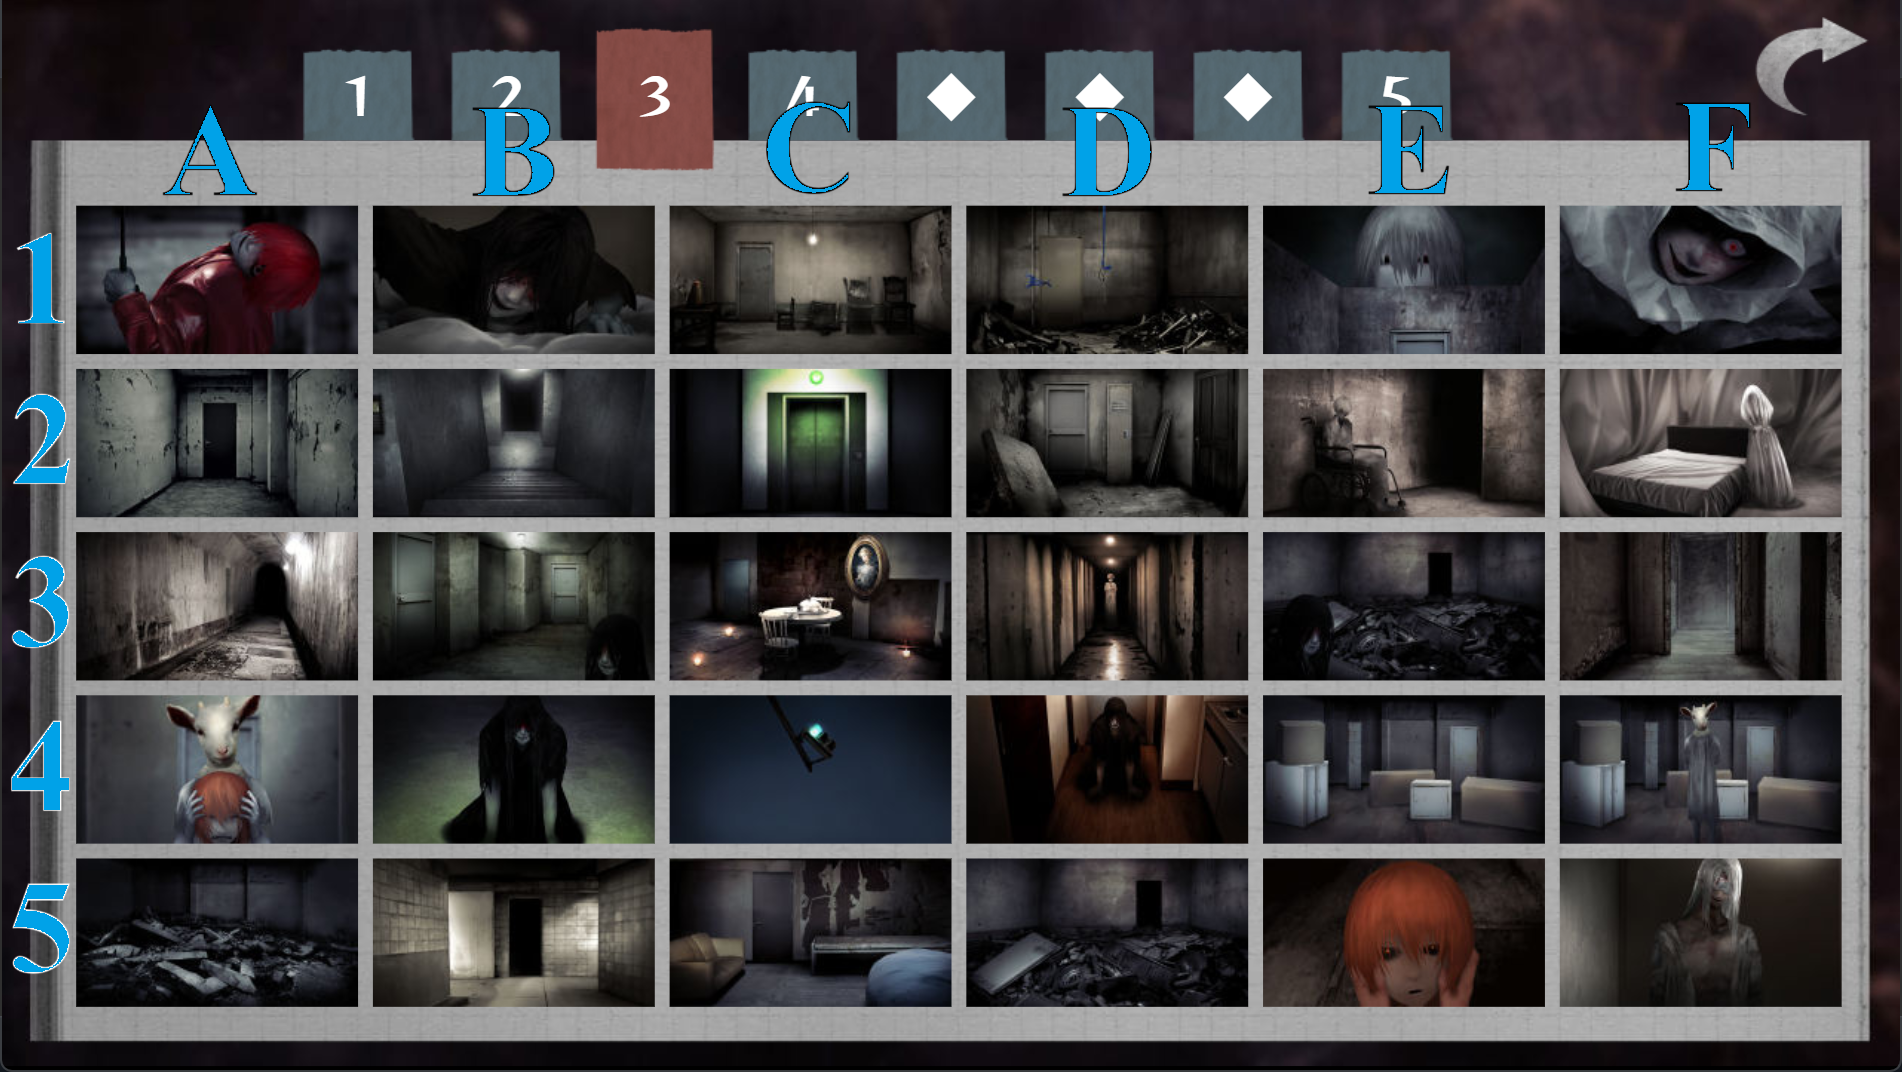
1A
- From scene 5E in Chapter 2, all options funnel into the Episode END screen.
- Click the arrow pointing down twice.
1B
- From scene 1A, all options funnel you into this scene.
1C
- From scene 1B, all options funnel you into this scene.
1D
- Start from scene 1C.
- Click the arrow pointing up.
- Choose the top option.
- All further options funnel you into this scene.
1E
- From scene 1D, all options funnel you into this scene.
1F
- Start from scene 1E.
- Click the arrow pointing right (looking at the mirror is optional).
- Win the QTE.
2A
- Start from scene 1F.
- Look at the vent.
- Choose the top option.
2B
- Continue scene 2A.
2C
- Start from scene 2B.
- Navigate the Lost Woods puzzle: Go left, left, middle, left.
2D
- Start from scene 2C.
- Choose “cancel.”
2E
- Start from scene 2D.
- Choose the left door.
- Choose “use.”
2F
- From scene 2E, all options funnel you into this scene.
3A
Scene 3A: Here, choose “hmm,” then rapidly select “Fire” in the timed decision.
3B
Scene 3B: All options flow into this scene uniformly.
Scene 3C : Open the right door and knock here to progress.
- Start from scene 3B.
- Click on the right door.
- Choose “knock.”
3D
Scene 3D: The first choice is unimportant; you must win the QTE next.
3E
Scene 3E: Choose the bottom option to proceed.
3F
Scene 3F: All choices funnel to this scene.
4A
Scene 4A: Continue from 3F onward.
4B
Scene 4B: Choose the right option here.
4C
Scene 4C: From 4B, opt to go in on your own.
4D
Scene 4D: Choose to go in together instead for a different path.
4E
Scene 4E: Select the left option from 4A.
4F
Scene 4F: From 4E, click near the back wall’s darker shade to uncover hidden detail.
5A
Scene 5A: Continue onwards.
5B
Scene 5B: Continue from 5A as usual.
5C
Scene 5C: Navigate the path as middle, right, down, up, then up quickly to trigger timed events.
5D
Scene 5D: All options continue steadily to next scene.
5E
Scene 5E: Continue story progression.
5F
Scene 5F: Scene funnels converge fully here.
Chapter 4
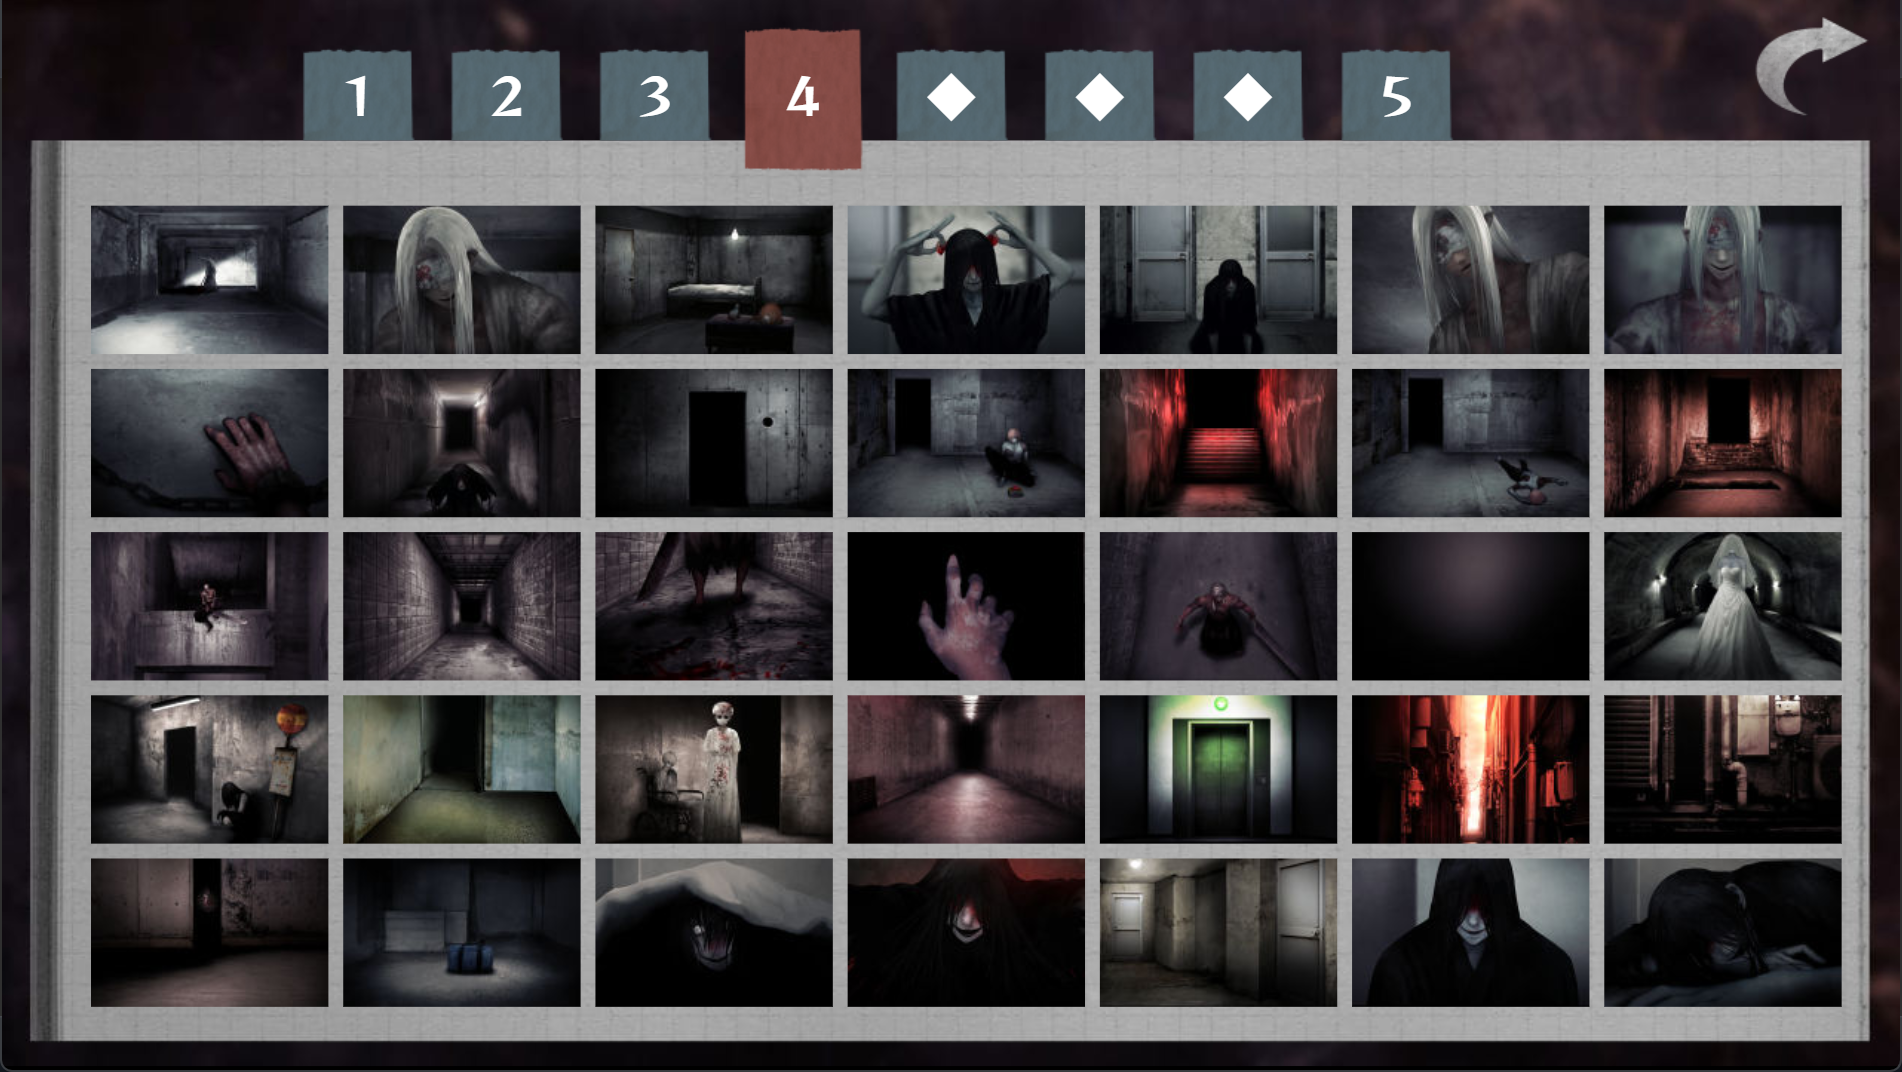
1A
Scene 1A: Reading through from 5F in Chapter 3 to the Episode END screen, click down twice carefully.
1B
Scene 1B: Continue from 1A with expected narrative flow.
1C
Scene 1C: Continue seamlessly from 1B.
1D
Scene 1D: From 1C, click the upward arrow and choose the top dialogue option, then continue as all options funnel here.