


Nuclear Nightmare immerses players in a tense post-apocalyptic setting where every mission could mean the difference between survival and extinction. As you traverse through hazardous zones filled with mechanical and biological threats, understanding the exact locations of mission objectives becomes crucial to completing tasks efficiently and avoiding unnecessary risks. Precision and timing in interacting with key items throughout the map decisively impact your chances of success in this unforgiving world.
All Objectives in Nuclear Nightmare
To help visibility, game graphics can be lowered, but for true immersion and better detail recognition, pushing the setting to the highest playable graphics level is highly recommended. This way, subtle cues and environmental details stand out, easing your navigation and spotting objectives in the bleak environment.
It’s important to note that objectives do not follow a fixed order. Your spawn point will be randomized each game, and subsequent missions depend heavily on real-time in-game events. This unpredictability means rigid routing is ineffective; adapt your approach dynamically.
Airport
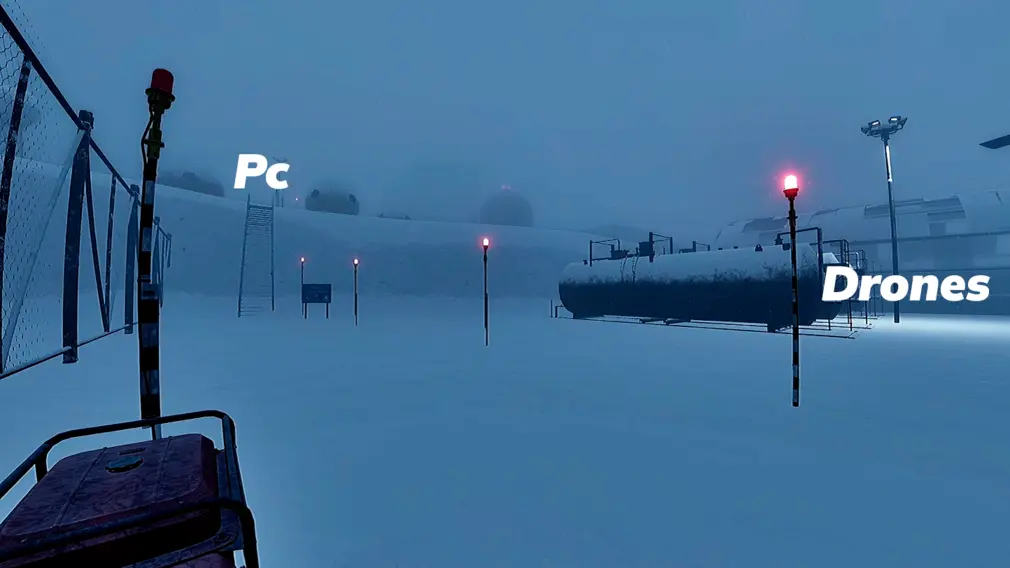
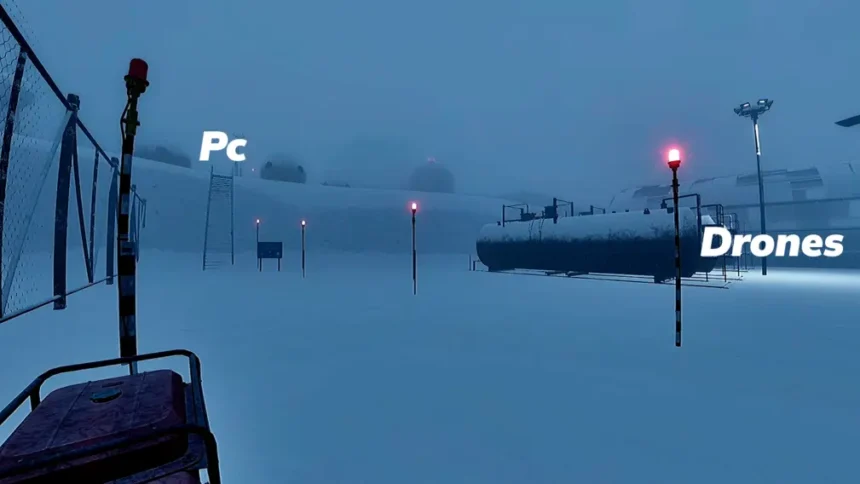
At the Airport, your task revolves around deploying three drones and producing a report using the central computer system. The drone locations cluster close together, anchored by the generator. Starting your run adjacent to the generator provides a convenient waypoint to reach all drone spots efficiently.
First
Begin by heading right towards the hangars where the drones are positioned. This step is essential before you can proceed to report generation.
Simply walk up to each drone and interact to set them up; the process is straightforward but requires proximity to trigger.
Nuclear Nightmare first drone location near aircraft hangars at Airport.
Nuclear Nightmare second drone location at Airport close to generator.
Nuclear Nightmare third drone location near Airport hangars.
Next
Return towards the generator and ascend the stairs nearby. Among the two buildings visible, the right one houses the PC required for completing the objective.
Walk forward into the building, then navigate to the farthest boardroom where the main computer awaits.
Interact with the PC, select the drone icon, generate the report and print it. Completing these steps secures the Airport mission.
Slaughter House
At the Slaughter House, there are two main photography objectives. While you can approach them in any order, starting with the simpler target helps streamline progress.
Headcrab Picture
From the generator, move toward the structure located next to the heliport.
The quickest route involves climbing stairs outside the building leading to the second floor.
On this floor, enter through the open door to spot the frozen headcrab that must be photographed.
The Other Four Pictures
Return to the generator and carefully circle around the nearest building to find the main door.
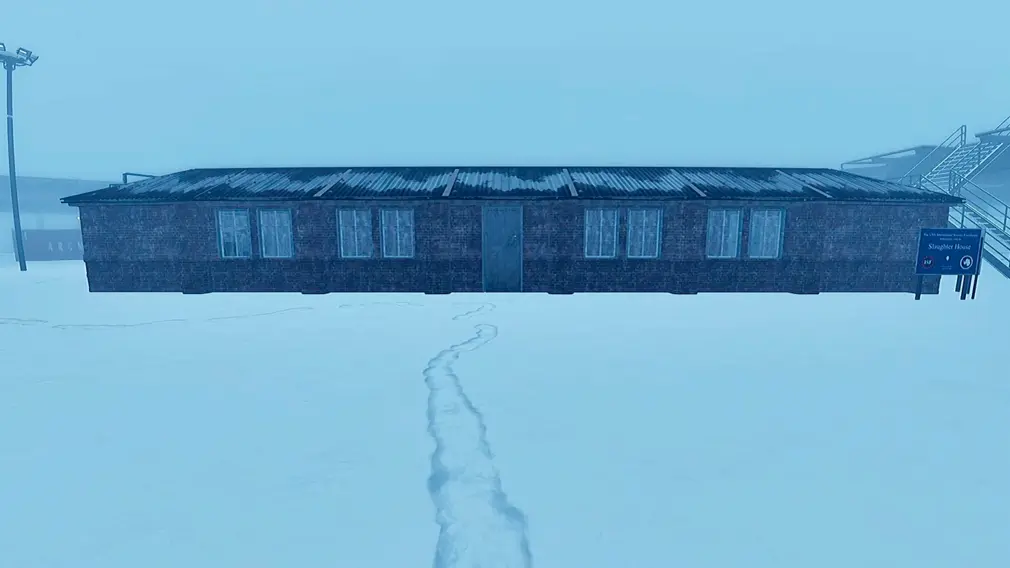
Once inside the slaughterhouse, proceed left or right depending on your equipment, then continue all the way to the end of the corridor.
Locate the door at the corridor’s end, open it, and take all required pictures inside to fulfill this objective.
Research Facility
This facility presents the greatest challenge and is best tackled last. The objective hinges on scanning an infected player using an MRI machine, which demands timing and caution.
Infection increases risk, and surviving long enough to not just get infected but to also access the MRI is an intricate balancing act.
The Machine
Starting at the generator, head left into the building where the MRI machine is positioned directly opposite the entrance.
Getting Infected
Activating the “infection bushes” option in lobby settings boosts your chances of infection safely and speeds up this objective.
These bushes spawn scattered around the map, sometimes conveniently near the MRI’s door.
Once infected, assume a prone position inside the MRI and complete the mission step.
If your lobby lacks this feature or you can’t find a bush, infection means actively facing a monster, which is highly dangerous. Avoid this objective if other missions remain unfinished.
Remember, infection is usually fatal without a vaccine, so carry it while awaiting evacuation to stay alive.
Side note: If you’re infected, you’re going to die anyway, so you better have a vaccine ready while you wait for the evac.
Basecamp 1 and Basecamp 2
Uploading documents at both Basecamps demands prior activation of a satellite. This preliminary trip is crucial before interacting with the PCs on-site.
Satellite
Regardless of the overall mission, satellite activation is mandatory to call for evacuation.
Mark the satellite location on your map and use any vehicle available to reach it promptly. Upon arrival, flip three distinct levers to complete the activation.
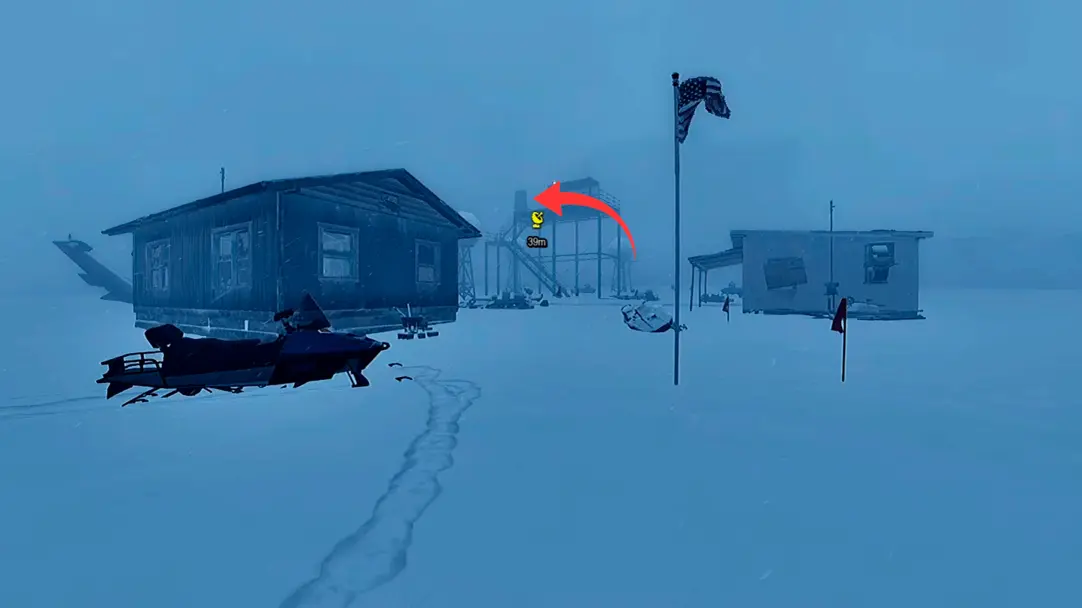
The first lever lies atop the watchtower, identifiable by the map marker it enables.
The second stands just outside the left hut entrance.
The third is positioned outside the remaining hut entrance. Lever order is flexible, pull whichever is quickest.
The order you pull them in doesn’t matter, so do it however you find fastest.
Base Camp 1
Locate the generator, then enter the closest building.
Next to the entrance, a glass door blocks entry—interact with the keypad or break it down.
Inside, use the PC to upload the documents and complete the mission objective.
Base Camp 2
After finding the generator, ascend stairs then turn right to enter the building containing the main PC.
The PC sits beside a terminal; interact and upload the required documents here to finish.
Document upload at the second Base Camp completes the objective.
Oil Plant
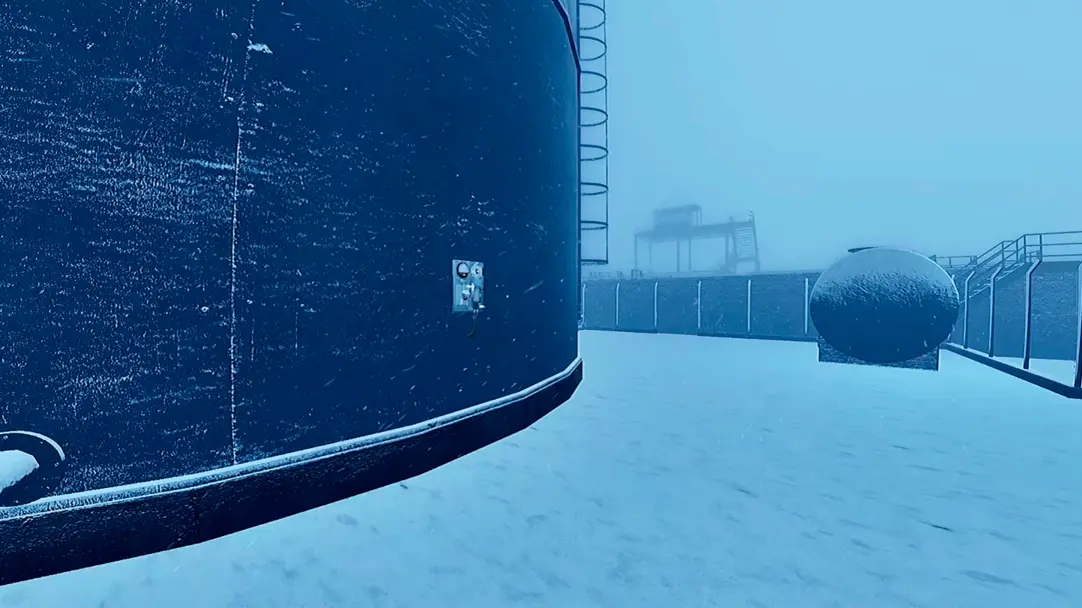
This objective involves pulling three pressure valve levers carefully distributed around the Oil Plant.
Start at the zone’s generator, then proceed right following the fence to find the entrance, marked with a red circle on your map.
Climb the stairs once inside.
From this vantage point, identify the three large cylinders each fitted with a pressure valve. Descend and pull each lever to meet this mission’s requirements.
Shelter
The Shelter objective is straightforward: photograph a frozen monster in this area.
Reach the entrance and enter quickly.
Locate the monster’s head and circle around the creature from the side facing the entrance. Snap pictures along this path to satisfy the mission.
Underground Silo
The mission here also focuses on photography but across multiple strategic points inside the silo.
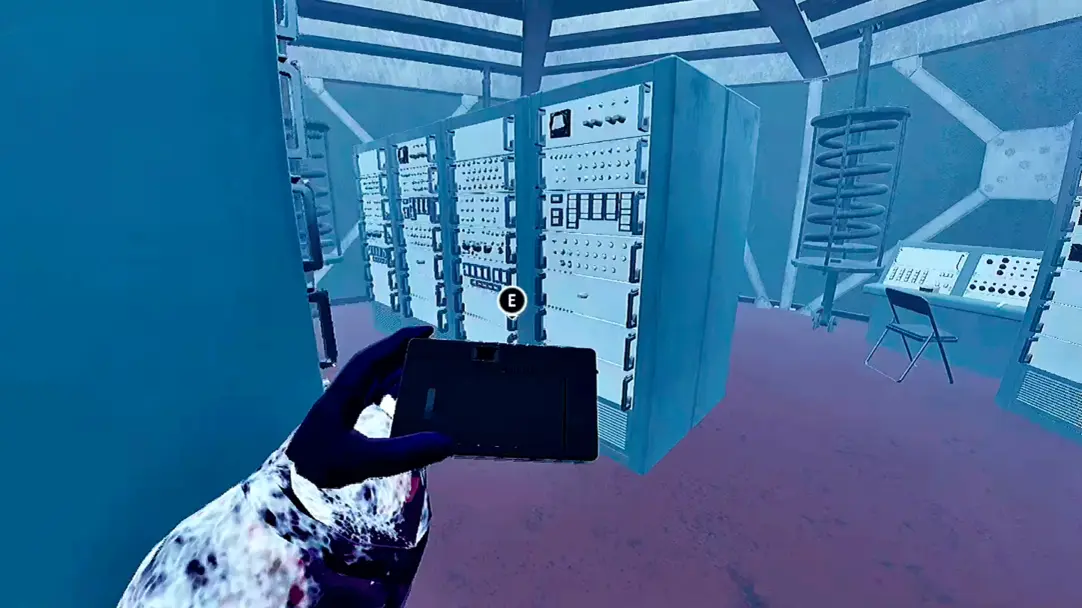
After entering via the hut and repairing the generator, descend the stairs carefully.
This area splits into different levels; start photographing on the right side.
After capturing the first spot, cross to the opposite side to continue your task.
The middle floor contains the initial photography spot, with remaining points located on the lower level.
Cover all target spots downstairs to complete the objective effectively.
Medbay
Finding the infection cure in the Medbay can be tricky as the cure’s spawning location varies between three possible medical tents.
From the generator, head straight for the cluster of medical tents.
Search each tent thoroughly to locate the cure; since the spawn is random, diligence is key.
Drilling Rig
In the Drilling Rig, you need to activate two drills and generate a report at a nearby computer.
The drills are located in two large holes adjacent to each other, making them easier to find once you spot one.
Warning
Be cautious when descending into drill holes. Falling improperly can cause fatal damage. Look for sloped access points by circling the perimeter if uncertain.
Slopes provide access to control panels that are clearly visible.
Interact with each control panel to activate the drills.
After starting the first drill, circle the site to find the second hole and repeat the activation process.
Once drills are online, locate the generator nearby on elevated ground marked by a cylinder.
The relevant building and computer to generate the report are in clear view from the generator.
Enter the building, find the computer beside the entrance.
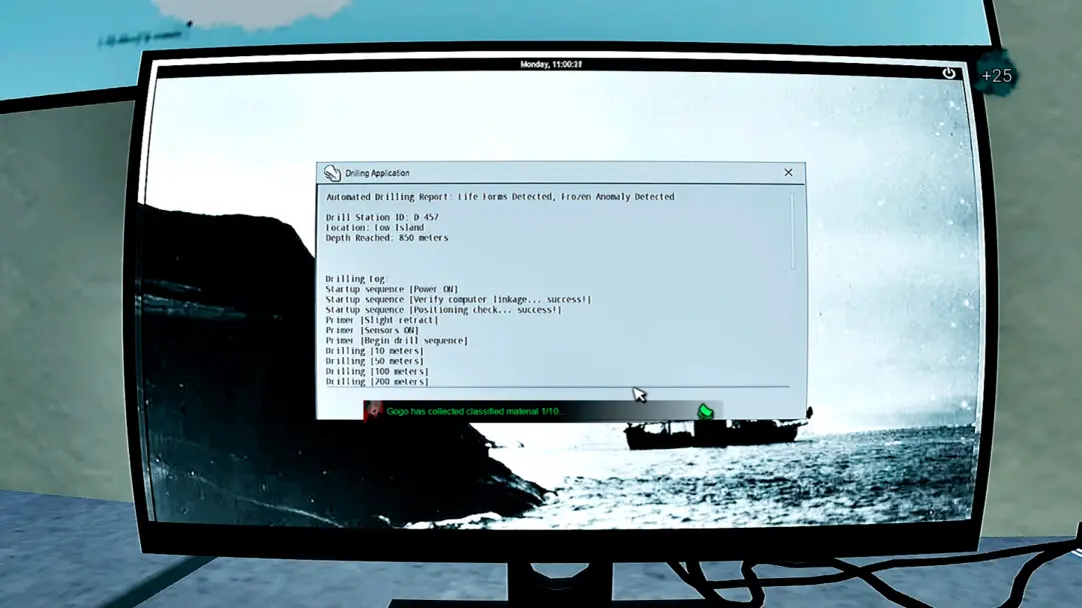
Generate and print the report to complete the rig’s objective successfully.