


- Tracking down every Knight on the initial main quest requires a precise route and careful completion of each character’s demands. The journey I followed took me consistently forward, ensuring none of the Knights were missed, which is crucial if you want full access to the Order’s strength.
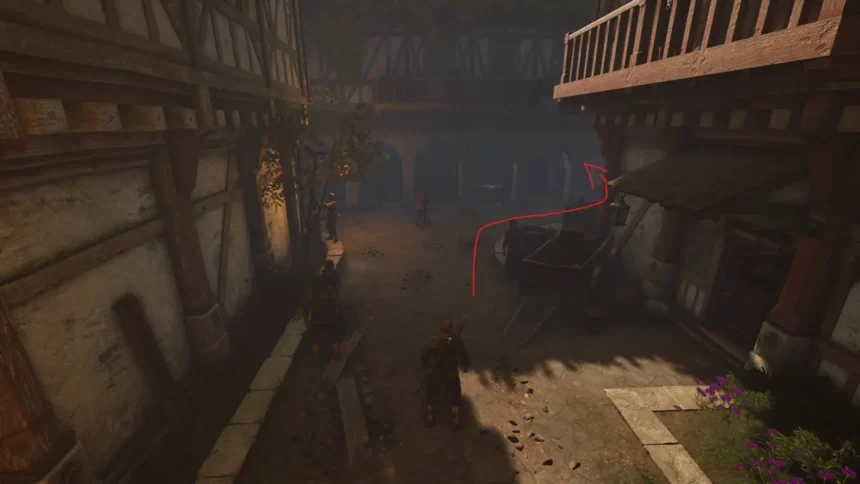
- The city gates present the first obstacle: two guards demand 200 gold before any entry. Once you pay and step inside, turn right and then immediately take a left to reach a tavern whose upper stairs hold a clue to your first Knight encounter.
Of Ash and Steel drapes players in a sprawling quest to assemble a band of Knights essential for progressing the story. Understanding where and how to recruit each Knight—Chad, Melt, Beltran, and Dalar—not only shapes strategy but unlocks key narrative threads, making this one of the game’s pivotal moments to master early on.
Tracking down every Knight on the initial main quest requires a precise route and careful completion of each character’s demands. The journey I followed took me consistently forward, ensuring none of the Knights were missed, which is crucial if you want full access to the Order’s strength.
I wrote this guide to explain exactly where I found every Knight in the first main quest of Of Ash and Steel and how I recruited each one. I stayed on a single path from the start of the game through the end of the quest, picking up every Knight and completing every requirement on the way.
The city gates present the first obstacle: two guards demand 200 gold before any entry. Once you pay and step inside, turn right and then immediately take a left to reach a tavern whose upper stairs hold a clue to your first Knight encounter.
The tavern itself is a landmark, but Chad is actually tucked away out of plain sight—in a nearby bush. He’s reluctant to join until you retrieve his lost armor, which initiates a chain of tasks mainly outside the city.
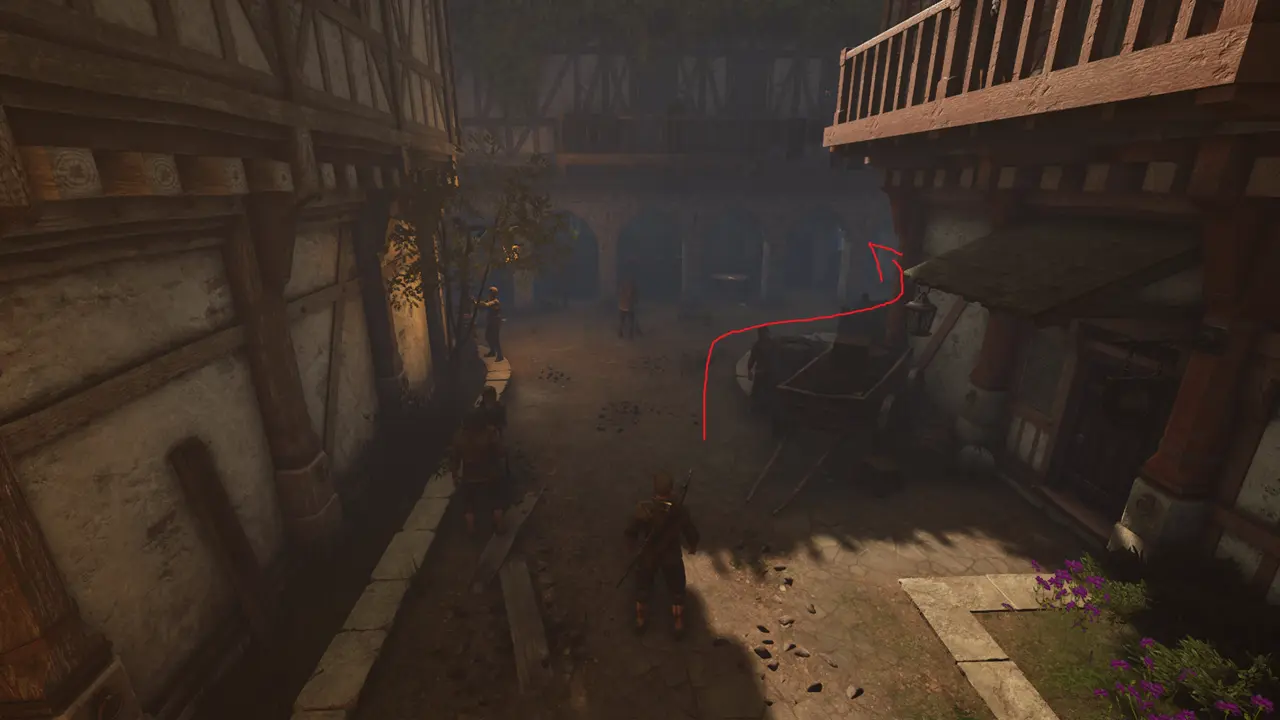
Ascending the tavern stairs puts you in a good position to survey the surroundings and plan your next move to recover Chad’s gear and continue recruiting.
Facing the tavern door and turning left reveals Chad hiding in a bush. His embarrassment over missing armor sets the tone for the care you must take in meeting Knights’ conditions.
Chad’s condition to join hinges entirely on recovering his armor, ensuring players engage with the environment rather than rushing through the quest.
Most of what follows occurs outside the city walls, demanding you manage resources carefully—100 gold is necessary for Melt’s recruitment, while Beltran requires specific crafting materials and a fine wine.
The entire sequence on foot takes between ten to twenty minutes if you follow this path directly. Though alternative routes exist, the progression outlined here guarantees every Knight is recruited without missing key steps.
To track down Chad’s armor, exit the city back past the guards who charged entry fees. From there, head straight until you reach the edge of the housing area.
Vilma’s house, the last on the right before the rows end, is your first inquiry point when searching for Chad’s armor.
Although Vilma cannot provide the armor, speaking with her clarifies your path and adds texture to the world’s lived-in feeling as you backtrack toward the city.
Eventually a large statue signals a crossroads where the path splits: right leads to the guard tower housing Melt, while left points toward Beltran’s location at the Greyshaftian Hound Tavern.

The left fork takes you to Beltran’s tavern, a large, distinct building visible from some distance.
Starting with the right turn, proceed to the guard tower and locate the open-air tavern at its base where Melt lounges.
Melt’s recruitment demands a 100 gold payment to the innkeeper to cover unpaid drinks—a classic quest requirement that emphasizes paying initial costs for long-term rewards.
With Melt on board, head back to the statue and take the left path toward the Greyshaftian Hound to meet Beltran.
Beltran refuses to rejoin the fight until you recover his lost sword, shifting gameplay toward exploration and gathering specific materials to restore his weapon.
Exiting Beltran’s tavern, continue down the road, keeping to the correct path to avoid advanced level enemies capable of overwhelming an unprepared player.
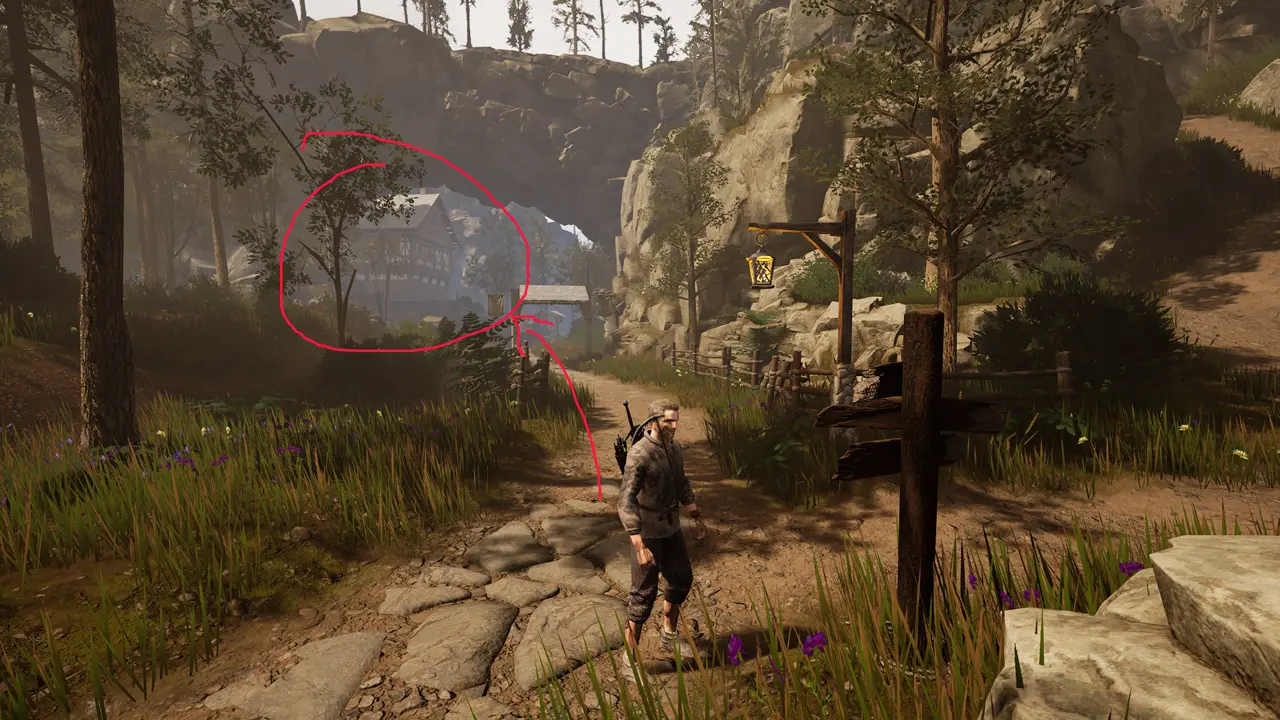
Approaching the Fishing Village, maintain course by following the road to the left after crossing a wooden passage. A right turn here dangerously leads to level 25 monsters not suitable just yet.
Signs of conflict such as guard skirmishes beyond a small bridge reassure you that the path is correct as you near your destination.
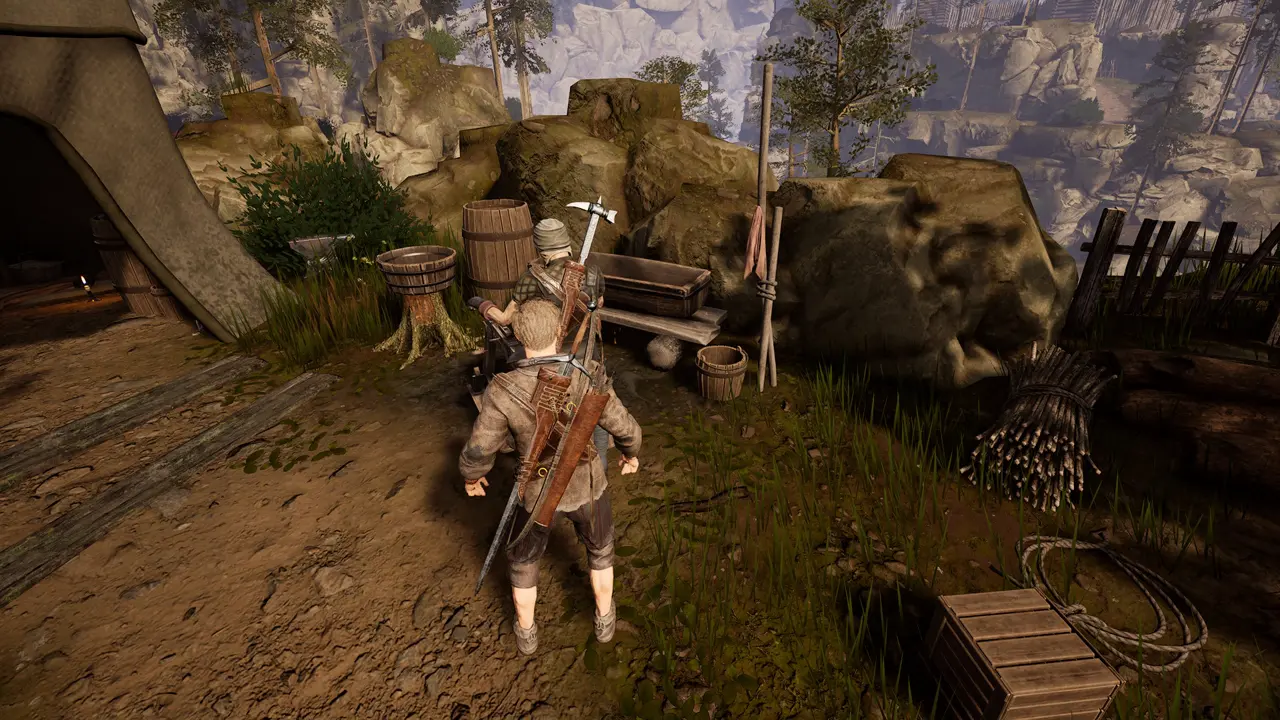
A small smithy camp beside another road sign becomes the center for Beltran’s sword restoration, but the blacksmith first requires his essential tools.
The smith asks for his anvil, located near his tent, his wheel inside a separate tent, and his hammer hidden behind a nearby tree, pushing you into a scavenger hunt that tests thoroughness.
He needed his anvil, wheel, and hammer before he could help me.
After gathering these tools, the blacksmith requests one iron ore, one steel bar, and a fine wine to complete the blade’s restoration. You choose one prayer line for the sword, with the first option being accepted by Beltran.
The wheel was inside a nearby tent.
The hammer was behind a tree in the camp.
With the sword remade, return to the smithy and then proceed to the Fishing Village, where a notable NPC directs you to Dalar’s aunt’s house uphill.
At the Fishing Village, admitting that you come from the order opens the narrative path to meeting Dalar, leading to a somber discovery tied to his fate.
Dalar’s last resting place is in his aunt’s home, found by knocking three times on the door. This encounter carries emotional weight and closes one recruitment arc with dignity.
He directed me to Dalar’s aunt’s house, which was uphill.
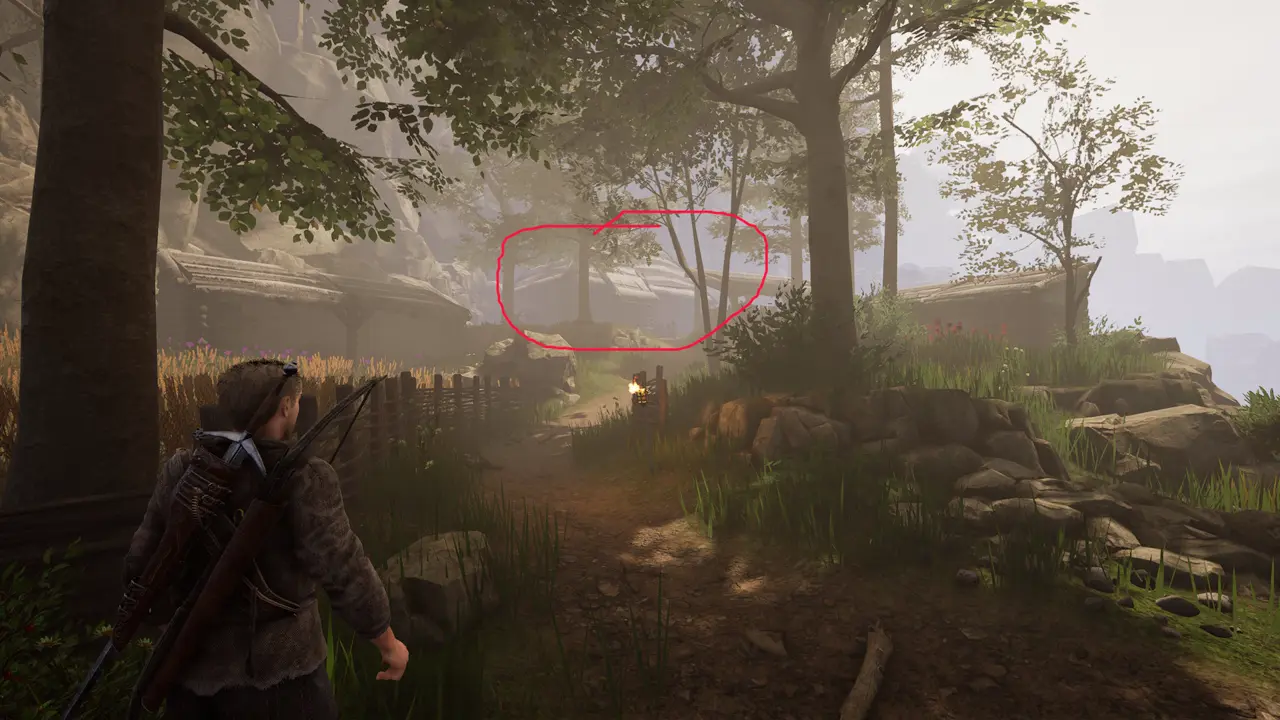
Inside the house, you discover Dalar has taken his own life. After retrieving his body and informing the awaiting NPC, you can collect a status potion that grants a permanent +1 stat boost or sell it for 650 gold, adding an element of choice to the rewards.
Leaving the village, the road leads through scenic sunflower fields en route to the Free Hunters Base, setting a staging ground for the final leg of the Knight recruitment.
At the Free Hunters Camp, Selma—Chad’s lover—waits by a house marked with a bow and arrow, tying together story threads and providing a location for updating Chad’s quest status.
After speaking with Selma, retrace your steps to the Greyshaftian Hound to return Beltran’s restored sword, then continue back to Chad for the final update.
Chad informs you that neither Viola nor Selma possess his armor, directing you to Johanna, a woman who smells distinctly of fish and lives by the harbor.
At Johanna’s house near the fishmonger, you must defeat her husband in combat to obtain a key, speak with Johanna, and unlock a chest containing Chad’s armor.
Of Ash and Steel Johanna’s house at the harbor where Chad’s armor is found after fighting her husband
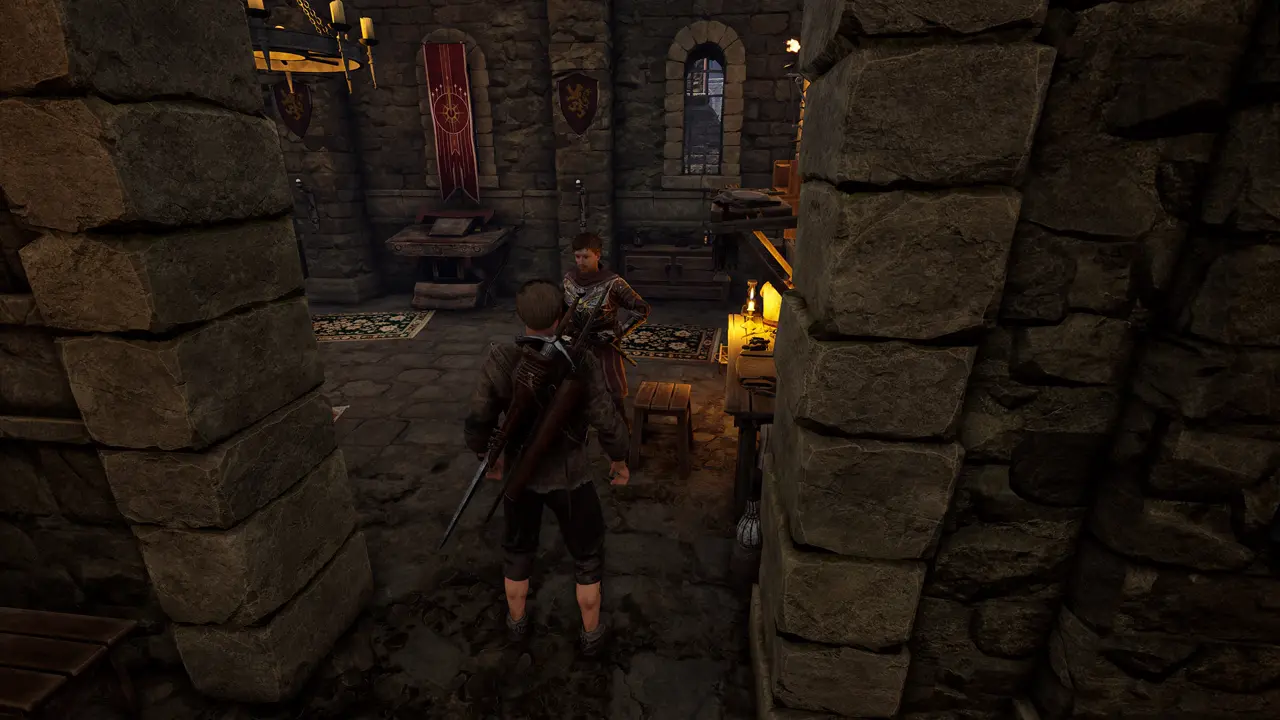
Once every Knight was accounted for, I returned to the Order. I went upstairs and spoke to Gabriel. After that, Act One was ready to complete, and I was free to join the Order.