
Heroes, Duplicated is the point where Order of the Sinking Star stops holding your hand. The earlier areas teach you to push blocks and line up a single hero, but this set of fifteen rooms asks you to think about two bodies at once. Every input moves both heroes, mirrors spit out copies of whoever stands in front of them, and in the second half the whole area drifts out onto the water.
I went through every room in order and noted the setup, the trick each puzzle is built around, and the mistakes that cost me the most restarts. You won't find a rigid move list for every square here, because most rooms can be solved a few different ways. What you will find is the logic behind each one, so you can see why a move works and carry that thinking into the next room.
A quick tip before you start: the undo button is your friend. These puzzles punish a single wasted step, and it is almost always faster to rewind two moves than to restart the whole room.
Puzzle 1
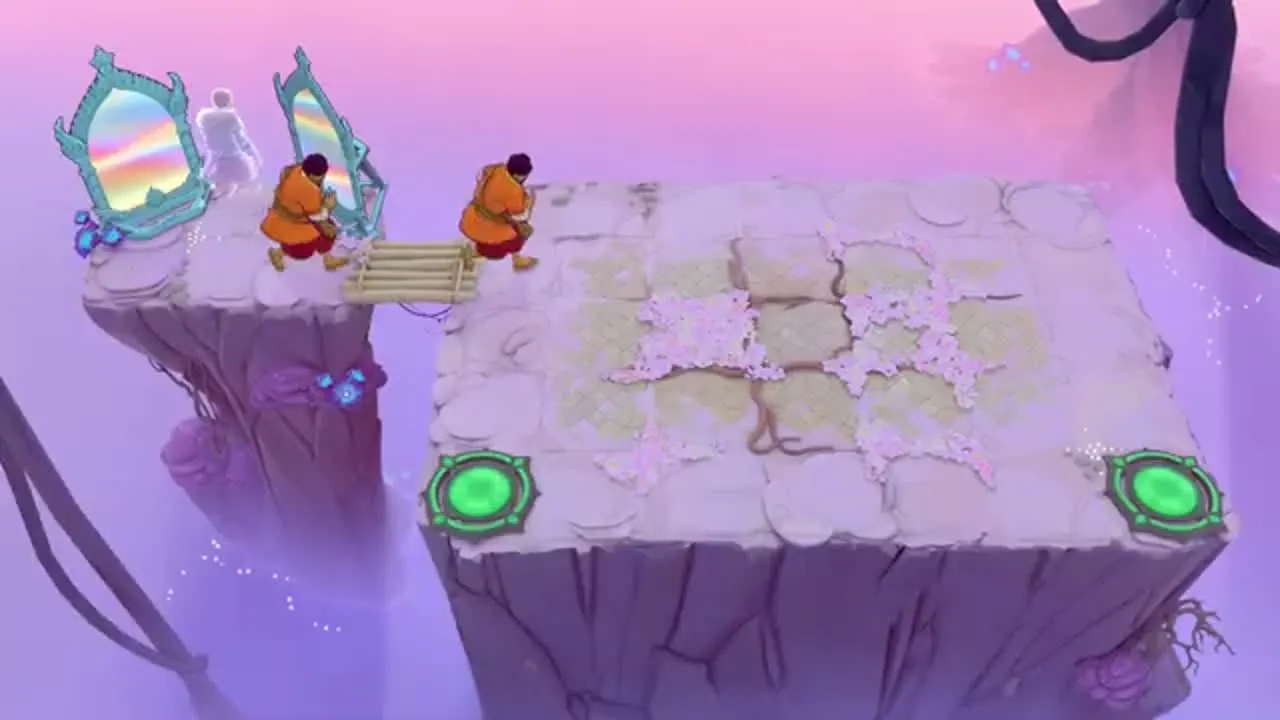
The first room is a gentle warm-up. Your pair of heroes steps out beside two mirrors, crosses a short wooden bridge and lands on a blossom-covered plateau.
There is a green pressure pad in each corner. The room only counts as solved when both heroes finish on a pad at the same time.
Don't try to steer one hero and then the other. Move them as a unit and let the walls stop them. When one hero bumps into an edge, the other keeps sliding, and that is how you spread them out onto separate pads.
Puzzle 2
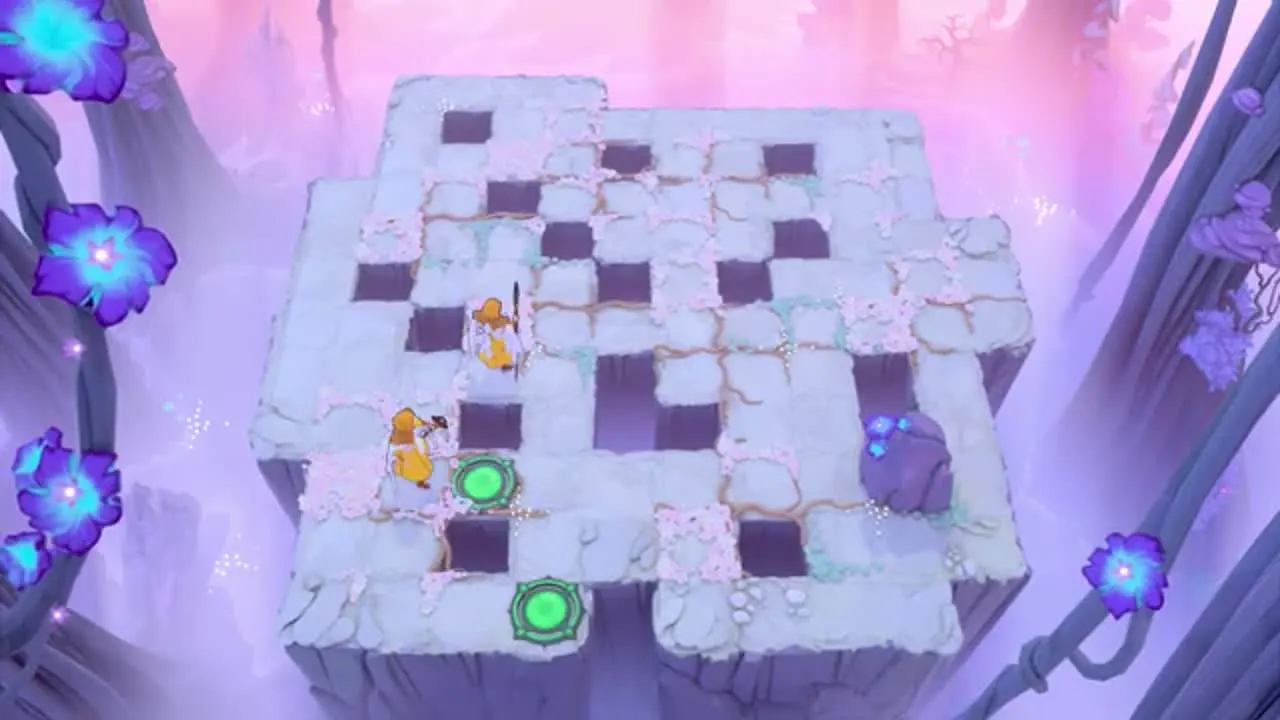
Now the floor gets holes. The plateau is a checkerboard of gaps, with a purple boulder parked on the right and two pads sitting close together near the bottom edge.
Every move still pushes both heroes. A gap that swallows one of them ends the attempt, so look before each step.
Use the boulder and the edges of the gaps as stoppers. Pin one hero against the boulder, then nudge the other along the safe row until it reaches its pad. Once the first hero is in place, bring the second one down beside it.
Puzzle 3
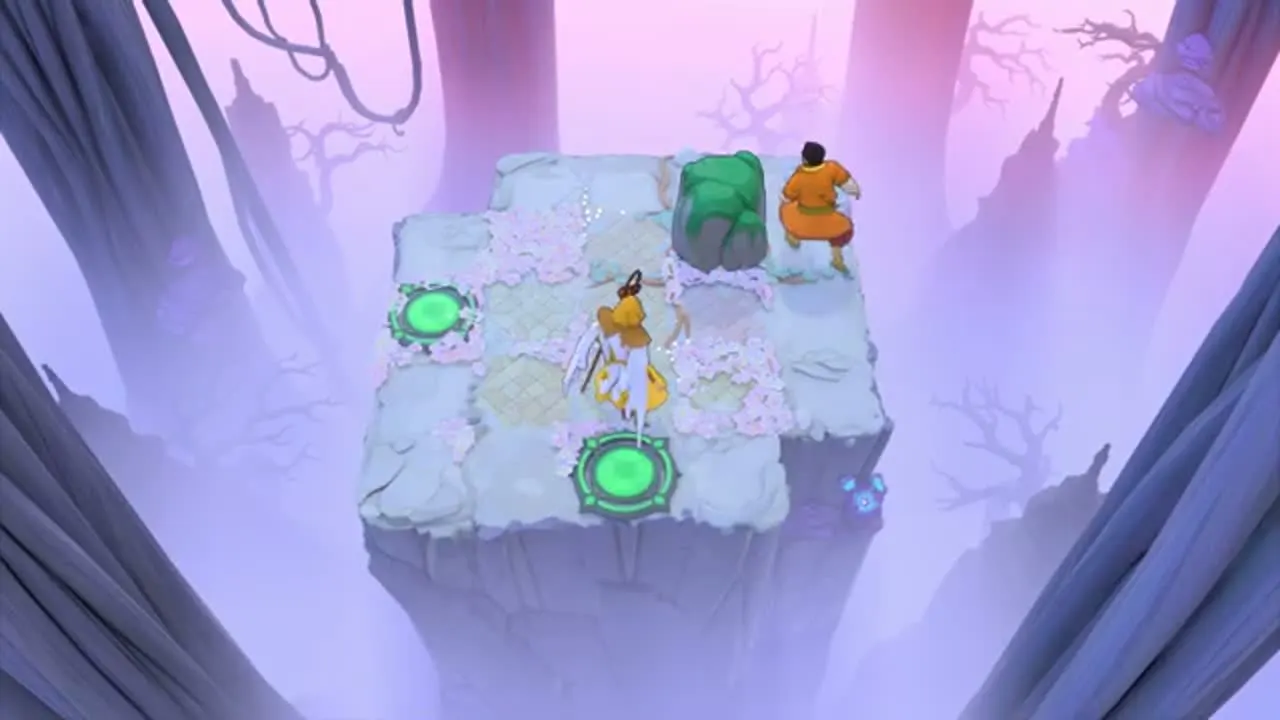
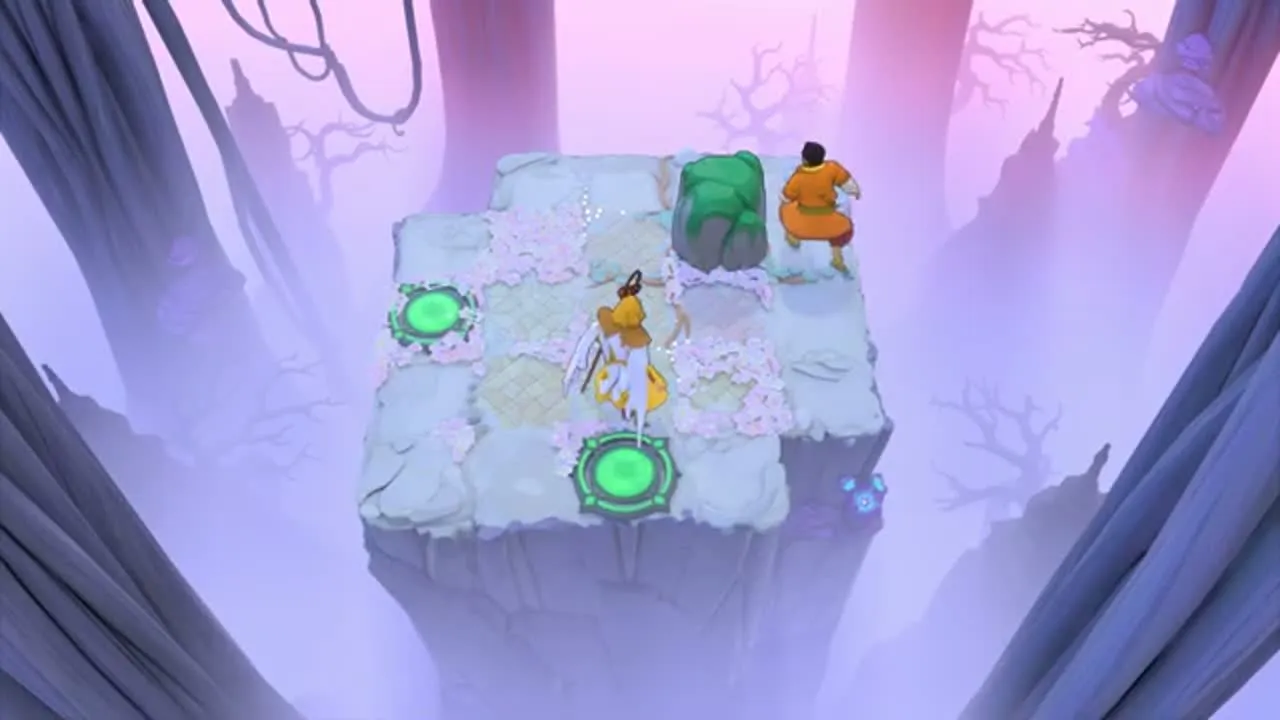
This small floating plateau introduces the green jade block. One hero and a golden swordsman share the space, and the block sits squarely between them and the pads.
The block will not move out of your way on its own, but it is also the key to the room. Push it so it becomes a wall.
With the block in place, walk one hero into it so they stop exactly where you want. The second hero keeps moving and slides across onto the remaining pad.
Puzzle 4
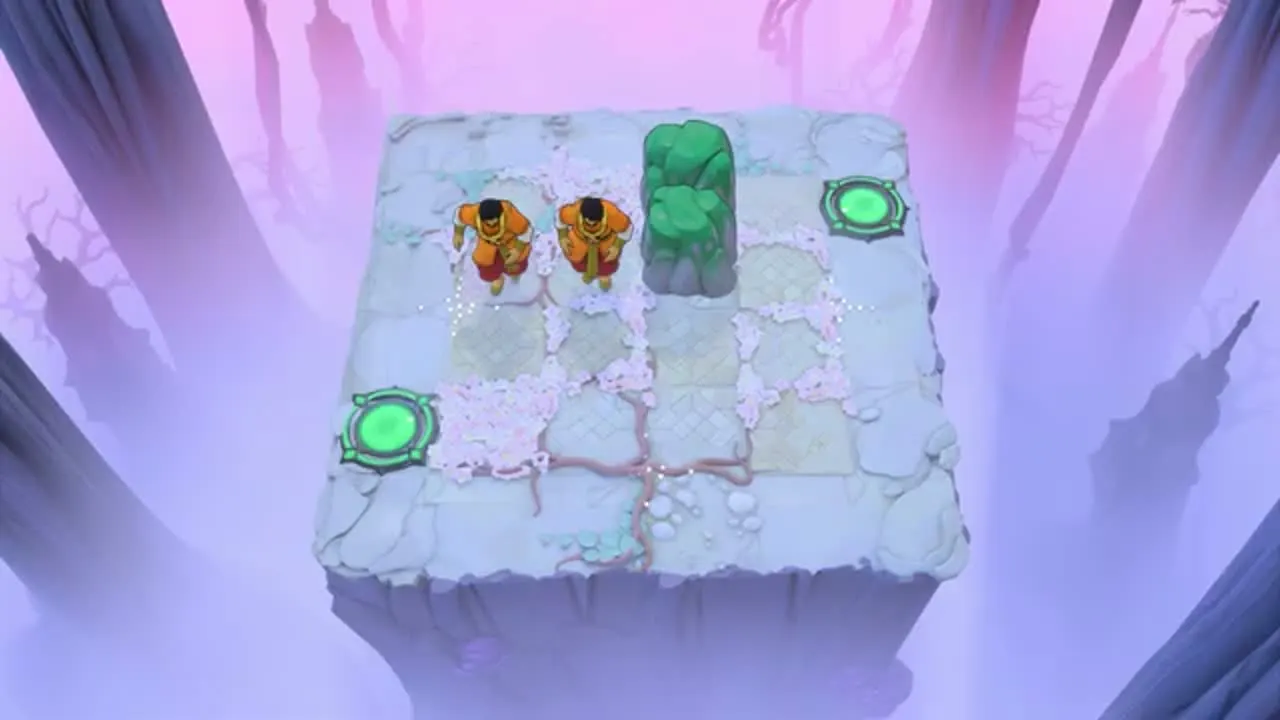
Both heroes start shoulder to shoulder next to the jade block. One pad is in the top right and the other is far to the left.
Separating them is the whole puzzle. As long as they stand side by side, they will mirror each other's path.
Shove the block into a spot where it catches one hero and lets the other carry on. After that split, each hero only needs a couple of moves to reach its own pad.
Puzzle 5
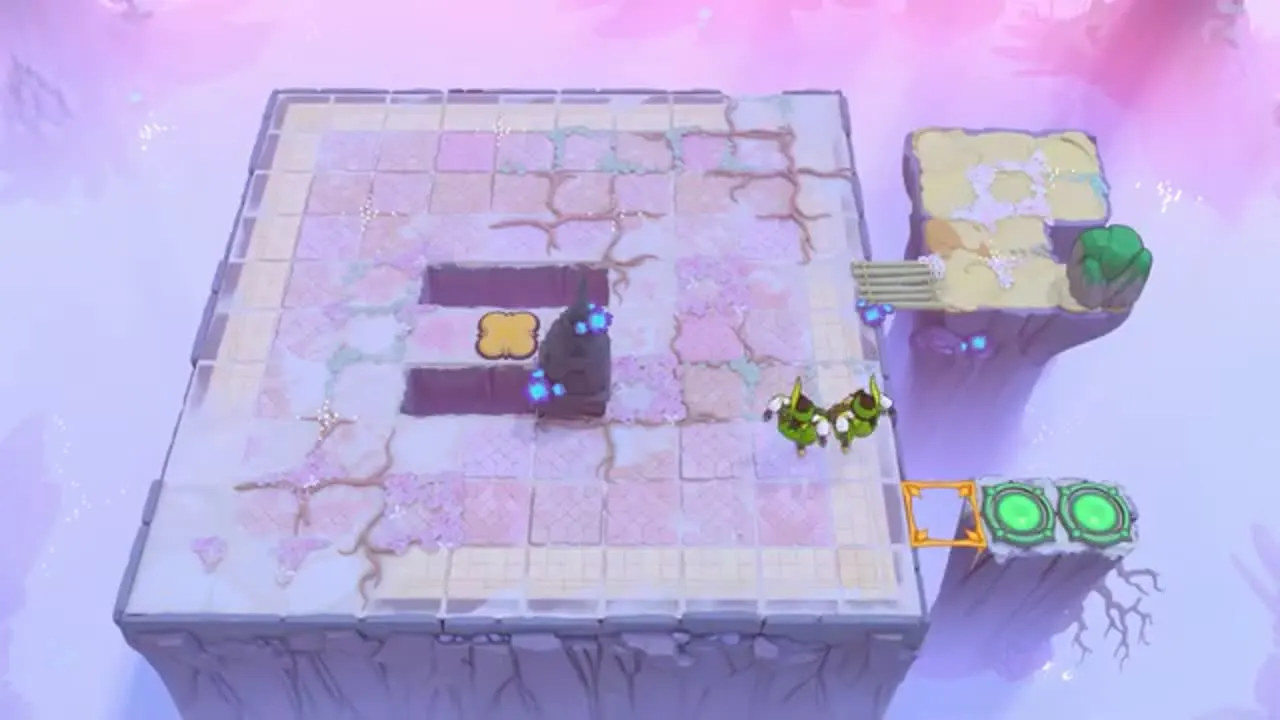
This is the first big plaza. A sunken pit in the middle holds a stone statue and a gold floor plate. Two goblin enemies wait on the right, and the exit pads sit behind an orange frame on a separate ledge.
Deal with the goblins first. Trying to work around them only leads to a hero getting cornered later.
Once the plaza is clear, drop into the pit and trigger the gold plate. That opens the route across to the ledge, and from there it is a short walk onto the exit pads.
Puzzle 6
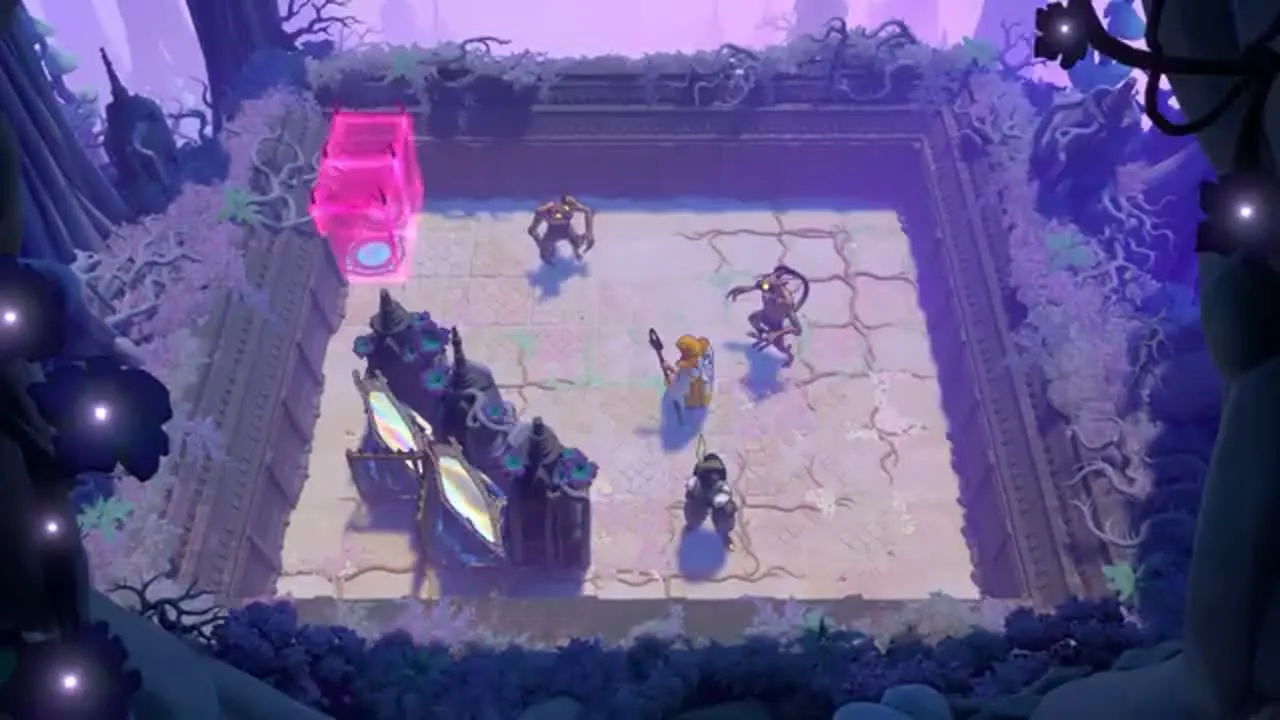
A walled courtyard with a pink crystal cube in the corner, a row of mirrors along the left wall and several enemies wandering the middle. This is the room that gives the area its name.
The mirrors duplicate whoever stands in front of them. A copy behaves like a real hero, which means it can hold a switch for you.
Clear the enemies before you start making copies. Then stand a hero in front of a mirror, move the copy onto the pink cube's switch, and send your real hero toward the exit while the switch stays held.
Puzzle 7
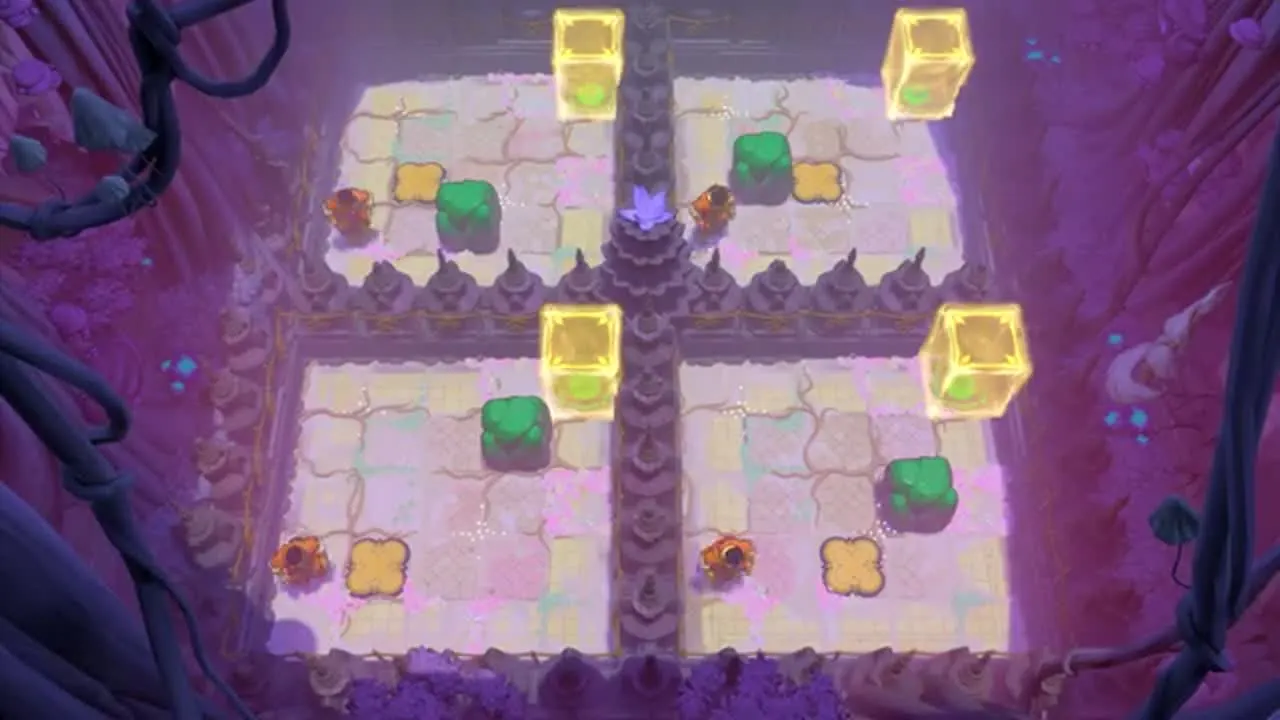
Four quadrants are split by a spiked wall. Each quarter has its own yellow crystal cube, green block and gold plate.
The spikes run straight down the middle, so nothing crosses between quadrants. Treat it as four small puzzles rather than one big one.
In each quarter, push the green block onto the gold plate to light up that quarter's yellow cube. Finish one quadrant completely before moving on, or you will lose track of which blocks are already set.
Puzzle 8
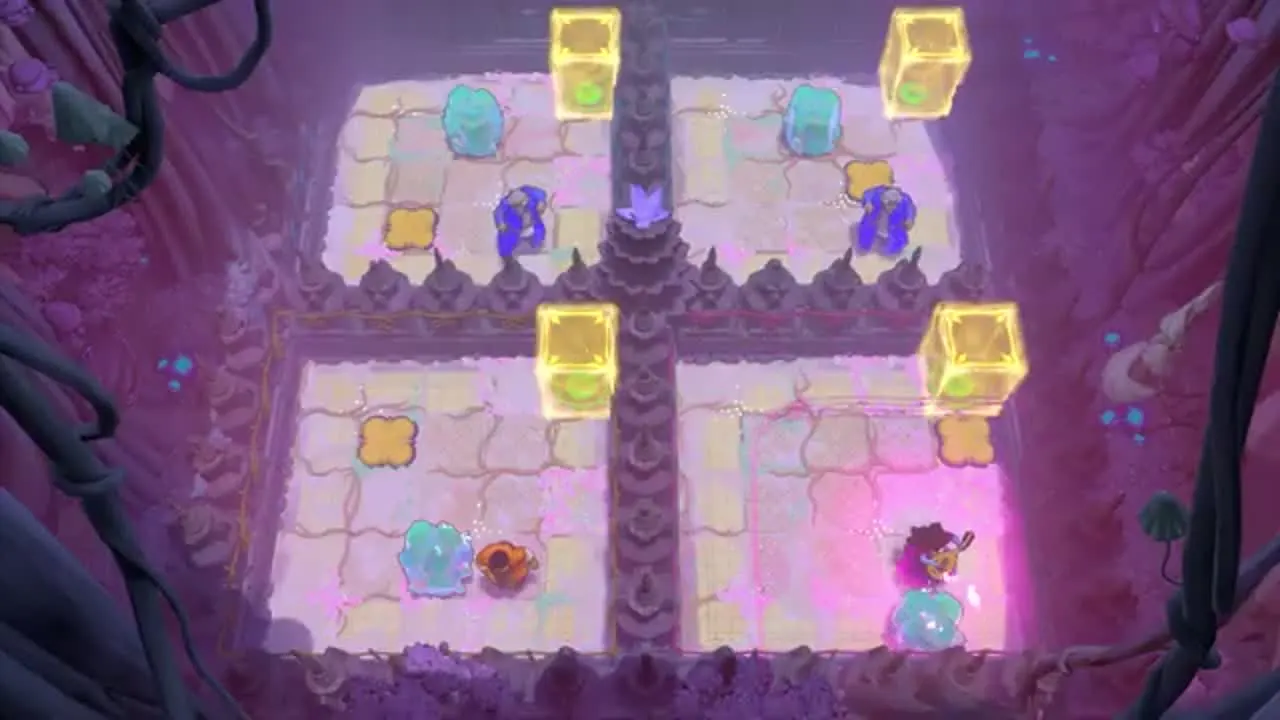
The four-quadrant room returns, but now a blue blob enemy sits in every quarter.
The block-to-plate logic hasn't changed. The difference is that each blob has to be handled before you can line the block up safely.
Work through the quadrants one at a time. Take extra care with the bottom right one, where the blob starts right next to the plate and can catch you mid-push.
Puzzle 9
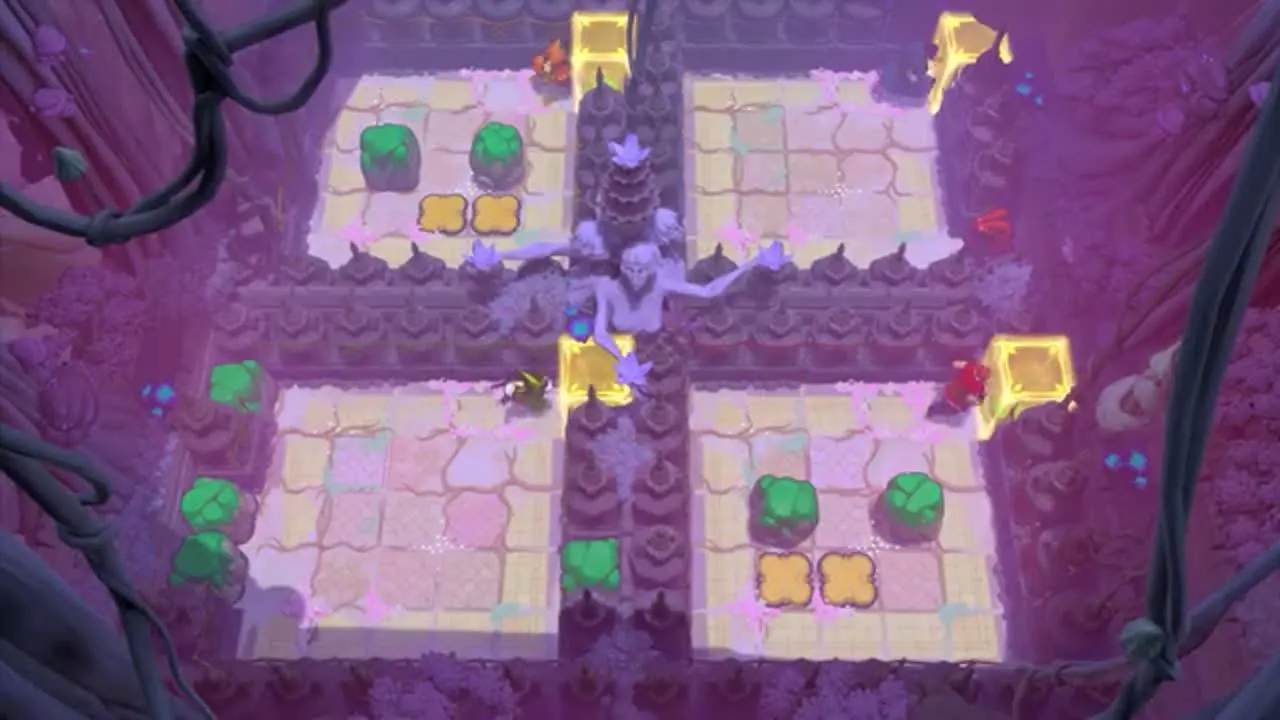
The final version of the quadrant room adds a ghostly giant reaching out from the central spikes.
Each quarter now holds two green blocks and a pair of gold plates. Both plates have to be filled before that quarter's yellow cube counts.
Keep your heroes away from the spikes so the giant can't grab them. Set the first block, then plan the second push so it doesn't knock the first one off its plate.
Puzzle 10
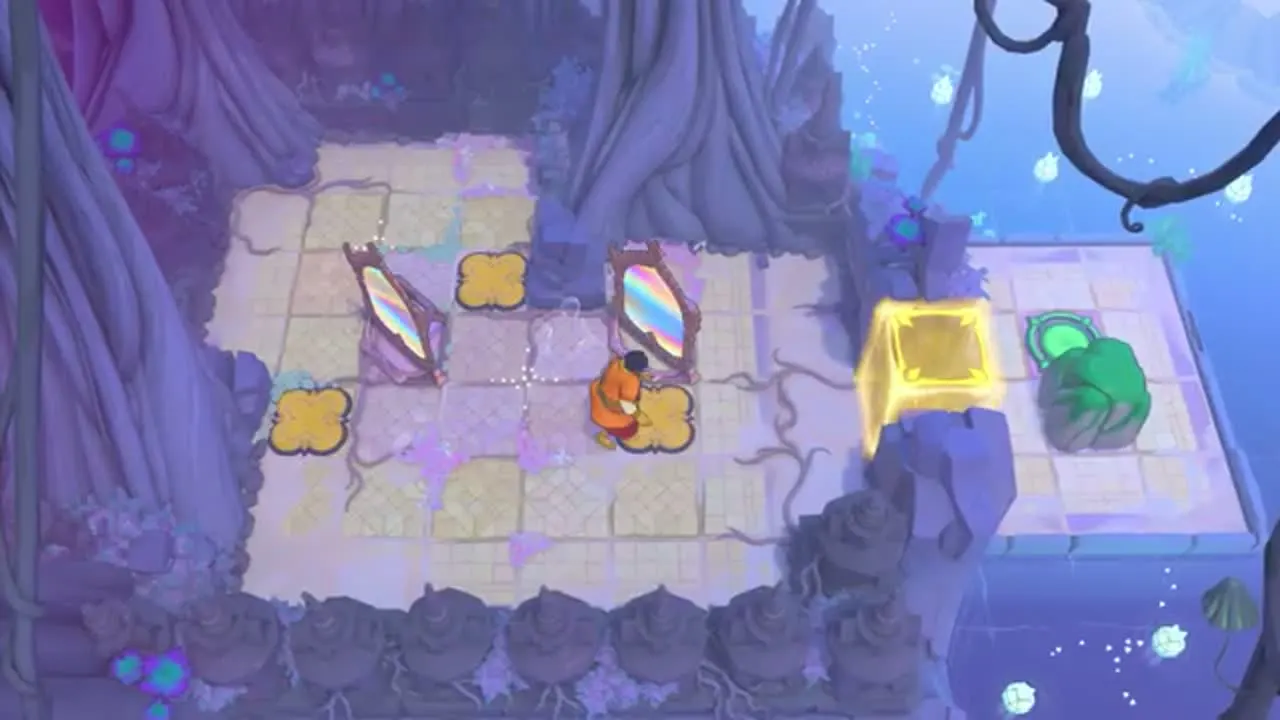
Back to mirrors, this time in a split-level room. Two mirrors and three gold plates sit on the main floor, while the yellow cube and the jade block wait on a raised ledge to the right.
Three plates and only one real hero means you need both copies working for you.
Create your copies, then guide the hero and both mirrored versions onto the three plates together. When all three are pressed, the ledge opens up and you can reach the cube.
Puzzle 11
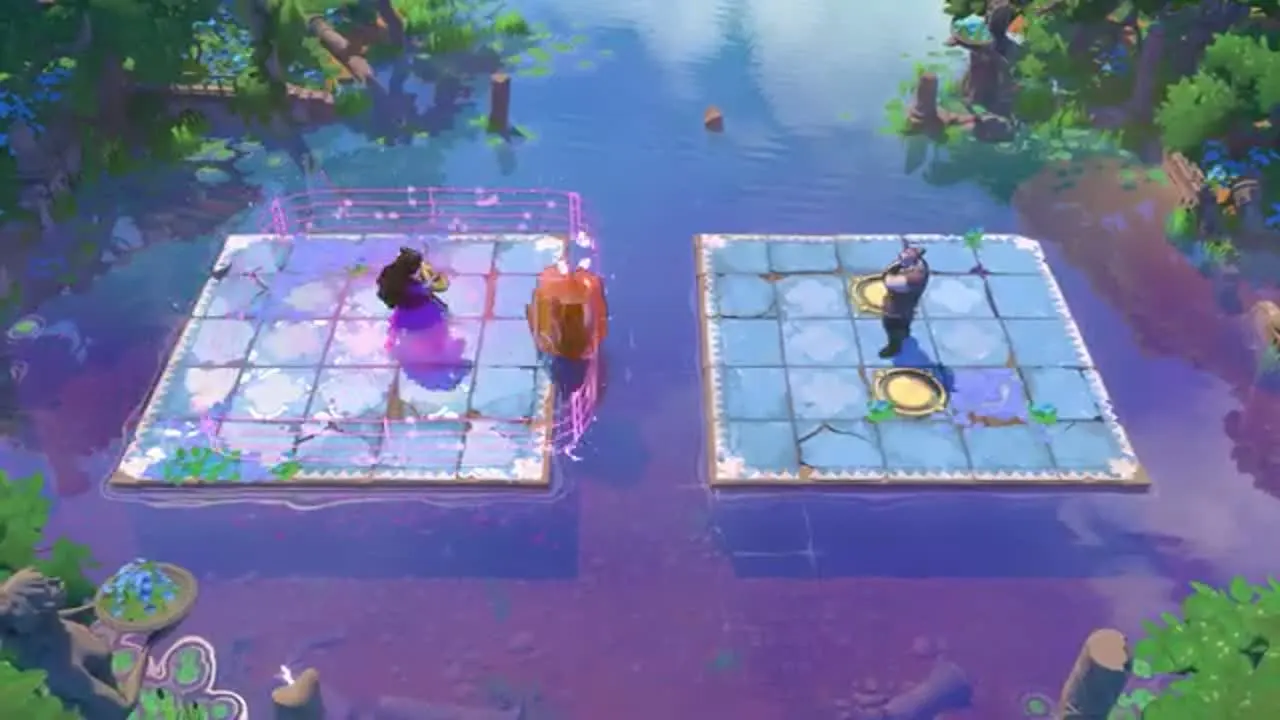
The setting moves out onto the water. Two floating rafts sit side by side with one hero on each, and the left raft is fenced in by a pink cage.
Each raft has to be steered so its hero ends up on a gold marker. The cage is the catch: the left hero can't line up with anything until it is free.
Start by working the left hero out of the cage. Once both rafts can move freely, bring them across together so each hero lands on a marker.
Puzzle 12
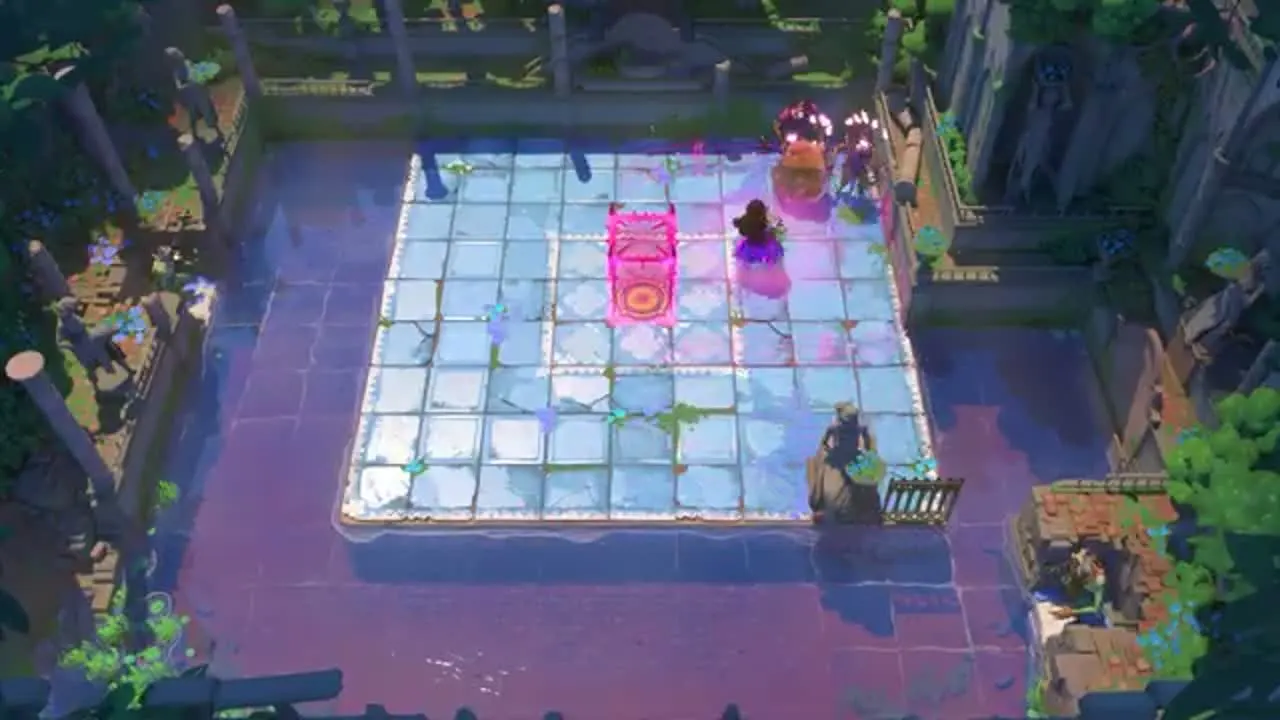
A larger courtyard holds a pink crystal cube on its own raft, with a hero standing nearby.
This room is all about order. The cube can only be pushed across once the right raft has docked.
Work out which raft has to come in first, dock it, and then push the cube over it. After that, the rest of the room falls into place quickly.
Puzzle 13
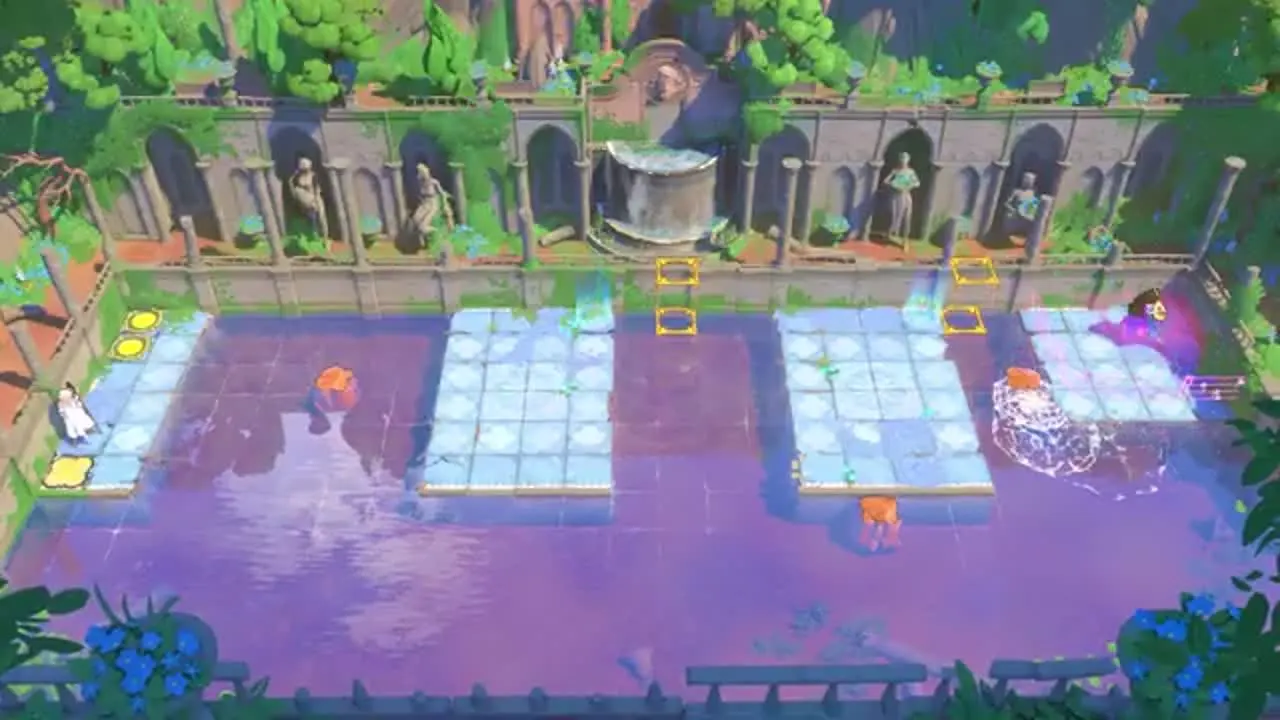
Four rafts float in front of a gallery of statues. Gold markers are dotted along the far wall, and a single hero starts on the right.
Several rafts have to be chained together as stepping stones to reach the markers.
Move the rafts nearest the wall first. Always leave yourself a way back, because a raft parked in the wrong spot can cut your hero off from the rest of the room.
Puzzle 14
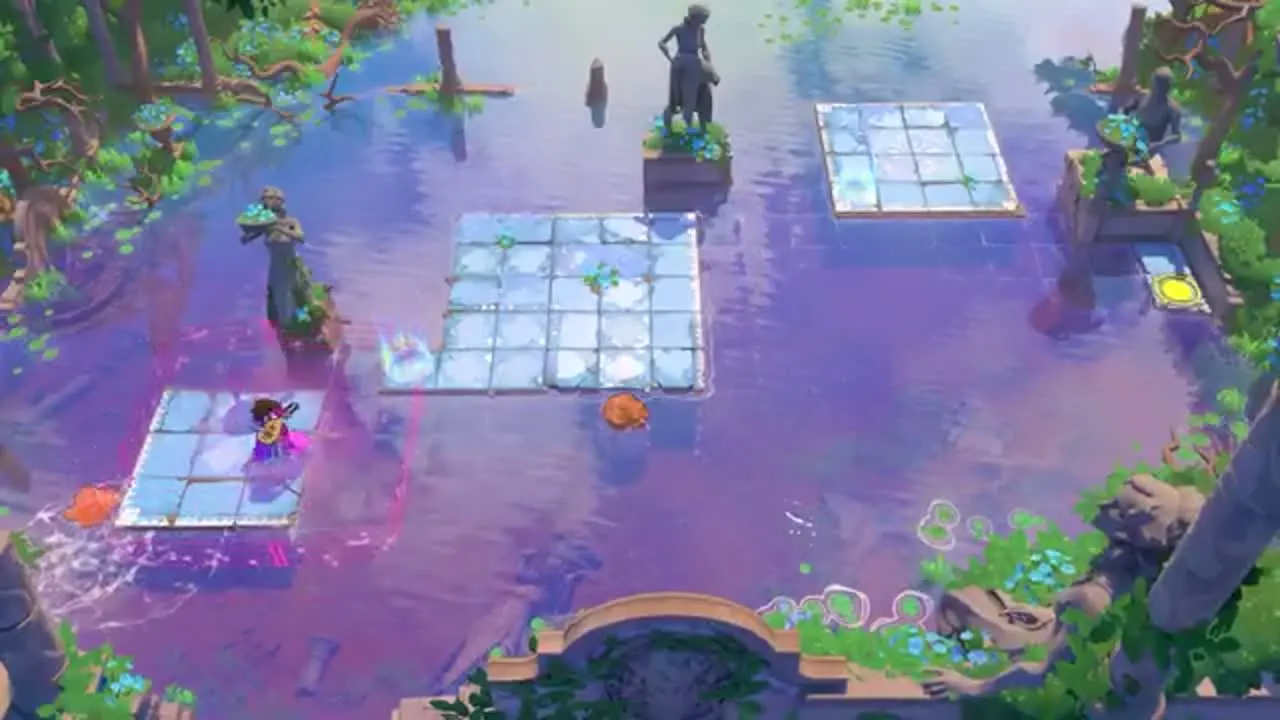
More raft work, this time beside a row of statues on a stone pier. Your hero starts on a small raft on the left, with an orange crate drifting nearby.
A pink outline shows the route the raft will follow. Anything sitting in that channel will stop you short.
Push the crate out of the channel before you set off. With the path clear, the raft carries your hero all the way to the gold marker on the right.
Puzzle 15
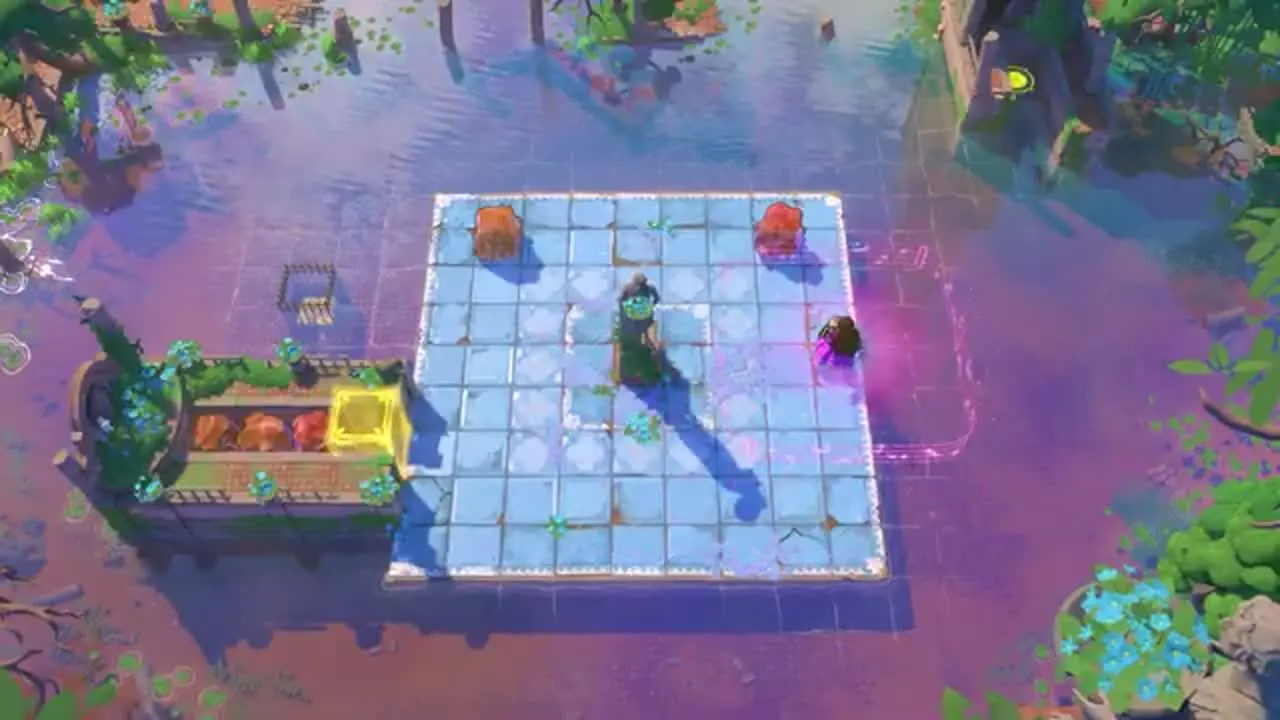
The final puzzle combines everything this area has taught you. A wide raft carries a statue in its centre, there are crates at the far end, and a gold cube is tucked into a planter on the left.
The statue is the main obstacle. Wherever the raft stops, the statue stops with it, so its final position matters.
Clear the crates first. Then steer the raft so the statue ends up out of your path, and walk your hero onto the gold cube to complete Heroes, Duplicated.
Final Thoughts
Once you finish the last raft room, Heroes, Duplicated is done and the next area opens up. The ideas introduced here, splitting your heroes with blockers, using mirror copies to hold switches and planning raft order, keep coming back for the rest of the game, so it is worth getting comfortable with them now.