


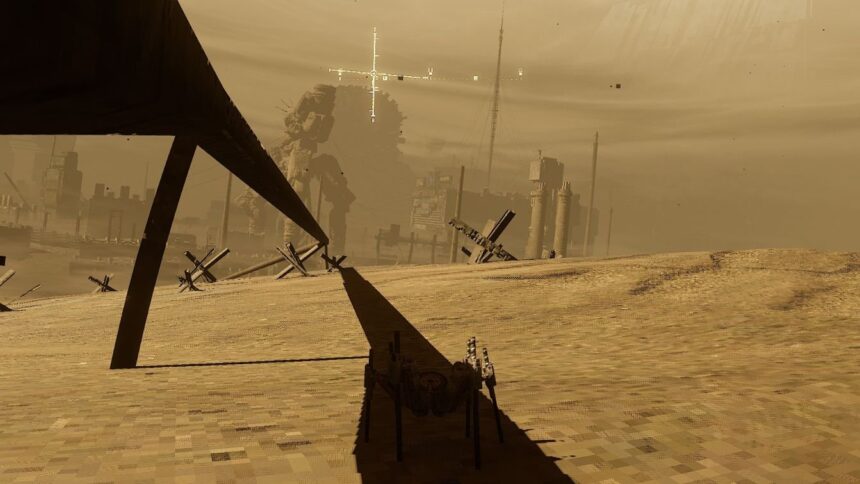
- After awakening in a deep pit, escape your confinement and follow the pipeline toward the city . Early on, an emergency broadcast assigns your fate to a telecom company and introduces guidance from N3 . Your goal becomes the metro station , identifiable by the prominent blue M symbol. However, initial access via the main doors is blocked, requiring alternative approaches near Agglomeration 5 .
- How to reach Agglomeration 5
- Next, head toward the train repair yard via the rail tracks, where flashing antennas act as guides. Here, obtain the transmission software after navigating through fence cracks, then identify the inverted pyramid structure to proceed.
- Get Night Vision at the Chemical Plant
- Find the Depot and Get Level Three Access
- Get the Level Three Access
- Solve the Transmitter Puzzle
- Return to Agglomeration 5
- Reach the Metro and Finish the Game
- Throughout your journey, hidden secrets enrich the lore and reward those keen to explore beyond required objectives.
- Early Level Two Access Key
- NEP Command Ship Horizon
- Autopilot Program
Radiosol immerses you in a desolate world where sunlight is deadly and humanity has largely vanished. Playing as a unique spider-like creature, you traverse cities and underground spaces in search of elusive answers in a haunting, post-apocalyptic setting.
The game’s reliance on radio cues and landmarks over traditional objective markers often leads players down confusing paths. Understanding the key areas and puzzle mechanics is crucial to making meaningful progress.
After awakening in a deep pit, escape your confinement and follow the pipeline toward the city . Early on, an emergency broadcast assigns your fate to a telecom company and introduces guidance from N3 . Your goal becomes the metro station , identifiable by the prominent blue M symbol. However, initial access via the main doors is blocked, requiring alternative approaches near Agglomeration 5 .
After waking up in the hole, climb out and follow the pipeline toward the city. You will receive an emergency alert, sign the document that transfers responsibility for you to a telecom company, and receive instructions from N3.
Your first destination is the metro station, which is the large building marked with a blue M.
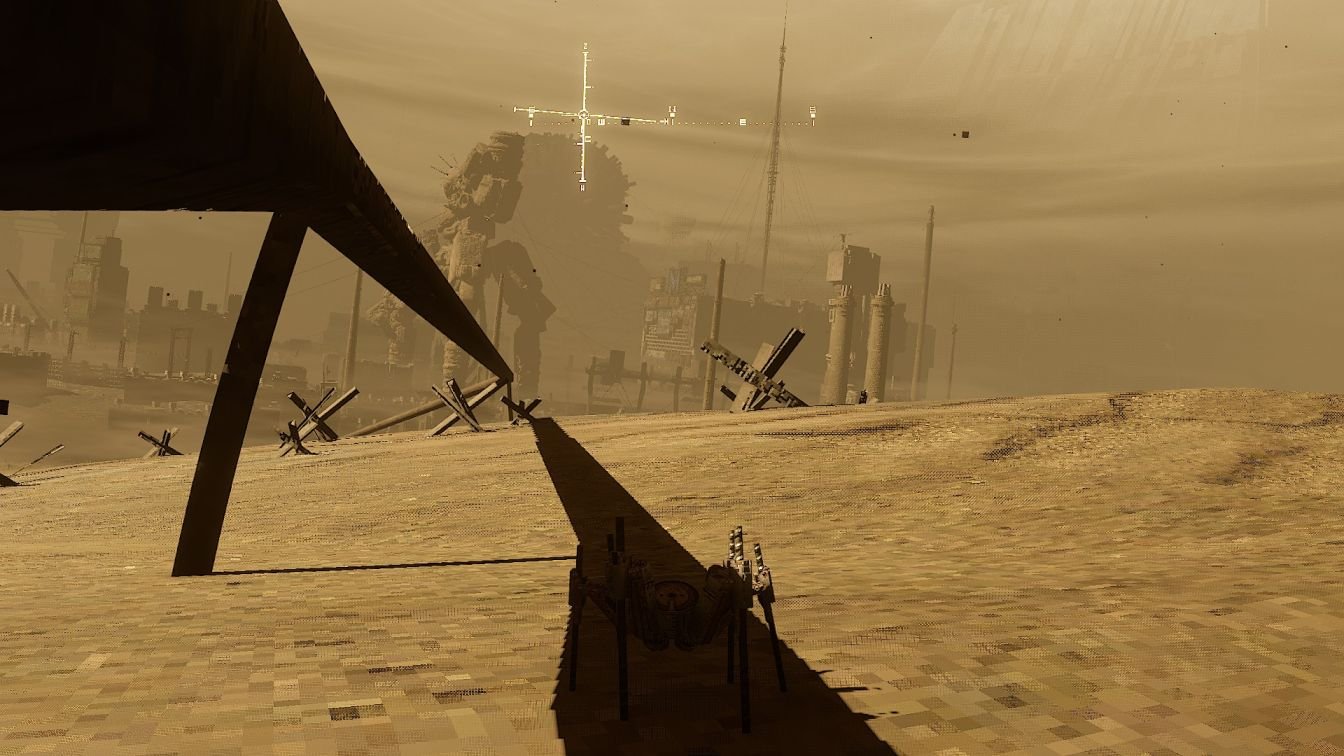
On arriving at the metro parking lot, you’ll find primary entrances sealed. N3 informs you that the secondary entrance near Agglomeration 5 is accessible, prompting a detour.
How to reach Agglomeration 5
To reach Agglomeration 5, skirt around the large sphere structure and follow the old railway tracks. This shaded path keeps you safer from harmful solar exposure.
It’s vital to stay on this route, as straying triggers unavoidable hazards like dangerous spikeballs.
Watch out for the spikeballs if you leave the main route.
Agglomeration 5 is marked by an unfinished office building; a cage-like structure grants entry inside.
Once inside, descend the pipes to reach a large fan, then ascend back for a vantage point to observe surrounding landmarks and plot your next move.
When you reach the unfinished office building at Agglomeration 5, look for the cage-like structure and enter it.
Follow the pipes down into the building.
After checking the large fan at the bottom, climb back to the top of the Agglomeration 5 building. From there, you can get a better view of the surrounding area and locate our next destination. Check the image below for the exact location.
Next, head toward the train repair yard via the rail tracks, where flashing antennas act as guides. Here, obtain the transmission software after navigating through fence cracks, then identify the inverted pyramid structure to proceed.
From Agglomeration 5, go toward the train repair yard. You can follow the railway tracks to get there.
When you reach the towers, turn left at the flashing antenna. Pick up the transmission software, then move through the crack in the fence to reach the larger train tracks.
Look for the inverted pyramid structure. This is exactly where you have to go next.
Once you reach it, you can interact with the train.
Send the train outside, then connect cars one and two. Leave the third car behind because it has something on it that can kill you.
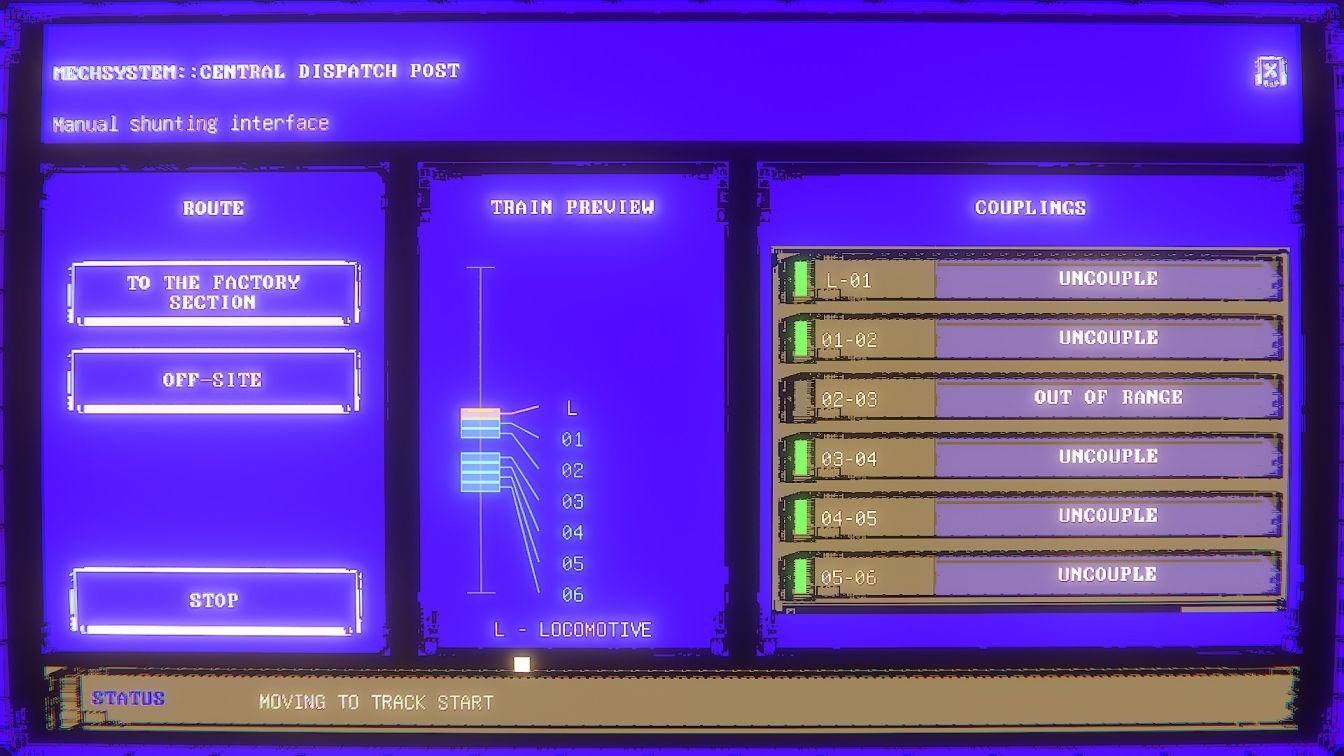
Outside the train, interact with carriages carefully: connect only cars one and two, leaving behind the third which harbors deadly threats.
Return later to download a vital digital signature from a train car marked by flashing lights.
The transmission software and digital signature can be acquired in flexible order—prioritize based on your immediate location and safety.
Get Night Vision at the Chemical Plant
Before venturing to the depot, detour to the chemical plant, located near Agglomeration 5.
Find the large industrial complex with intricate piping, circle to the rear, and locate a vent near a deep pit.
Follow the railway tracks back around the Agglomeration 5 building. Look for the large industrial building with pipes running around it.
Go around to the back and find the large pit. There is a vent that you can crawl into.
Slither through the vent and descend a shadowy passage until you encounter a minecart. Interact to retrieve the file that unlocks night vision, a crucial asset against the encroaching darkness ahead.
Night vision becomes very useful later, so make sure you pick this up before entering the depot.
Find the Depot and Get Level Three Access
Progress further by following rail lines towards the incineration plant. A distinct cluster of tanks atop a flatbed signals your approach to the vicinity of the depot.
You will find a group of tanks sitting on a flatbed, and this is a useful landmark to check that you are getting close.
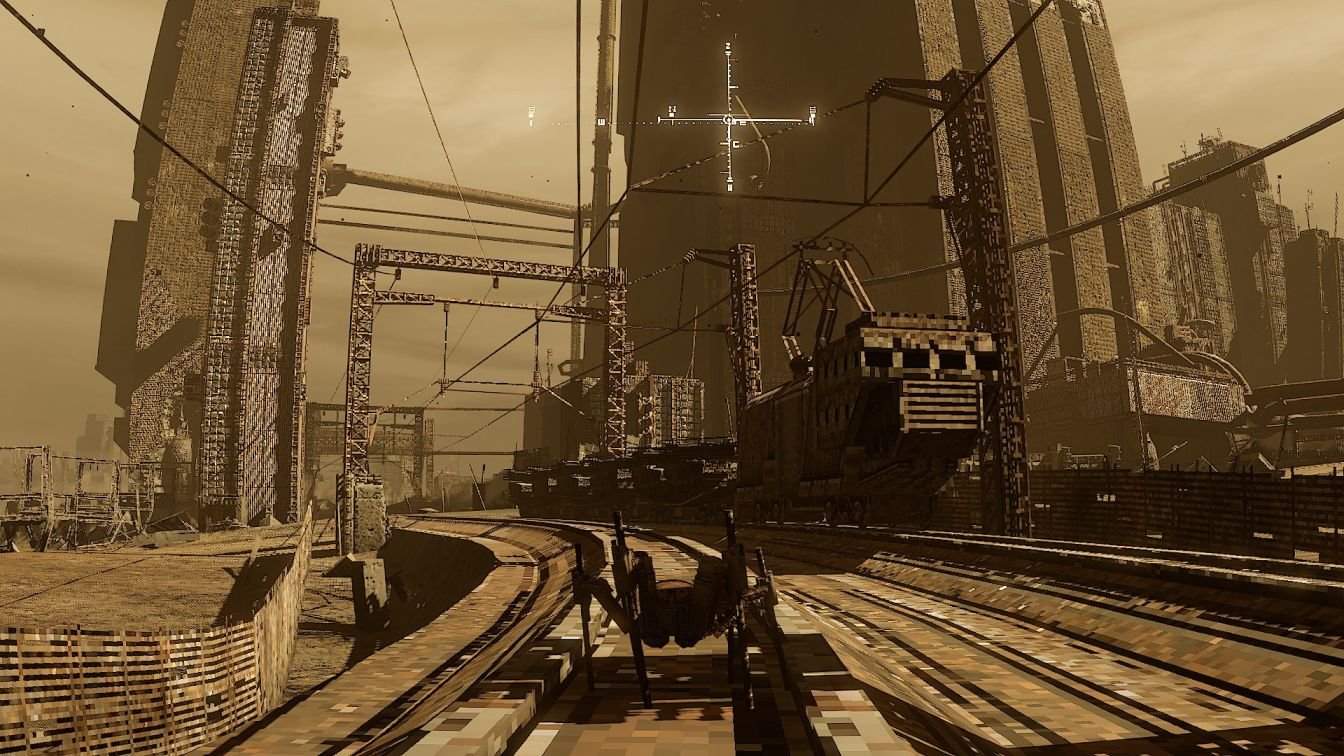
Climb onto the top of the structure nearby to get a better view.
From a vantage point nearby, the pyramid-shaped depot comes into view. But entry demands an access key found on a fallen spider-like corpse close by.
You need an access key to enter it. Find the body of one of the fallen spider-like creatures nearby and collect the key from it.
Inside, the atmosphere shifts to a survival-horror tone. Underground corridors grow darker, emphasizing the value of acquired night vision.
Find a device revealing the required radio frequency for an upcoming encounter with Fat Larry.
The area will change into a darker survival-horror section here. You will find an object that tells you which radio frequency you have to use.
Tune your radio to the indicated frequency to encounter Fat Larry.
Get the Level Three Access
Fat Larry looms large and behaves unlike your typical spider character. Approach stealthily to claim the Level Three access he guards.
You need to get close enough to Larry to take the Level Three access from him.
This is another place where the night vision file helps a lot, especially because of how dark the area is.
With Level Three clearance in hand, exit the depot to continue toward the enigmatic transmitter.
Solve the Transmitter Puzzle
The transmitter is located not in the towering structure but inside a nearby cylindrical water-tank-like building.
Accessing it involves converting technical signal coordinates from a normalized 0–1 scale to the civilian coordinate system ranging from -100 to 100.
Look for the nearby cylindrical structure that resembles a water tank. Go inside and head down to the transmitter.
You will need to convert the transmitter’s technical signal coordinates into the civilian coordinate system.
The technical coordinates use a 0–1 scale, while the civilian coordinates use -100 to 100.
The key conversion rule is that 0.500 in the technical scale aligns with 0 in the civilian system.
For example, X=0.750 translates to 50 and Y=0.250 equates to -50 in civilian terms.
For example:
- X = 0.750 → 50
- Y = 0.250 → -50
So the required civilian coordinates are:
Set the transmitter coordinates to X=50 and Y=-50.
Your personal transmitter also needs adjustment to X=0.750 and Y=0.250 to synchronize the signals correctly.
You also need to set your own transmitter to X = 0.750 and Y = 0.250.
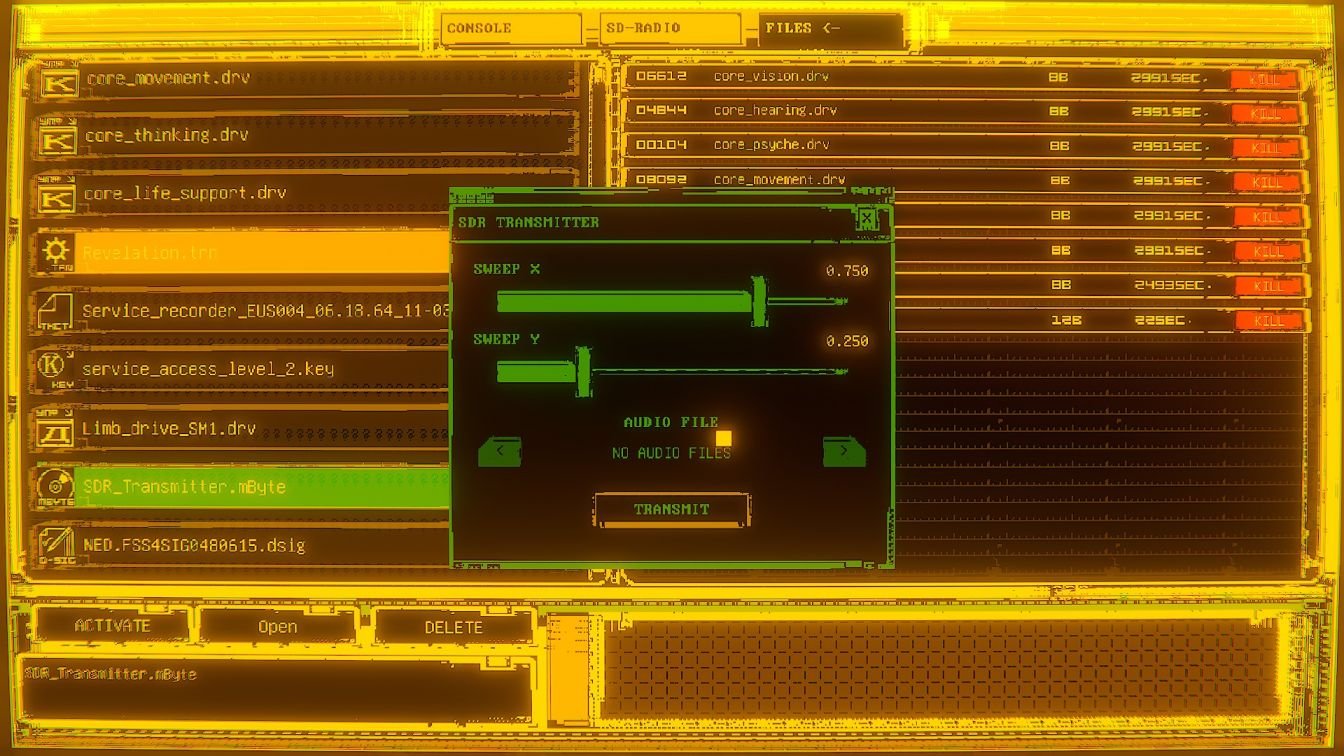
Once the coordinates are set correctly, you can continue to the next part.
Return to Agglomeration 5
With the transmitter puzzle solved, retrace your steps to Agglomeration 5 and return to the large fan.
Deactivate the fan to gain access into a hidden chamber housing three power injectors shaped like spheres.
Go back down to the large fan you visited earlier. You can now shut the fan down.
Continue into the strange chamber beyond it.
Inside, you need to activate three sphere-bar power injectors.
Power all three sphere-bar injectors to restore energy to the dormant central sphere.
This reactivates crucial systems and clears the way forward.
Once the sphere is energized, exit the chamber and proceed directly to the metro station, where the final series of challenges await.
Reach the Metro and Finish the Game
After restoring the sphere, the weather conditions will change rapidly as you make your way toward the metro station.
Radiosol player unlocking metro station door after restoring power and solving key puzzles.
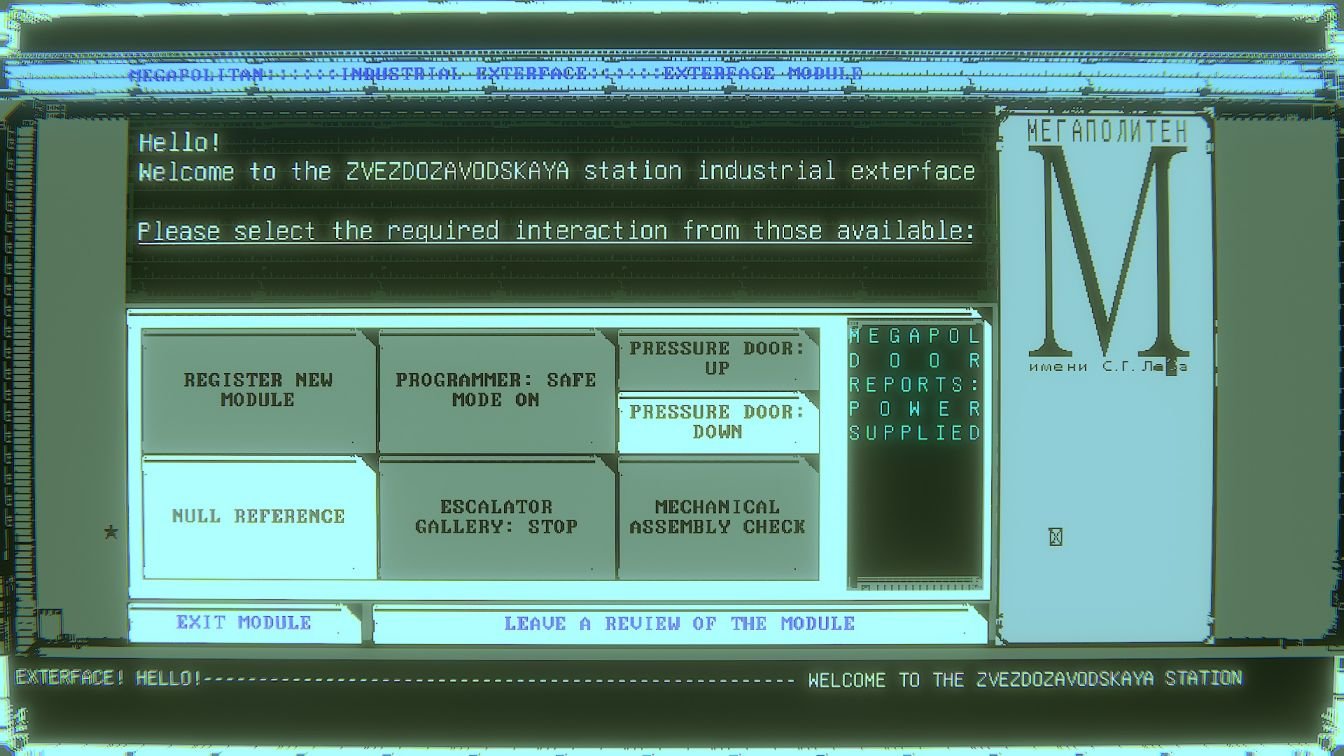
Go down into the station.
Descend into the metro station and take the left pathway, leading toward the game’s concluding area.
This completes the main narrative arc of Radiosol.
That completes the main route of Radiosol.
Throughout your journey, hidden secrets enrich the lore and reward those keen to explore beyond required objectives.
There are several hidden locations worth checking out if you want extra lore and useful abilities.
Early Level Two Access Key
Shortly after starting, venture into a subterranean hole to collect an early Level Two access key and a lore document.
This shortcut grants earlier entry to the depot, accelerating progression for thorough explorers.
Near the starting area, look for the hole that goes underground. Go down there to find:
- A lore document
- An early Depot access key
This will allow you to obtain the depot access earlier than you normally would.
NEP Command Ship Horizon
From the towering Radio 0 structure, gaze northeast to spot the wreckage of the NEP Command Ship Horizon.
This desolate shipwreck contains additional lore and activates waypoint markers in binocular mode, aiding navigation across the vast map.
You will be able to see a crashed ship far in the desert. This is the NEP Command Ship Horizon.
Visit the wreck to find additional lore. More importantly, it gives you marked waypoints for major locations when using binocular mode.
That will help in navigation when you are exploring the map.
Autopilot Program
You can find another useful secret in the far southeastern part of the map.
Look for a freight loading dock. Behind the stacks of containers, find the gap at the back of the area and go down there.
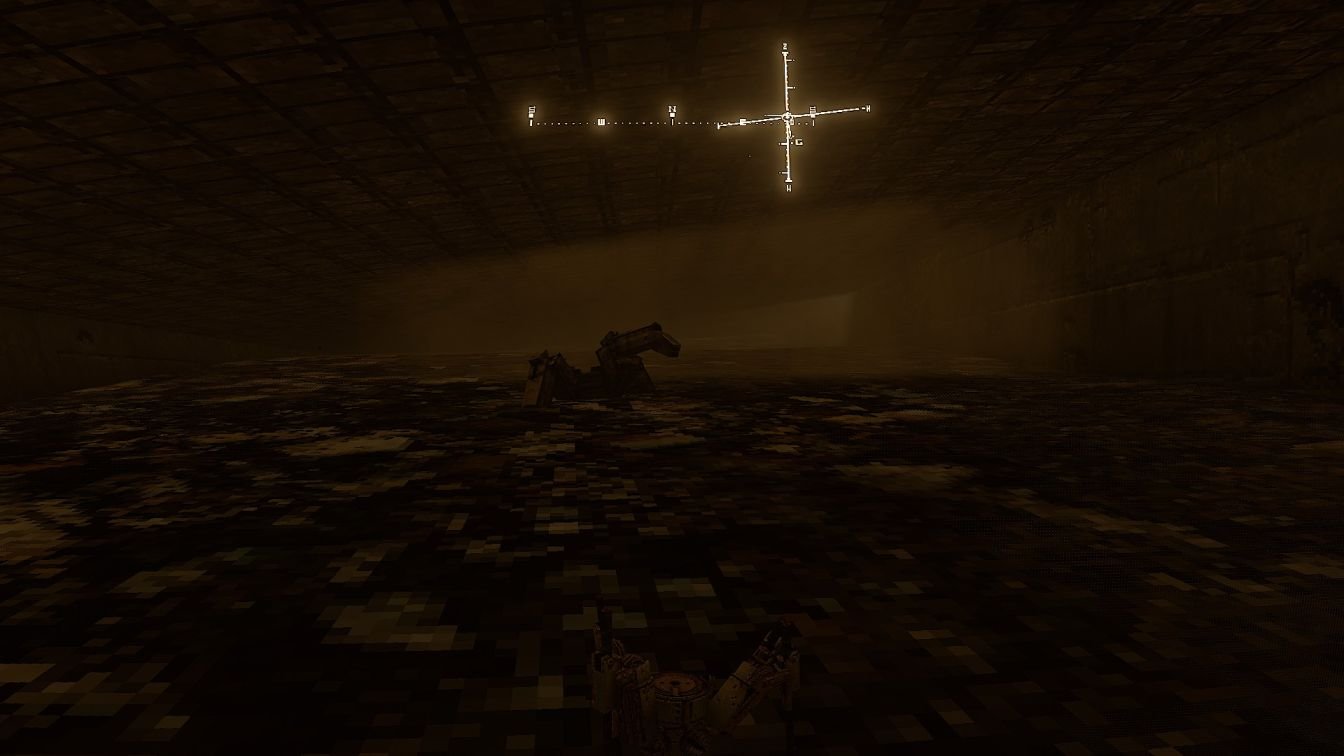
Head to the freight loading dock in the far southeast corner. Behind container stacks, locate a hidden crevice leading underground.
Here, you can retrieve an autopilot program from the remains of another spider-like creature, which lets you move forward automatically without holding the W key.
The program lets you walk straight forward without having to hold the W key.