


- Tracking down all the scattered cameras and elusive demonic marks throughout Chapter 2 enriches your understanding of the environment and rewards thorough exploration. These collectibles not only add layers of challenge but also provide key insights into the narrative woven through the Central Laboratory’s corridors.
- Your entrance into the Central Laboratory begins immediately after the elevator ride, plunging you into a floor swarming with zombies. Prioritize eliminating these creatures before they awaken to ease combat tension. Nearby glass cases are impervious to most attacks except explosive canisters, which act as your only means to shatter them and claim hidden supplies. Taking note of camera placements early on sets up better planning for exploration and collection.
- Finding the Yellow Keycard
- Following Jason
- Installing the Router
- Monitoring Room and Mutated Enemies
- Optional Turret Hell
- Finding the Spare Key
- Getting the Gas Mask
Stepping into Chapter 2 of The Killing Antidote thrusts you deeper into a claustrophobic laboratory overrun by the undead and grotesque mutations. The stakes rise as you’re tasked with controlling the chaos, unraveling key locations, and solving puzzles that hinge on acquiring specific access tools. Mastering this chapter means managing resources smartly and anticipating sudden enemy surges, which can quickly overwhelm if caught unprepared.
Tracking down all the scattered cameras and elusive demonic marks throughout Chapter 2 enriches your understanding of the environment and rewards thorough exploration. These collectibles not only add layers of challenge but also provide key insights into the narrative woven through the Central Laboratory’s corridors.
Also check out our locations guide to find all the cameras and demon marks in Chapter 2!
Your entrance into the Central Laboratory begins immediately after the elevator ride, plunging you into a floor swarming with zombies. Prioritize eliminating these creatures before they awaken to ease combat tension. Nearby glass cases are impervious to most attacks except explosive canisters, which act as your only means to shatter them and claim hidden supplies. Taking note of camera placements early on sets up better planning for exploration and collection.
I enter Chapter 2 right after the elevator ride from Chapter 1. Once the cinematic ends, I begin clearing the zombies on the floor. If I take them out before they wake up, the fight is much easier. On the left, I notice glass with items behind it. Only explosive canisters break these panes. Grenades, mines, gunfire, and grenade launcher shots do not work. I shoot the canister, the glass shatters, and I step through to collect the items. There is also a camera in the upper left corner that counts toward the 30 optional camera collectibles. A storage box is beside the door.
Facing a hallway intersection presents three options, though only the right leads forward. The left path tempts with pistol ammo behind unbreakable glass absent of explosive canisters, underscoring the importance of environmental awareness. When detonating canisters to break glass, always position yourself safely out of the blast radius to avoid unnecessary damage.
Encountering zombies bearing explosive canisters adds a tactical advantage—use their blasts to clear previously inaccessible areas by detonating them close to glass barriers. Clearing such spaces rewards you with valuable items and access to locked hallways, but always stay aware of surrounding threats. Cameras pepper these sections, reinforcing the need to scout carefully for both enemies and collectibles.
An ambush with an axe-wielding foe tests your reflexes in enclosed quarters. Afterward, a locker adorned with its passcode presents a straightforward hacking opportunity. The nearby safe room introduces the first Demonic Badge challenge—moving targets framed within a confined environment along with well-placed cameras make this both a combat and precision exercise.
Locked doors are a recurring obstacle that funnel you toward the Central Laboratory’s entrance. The locked rooms hint at hidden progressions and safes spots, making patience and methodical searching essential for survival and collection completion.
Finding the Yellow Keycard
Securing access to the network room hinges on locating the yellow keycard. Navigation through the bunker’s Observation Hallway and strategic clearing of zombies in stairwells precede your reward in a cabinet. Exiting this area provokes an intense wave of zombies carrying volatile canisters, where timed detonations can shatter glass and reveal lucrative shops, including a Desert Eagle and seasonal outfit collectibles.

Monitoring your surroundings carefully and memorizing locker codes—like 5530 found scrawled nearby—helps unlock essential caches without unnecessary waste of resources. Returning to the network room with the yellow keycard opens new doors harboring loot and exclusive Demonic Badges, while shortcut stairs link back to the chapter’s start, streamlining travel for upcoming objectives.
With the yellow keycard I go back to the network room. I open another keycard door containing loot and a Demonic Badge. At the next staircase, I shoot a Badge through the glass and another camera near the ceiling. The stairs connect back to the very start of the chapter, giving me a shortcut to the network room. After accessing the computer, I begin the next task.
Following Jason
Introducing Jason as your first AI companion in this update raises the challenge as his survival is critical, particularly on elevated difficulty settings. Always clear threats from a vantage point before proceeding to protect him. Gathering crafting supplies like sewing kits and password detectors arms you with tools to weather upcoming hazards and unlock further puzzles.
New enemy types demand swift and precise elimination to keep Jason safe. Maintaining a ready weapon and staying vigilant on camera placements offers tactical advantages in confined spaces. Navigating junctions with multiple paths requires a mix of combat efficiency and exploratory patience.
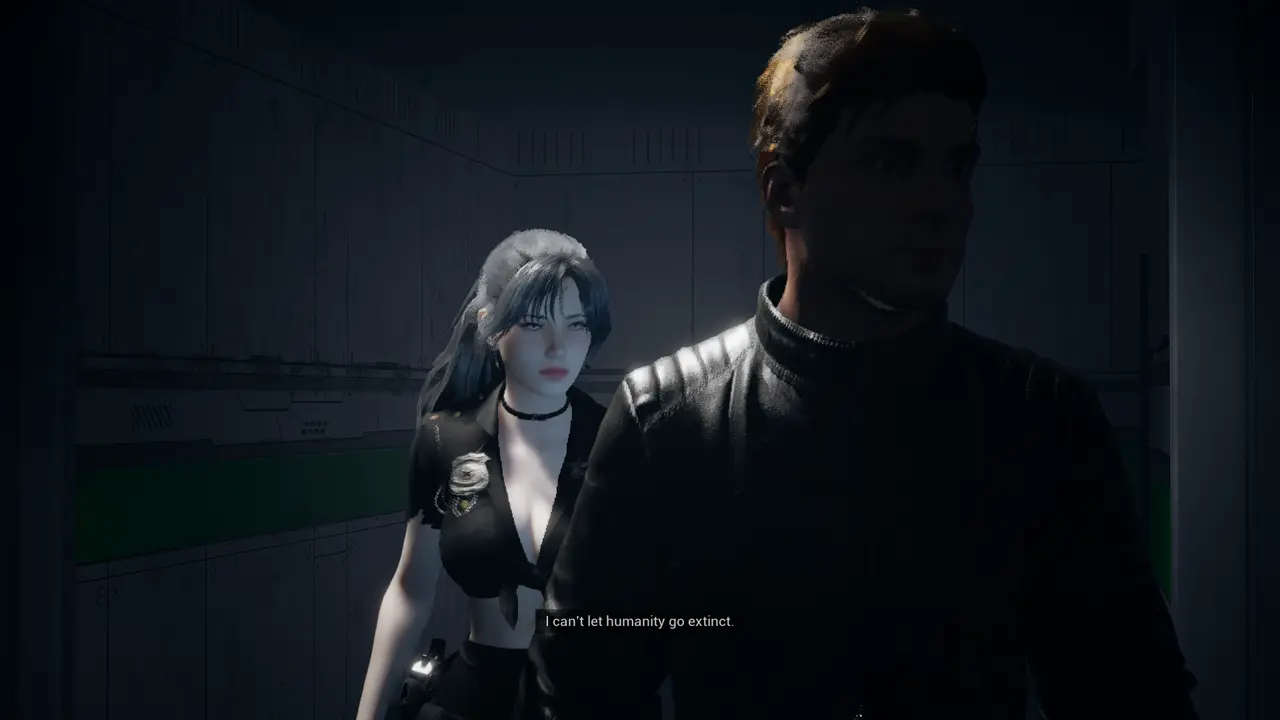
Behind locked doors lie two Demonic Badges enclosed in glass, which upon shooting, open passageways and grant the potent Tiger 58 assault rifle. This upgrade significantly bolsters your firepower, crucial for later encounters.
To customize your arsenal, look for safe rooms offering gun paints and lockers containing weapon attachments like compensators. Facing off against larger enemies may test your aim, but steady headshots with assault rifles render them manageable.
A locked weapon room conceals a grenade launcher, accessible via keypad with the code 5394. Just beyond lies a safe room, a shop, and a keypad puzzle with code 5873 derived from a tic tac toe pattern—integrating puzzle-solving alongside combat to keep players engaged.
I prepare for the upcoming boss fight.
Boss Strategy:
The chapter’s boss fight emphasizes mobility and range. Keeping your distance while strafing around obstacles prevents the devastating ground slam attack from landing hits. On easier difficulties, consistent assault rifle fire is sufficient to claim victory, but higher levels testify to the fight’s intensity, requiring caution and timing.
Installing the Router
With the boss defeated, scavenge the room for ammo to replenish before backtracking through the shortcut you unlocked earlier. Installing a replacement router in the server room partially restores the laboratory’s power, signaling a shift in the narrative and new investigation paths.
Jason’s absence in a bloody room adds tension to the mission. Securing a red key from a locker and collecting password decoders yields a red dot sight, enhancing aiming precision. Proceeding to the monitoring room unveils further objectives tied to unlocking additional laboratory sectors.
Monitoring Room and Mutated Enemies
Combat remains fierce as you ascend stairs, encountering fat enemies and triggering new encounters. Deploying mines tactically buys time to clear threats while leveraging environmental advantages.
Interacting with monitoring systems reveals critical requirements like a key for the entrance gate and access to the robotics warehouse office. Cameras cover these rooms well, and a combat challenge awaits behind locked doors, putting your proficiency to the test.
Mutated zombies dropping into turbine shafts release parasites that latch onto you, threatening health and mobility. Dislodging them by clicking or with a knife is essential for survival. The robotics lab opens up after reinstalling the router, with multiple cameras surveilling new spaces to explore.
Inside an office with posters about turrets and gem zombies, I grab a voice recorder that progresses the main task.
Optional Turret Hell
The optional turret-heavy zone known as Turret Hell tests patience and accuracy. Armed with the Tiger 58, you can dismantle the turrets quickly, but the path is punishing and the loot—mostly a sniper scope and clothing collectibles—does not justify the risk for most players. Skipping this area is often the smarter choice.
Finding the Spare Key
Finding the spare key requires navigating a locked room that sparks a rush of yellow gem zombies—immune to many standard weapons. Utilizing melee attacks preserves precious javelin ammo, the only effective means to counter these foes.
Descending into a darkened area requires a flashlight to access the Lightweight Electromagnetic Speargun, specialized for dealing with the elusive yellow gem zombies. Ammo is scarce, so every shot counts. Nearby shops stock javelins, giving you a supply line for tackling these dangerous enemies.
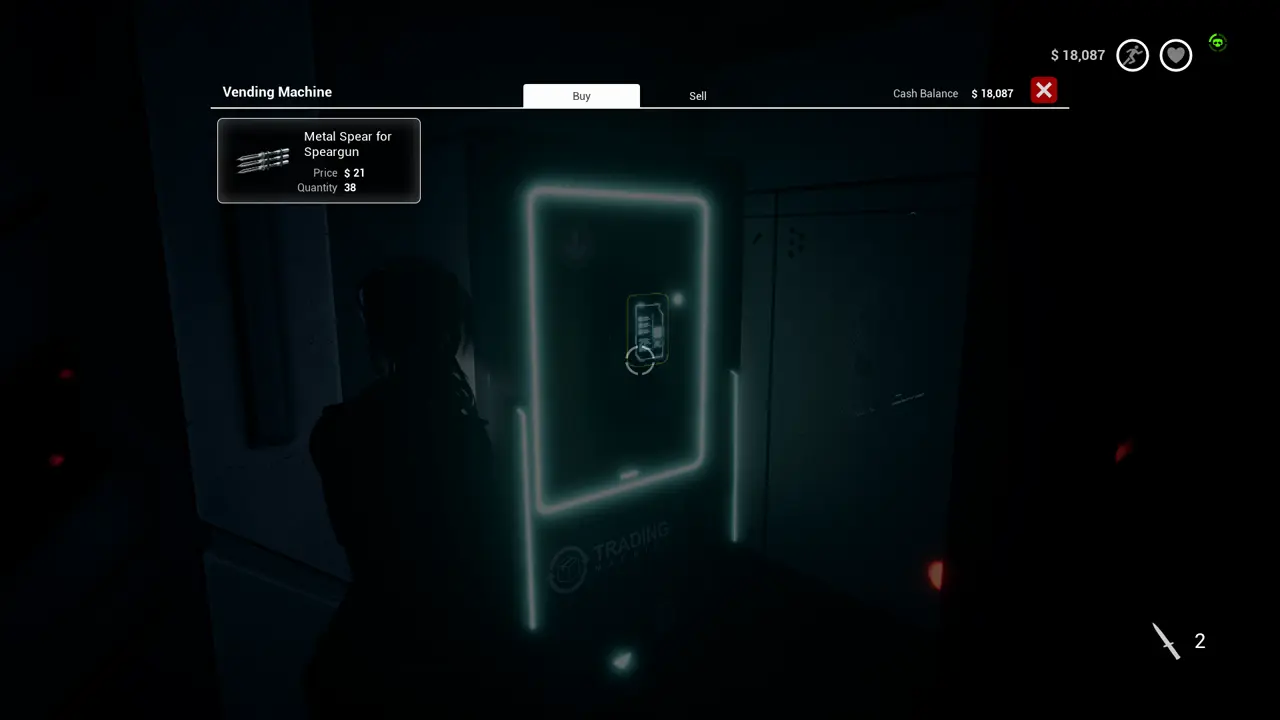
I drop down and clear the area with the speargun. Ammo is limited, so I make shots count. A shop nearby sells only javelins. I continue forward using normal weapons against canister zombies.
Ascending back upstairs rewards you with a silencer and more badges after fending off hordes on outdoor walkways. The area splits into two paths: hazardous gas-filled sections and staircases leading upward, both demanding readiness for combat and environmental hazards.
Getting the Gas Mask
Securing the gas mask is vital for progressing into foggy, hazardous zones. Guarded by a turret, this gear is protected behind a half-cracked door and destructible ceiling, accessible only after clever use of the grenade launcher to collapse barriers. The safe containing the gas mask requires the code 5302, gleaned from nearby computers.
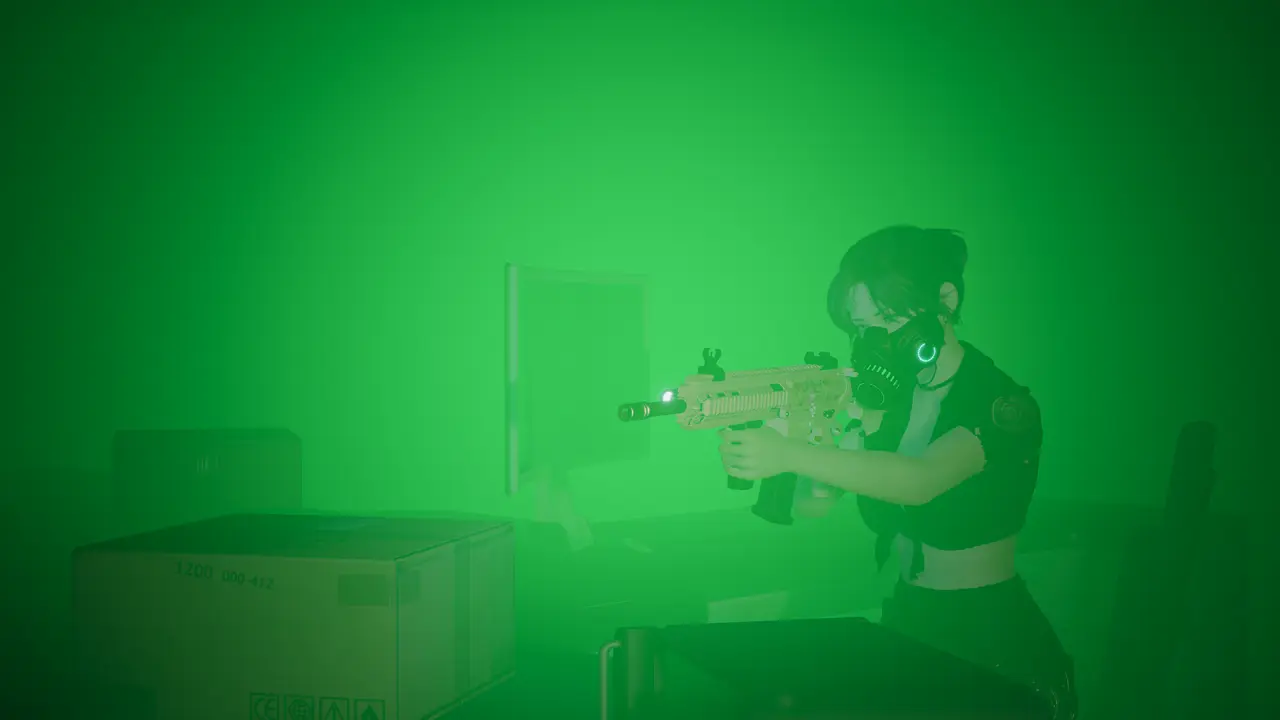
Green ammo found alongside the gas mask counters green gem zombies, providing essential ammunition type switching for your javelin. The gas mask itself has limited durability and demands manual replacement to survive prolonged exposure to toxic environments, adding a layer of management to your inventory.
With the gas mask equipped, I return to the crossroads and enter the fog. The mask has durability and does not auto refresh, so I replace it manually. Inside the fog I locate a room with shattered glass, fight green gem enemies using green ammo, and reach a shop that sells gas masks and ammo. I buy several.