

Stepping into the oceanic arena of Tribe Nine, the Shark boss stands as a formidable first big challenge, testing both your team’s coordination and your understanding of the battle mechanics. Facing this towering foe delivers a taste of the game's intense combat and strategy demands, making victory here a critical confidence booster early on.
Shark Boss Fight
Tribe Nine’s death marker system adds a tense layer to exploration, showing where players have fallen — often hinting at tough adversaries lurking around. Among these threats, the Shark is notorious, symbolizing one of the earliest and most punishing hurdles players encounter.
This boss fight is where many players first realize the game’s brutal combat rhythm and the importance of careful positioning and timing.
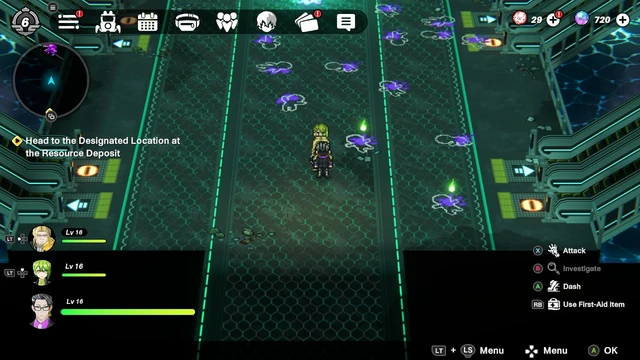
Boss spawn points are usually clustered, but the Shark feels especially relentless given how unforgiving its attack patterns can be. Since Tribe Nine launched recently, a considerable portion of players are struggling to adapt to its tempo during this encounter.
The Team
Our approach is built around the current party I used to tackle the Shark, though players might find alternative lineups more effective depending on play style. Two key aspects are vital: healing support and reliable ranged damage output.
Koishi is the free healer given early in the game. Despite the slow charge time on her healing skill, she can deliver a near full-party heal in clutch moments, which is invaluable against the Shark's heavy hits. Keep an eye on your health and don’t rely entirely on her skill activating immediately.

Yutaka serves as the primary long-range attacker, constantly firing powerful beams. This strategy works because the Shark often lunges at your teammates, allowing Yutaka to safely dish out damage. Make sure your frontliners are tanky enough to hold aggro when the Shark makes its move.
If Yutaka isn’t available, Semba or other long-range characters can fill this DPS role effectively, maintaining pressure while staying out of the Shark’s direct line of attack.
Fighting the Shark
Don’t hesitate to use the pause menu to restart the fight if you get overwhelmed. This flexibility is essential as your current roster might not have the necessary synergy or power to end the battle on your first attempts. Rematches can also be excellent for farming experience and loot.
Encouraging the Shark to use its long-range beam attacks creates safer windows for your team to deal damage while you dodge. This is why characters like Yutaka or Semba, who keep their distance, are ideal choices to lead your assault.
Be cautious: some of the Shark’s moves cause significant slowing effects which can disrupt your evasion timing. Precision in counterattacks during these moments is crucial to avoid falling behind or getting caught in combo chains.
Understanding the Shark’s attack repertoire is the key to survival. Here’s how to manage each of its major moves:
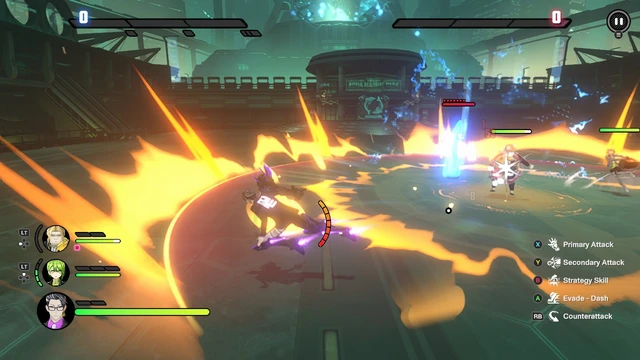
The battle opens with the Shark lunging forward, striking with its fin and leaving water ripples around you. While hard to react to the very first time, subsequent fin rushes become predictable—move aside to safely avoid this signature opening.
Close range brings a dangerous combo: three consecutive chomps followed by a tail strike. Mastering evasion here is essential since failing to escape puts you at risk of being trapped between knockdown and staggering animations, compounding damage.
The beam attack is straightforward—evade to the right during its lengthy animation and punish the Shark as it recovers. Watch your positioning to avoid being cornered, but generally this attack offers one of the safest damage opportunities.
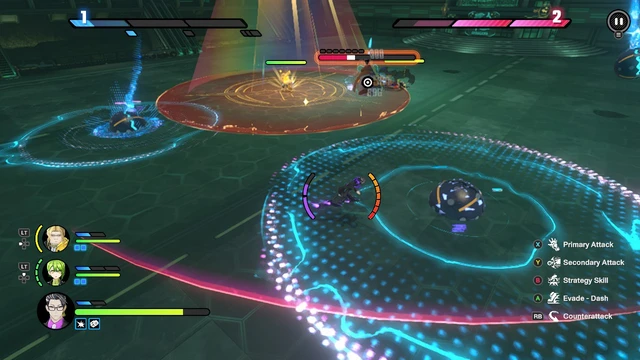
The explosive balls are a true threat—anyone caught in their blast radius suffers an instant defeat. However, this is also your chance to strike hard: stand behind a ball and bait the Shark to swallow it. When the ball goes into its mouth, unleash a counterattack that stuns the boss for several seconds—prime time to build up tension and stack your damage.
When the Shark circles and creates ripples, move out immediately if caught mid-animation. These ripples shift spawn points unpredictably but leave enough time to reposition before an onslaught of chomps begins. Staying mobile here is essential to avoid being trapped.
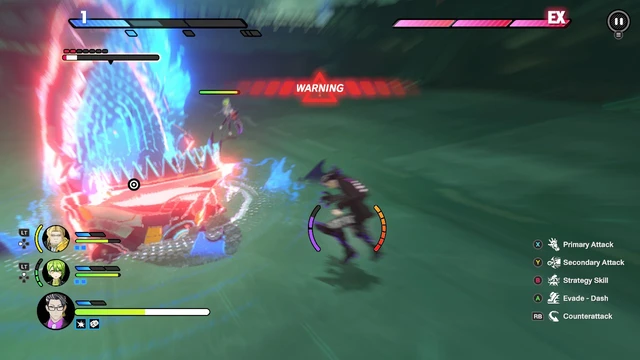
After dropping below half health, the Shark’s attacks escalate with underground strikes. Watch for the warning circle beneath your feet and dodge instantly to avoid a devastating splash. Be prepared to dodge again quickly to evade the following attack, as the window to avoid damage here is razor-thin.
The Shark’s ultimate move combines circular swimming, ripple zones, and a massive whirlpool attack. It hides inside the whirlpool before lunging at you with great speed. Warnings and teammate cues help time your dodge, but maintaining distance from the ripples is equally important to not get cornered.
Though unforgiving, the Shark’s attack patterns are largely telegraphed. Lean into standoffish, ranged playstyles to manipulate the boss into using slower, more dodgeable attacks like beams and cannon shots, giving your team consistent opportunities to damage safely.
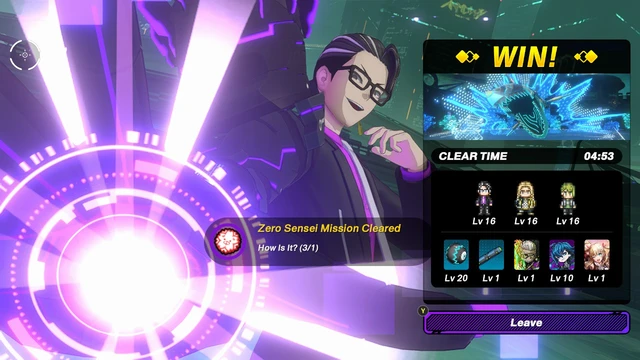
Tribe Nine’s lineup will get tougher, but the Shark remains an intimidating first challenge. Adapting to its rhythm takes attempts and observation. With the right team and focus on pattern recognition, victory becomes a rewarding milestone on the path ahead.