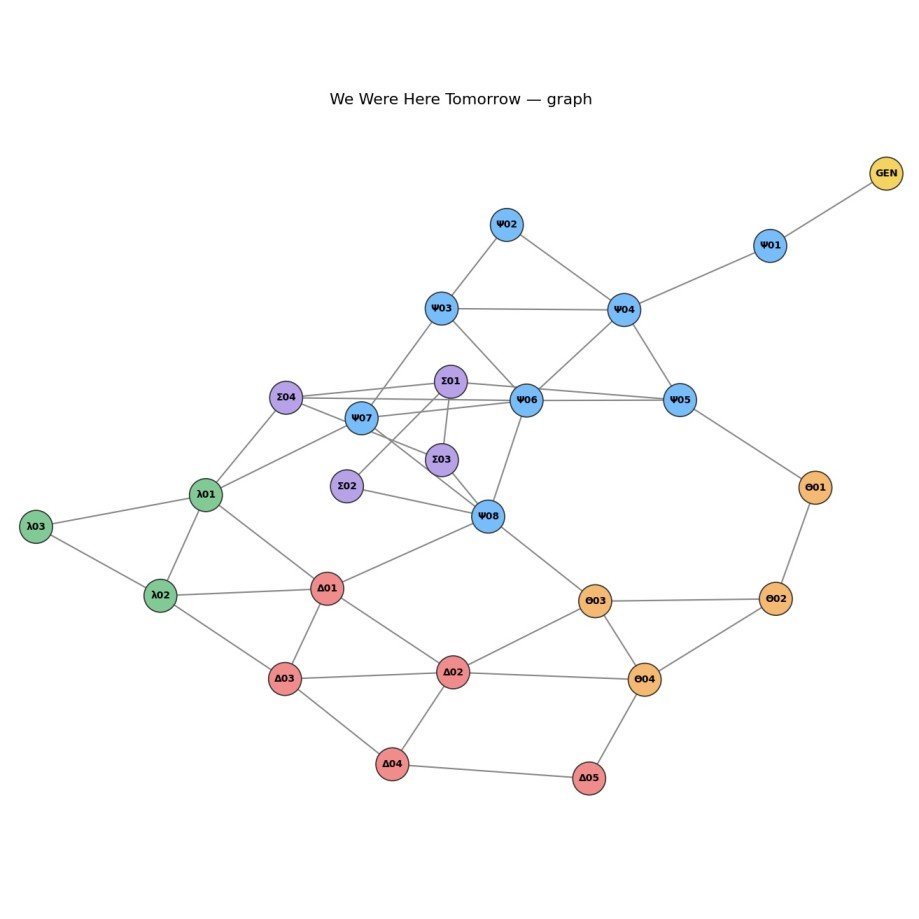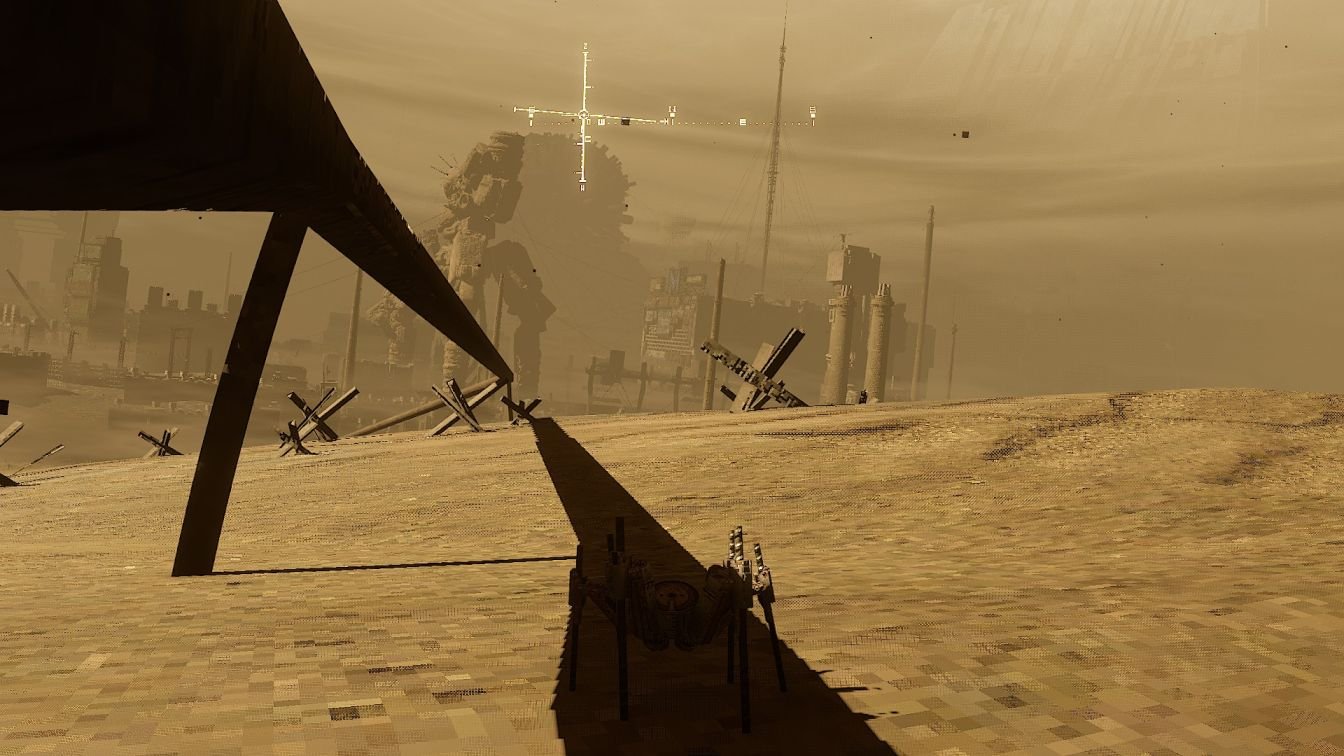

Finding all 12 jigsaw puzzle pieces in We Were Here Tomorrow requires thorough exploration across the Common Room, Research & Development, and neighboring testing areas. Note that once you reach the chamber ahead of the funicular, you must avoid pulling the central lever early, or the gateway back to the Common Room will seal shut before you can assemble the puzzle.
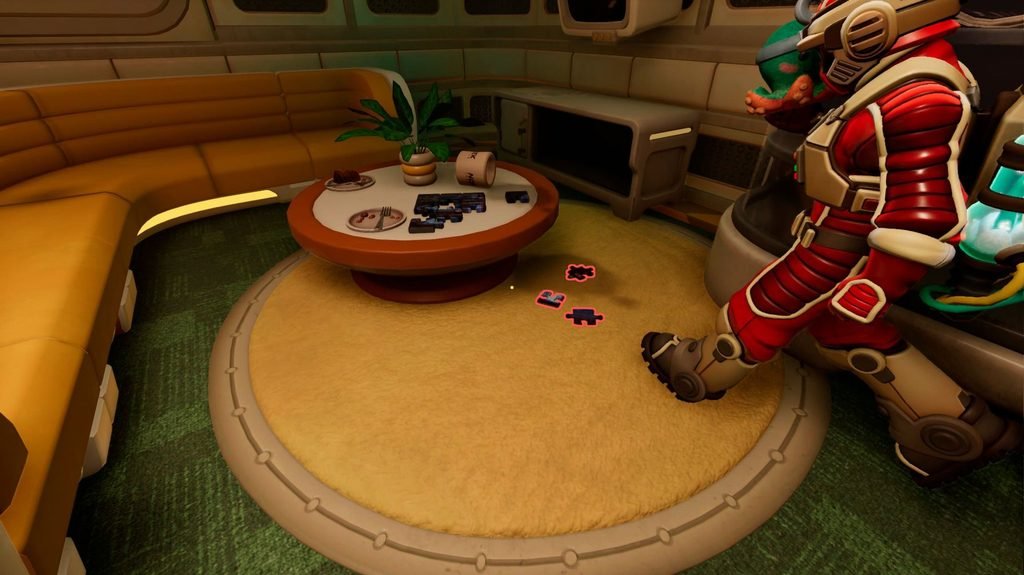
Pieces #1–3: Common Room
The first three pieces are located right next to the incomplete puzzle board itself in the Common Room (the central hub):
- Inspect the lower-right section beneath the small table holding the puzzle board.
- Pick up all three loose fragments resting on the floor before moving on.
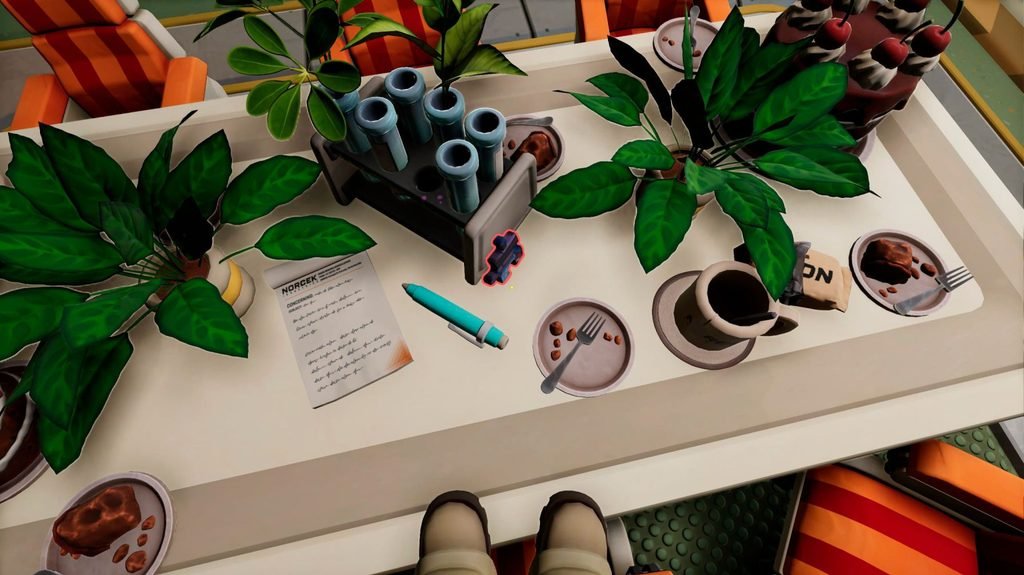
Piece #4: Common Room
Remain in the Common Room and make your way toward the dining table covered in cakes.
- Search the tabletop directly next to the notepad and test tubes to locate the fourth piece.
Piece #5: Research & Development
Head into the two-story Research & Development sector, which features two keycard terminals leading to the Prototype Room.
- Walk underneath the upper walkway and inspect the laboratory counter positioned to the right of the doorway.
- The fifth piece sits beside a mug on this counter.
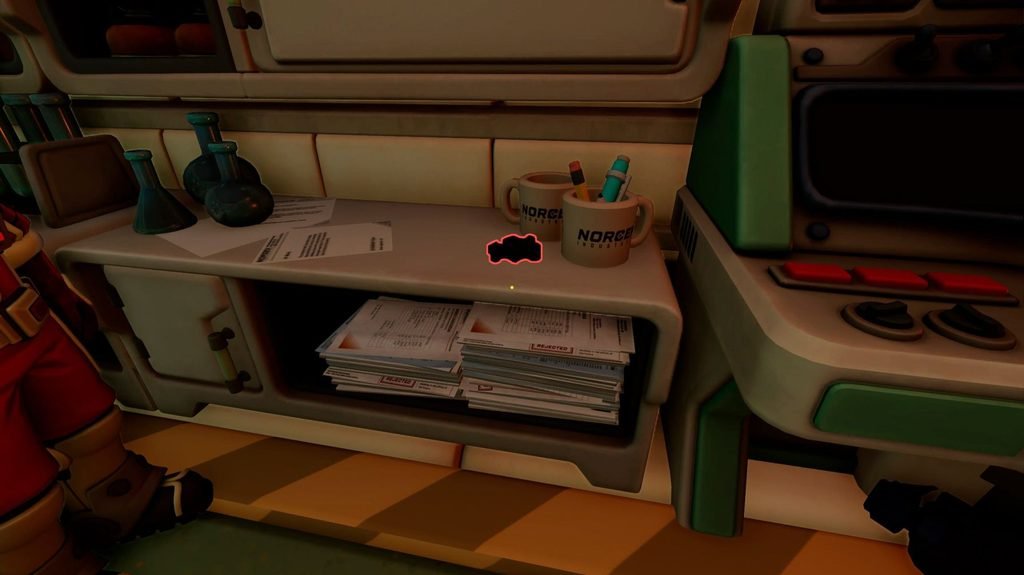
Piece #6: Research & Development
Stay within Research & Development and climb the stairs to the second level.
- Locate the small storage cabinet positioned to the left of the staircase landing.
- Open the cabinet to collect the sixth puzzle piece tucked inside.
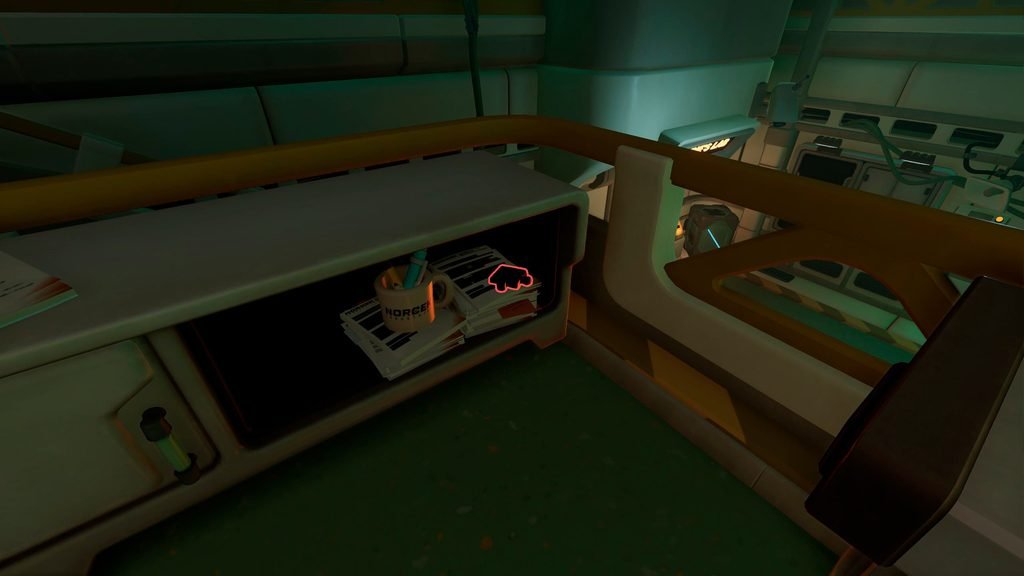
Piece #7: Prototype Room
The seventh puzzle piece rests high up on the blades of the left ceiling fan inside the Prototype Room.
- Take the elevator up to the primary platform or scale the wall via the parkour route.
- The teammate equipped with the hook can snag the collectible directly off the moving fan blade without having to shut down the mechanism first.
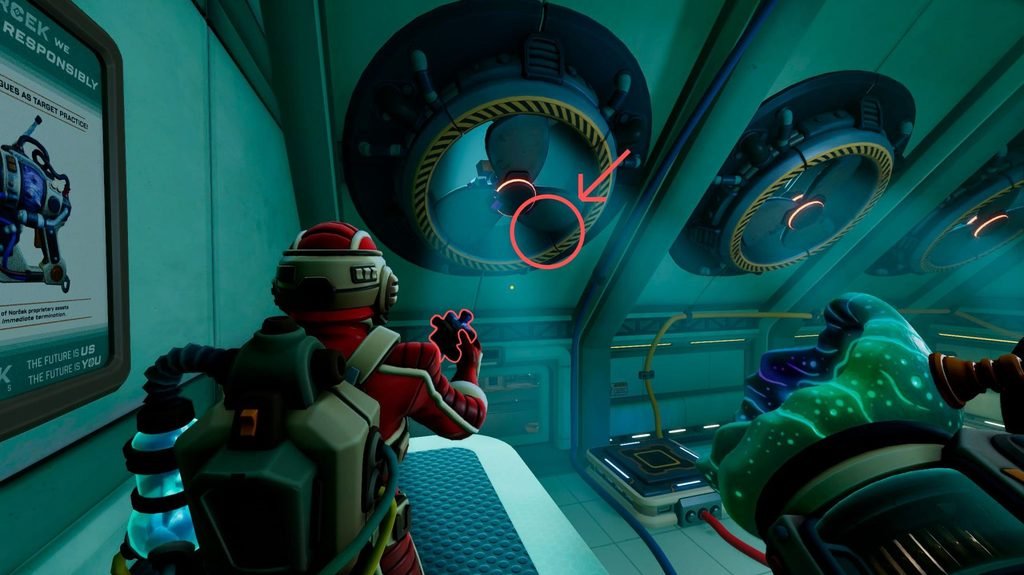
While the player handling cubes can jam the fan blades to keep them stationary, stopping the spin is entirely optional.
Piece #8: Outside the Prototype Tutorial Room
Finish the Prototype tutorial sequence, step into the adjacent chamber, and activate the dual switch simultaneously with your partner.
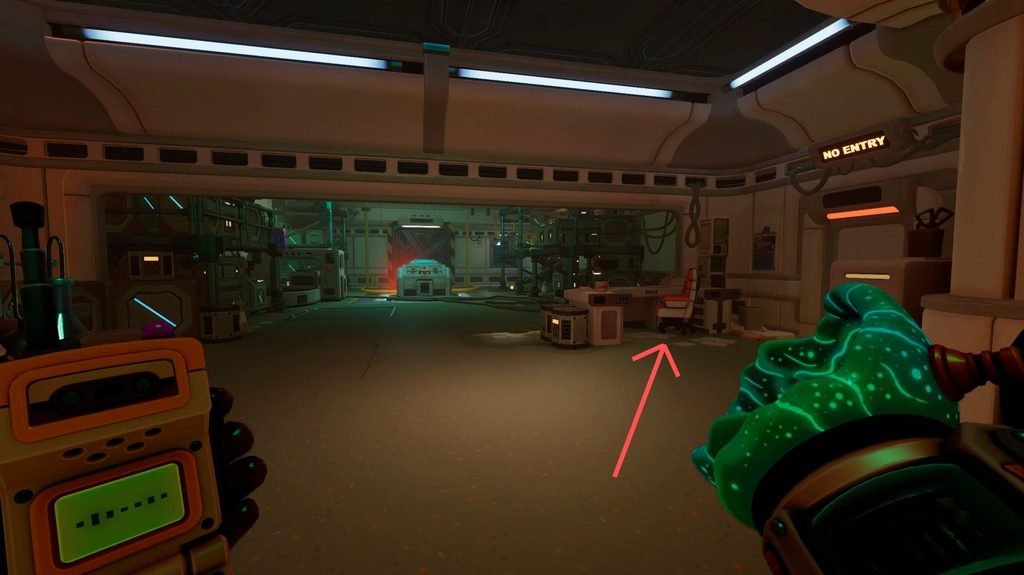
As soon as the exit opens, walk outside and examine the tabletop positioned immediately to the right of the doorway to claim the eighth piece.
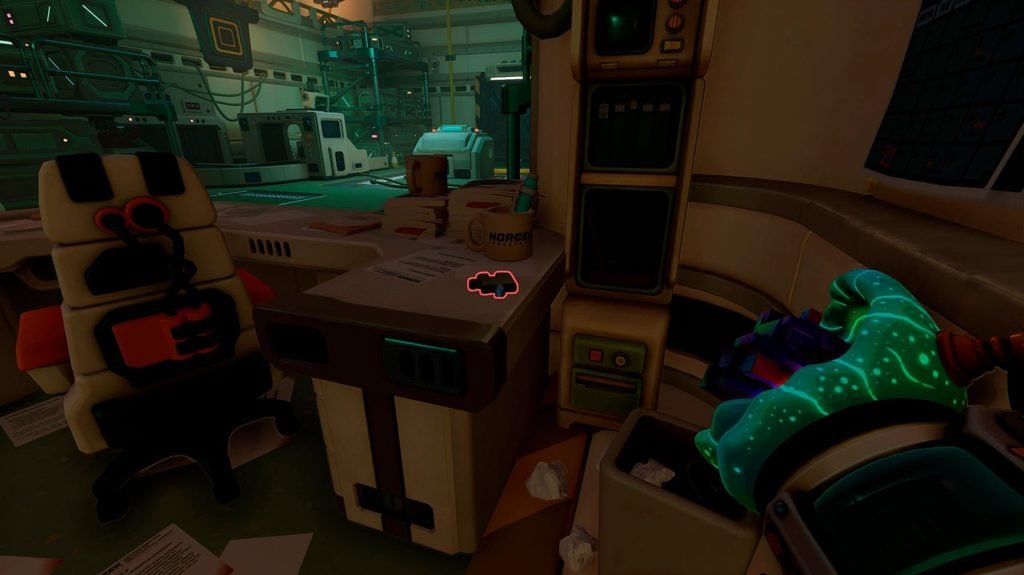
Piece #9: Stairs Leading Back to the Common Room
From the table where you picked up the eighth piece, head through the doorway situated to its left and begin ascending the flight of stairs.
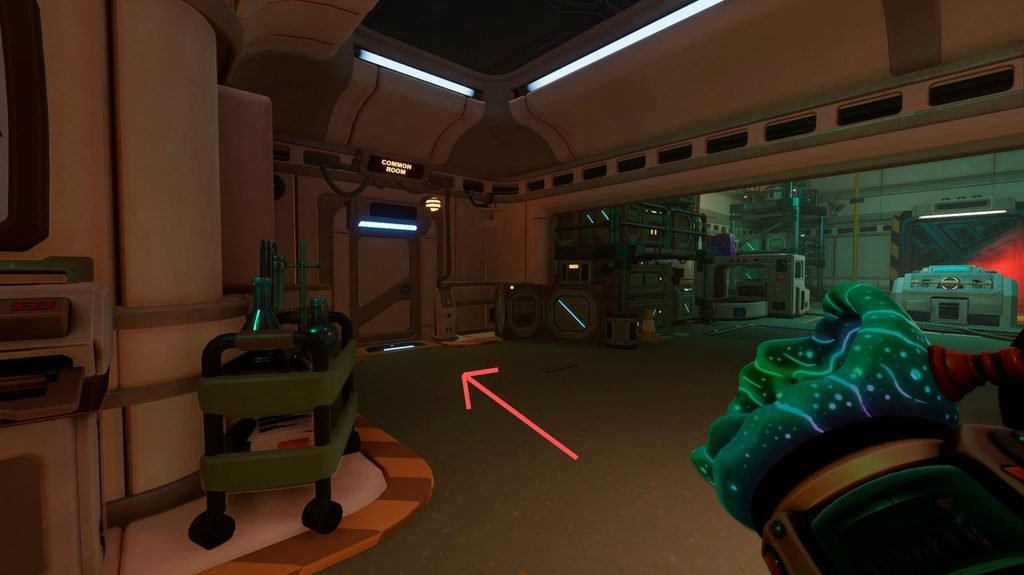
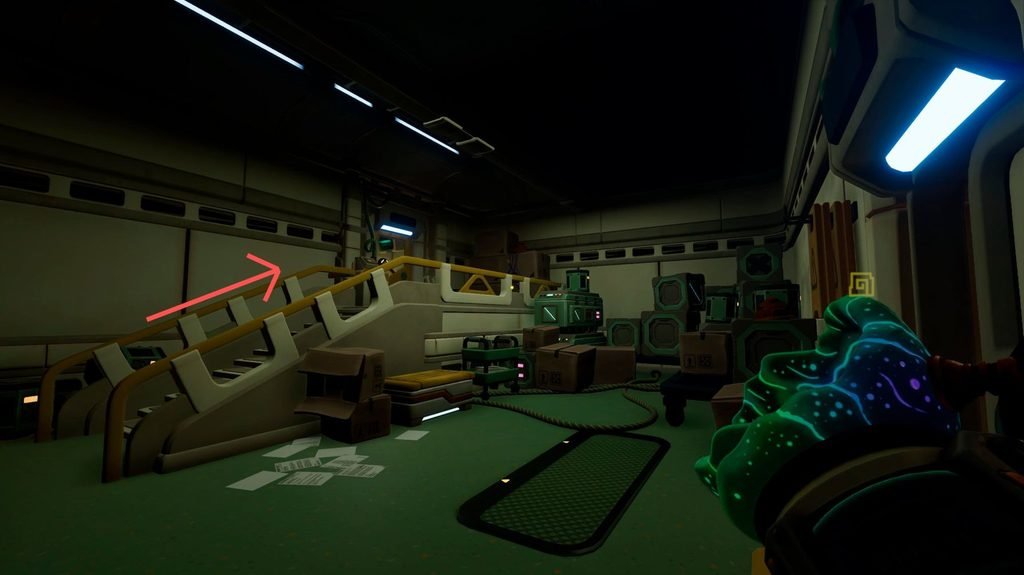
Near the top of the stairs, inspect the stack of crates resting to the right side of the gate. You will find the ninth puzzle piece lying directly beside a red hard hat on top of a box.
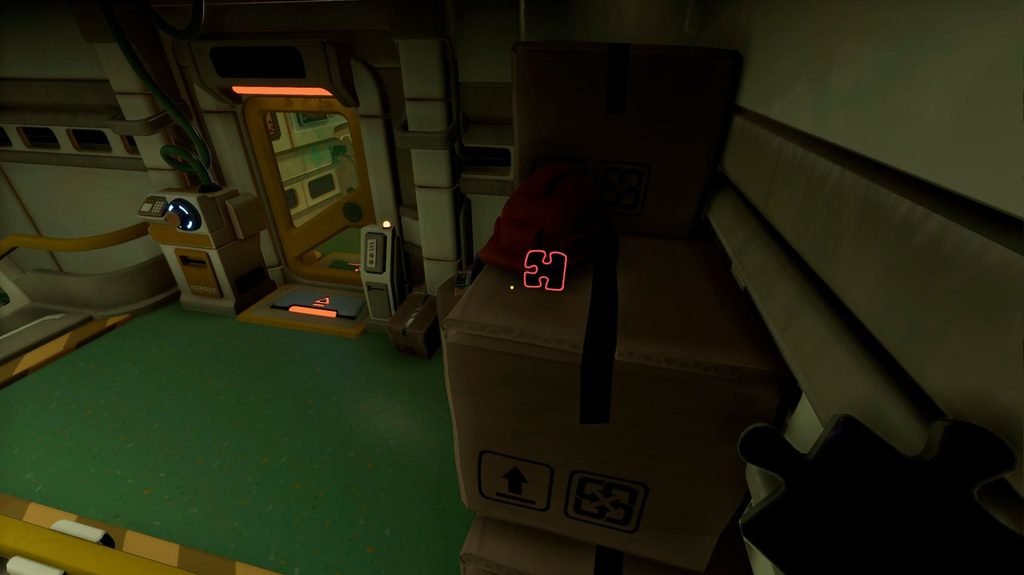
Piece #10: Room Before the Funicular
Crucial warning: Do not interact with the dual-handled lever situated in the middle of this chamber. Pulling it seals off the passage back to the Common Room and locks you out of completing the puzzle.
Instead, reach the upper level by clambering onto the available crates and machinery scattered around the room.
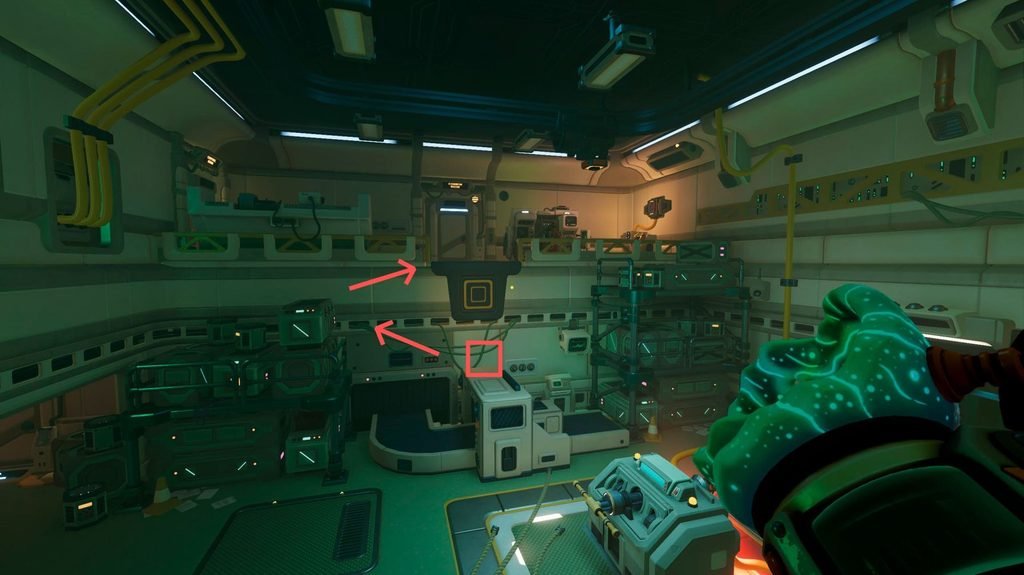
Once on the upper walkway, turn left toward the locked Control Room. The tenth puzzle piece rests directly on top of the computer terminal stationed outside.
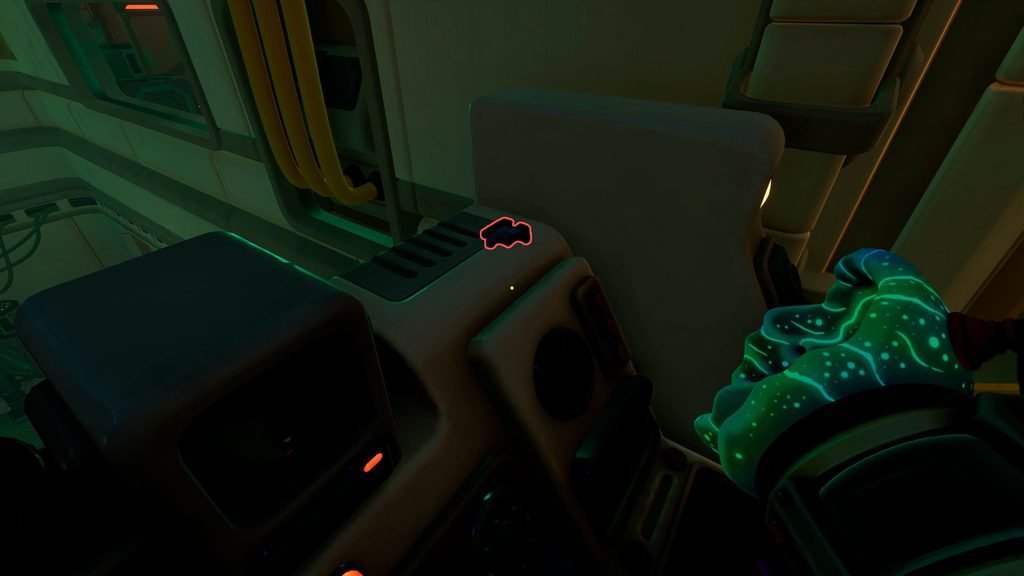
Piece #11: Common Room Balcony
From the upper floor where you picked up the tenth piece, pass through the doorway leading out onto the balcony overlooking the Common Room.
- Turn to the right to spot a computer desk.
- Check the bottom shelf of the small green cabinet resting directly to the left of this desk to retrieve the eleventh piece.
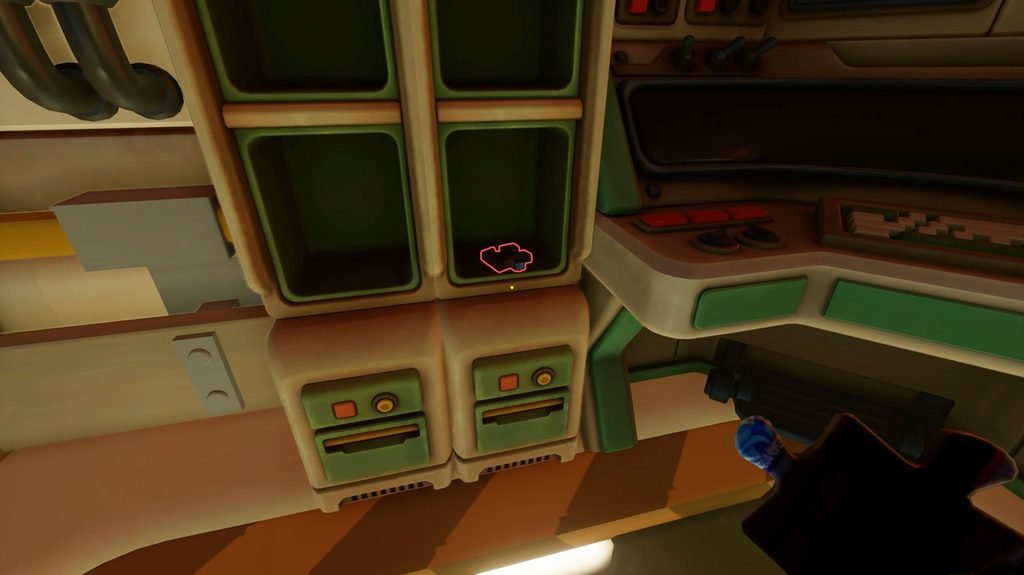
Piece #12: Common Room Balcony
Stay on the balcony and face back out toward the open expanse of the Common Room.
- Look upward toward the overhead ceiling fixtures hanging across the room to spot the final collectible.
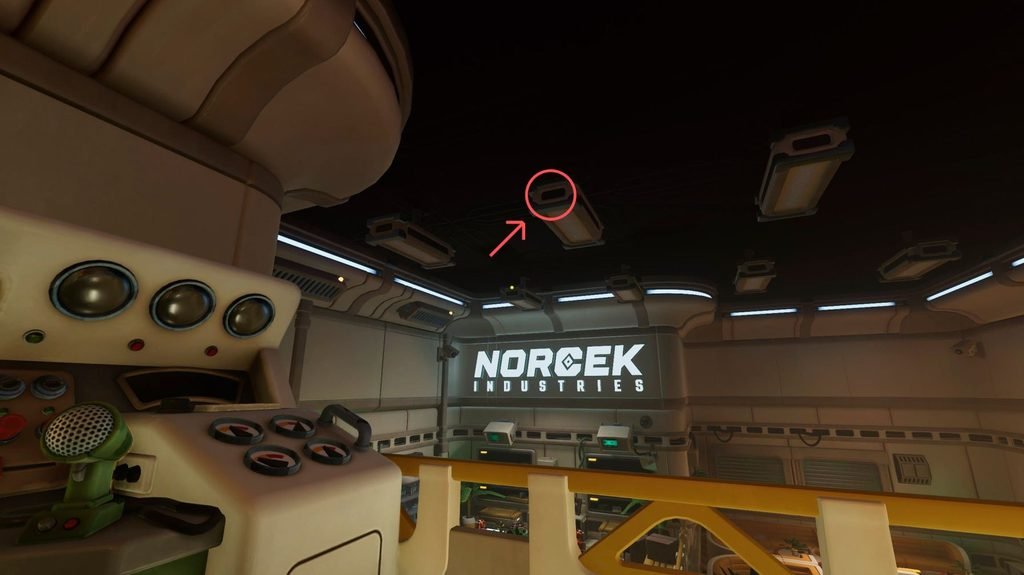
Collect this last fragment to assemble the full 12-piece set, then return to the puzzle table in the Common Room downstairs to fit them together.
Note: Completing the jigsaw puzzle does not award an achievement, but it triggers a fun Easter egg left behind by the development team.