


- All Save Token Locations in Hellraiser Difficulty
- Save Token 1 – After the First Knife Enemy
- Save Token 2 – Locked Container Near the Yellow Ladder
- Save Token 3 – First Merchant Visit
- Save Token 4 – Cabin at the Top of the Cemetery
- Save Token 5 – Flower Pot Near the Merchant
- Save Token 6 – After the Cabin Sequence
- Save Token 7 – Return to the Clubhouse
- Save Token 8 – Body After Retrieving the Peephole Insert
- Save Token 9 – Before the $ex Rooms
- Save Token 10 – Plant After the Second Bruno Fight
- Save Token 11 – Bedroom After Using the Elevator Key
- Best Places to Use Your Saves
- Can You Replay the Endings on Hellraiser Difficulty?
Save Tokens are your lifeline in Hellraiser Difficulty for Clive Barker’s Hellraiser: Revival. Unlike other modes, there’s no autosave or manual save option—without these tokens, your progress is at constant risk. Securing these handful of tokens scattered throughout the game is essential to maintaining momentum and avoiding frustrating restarts.
The tokens aren’t handed to you freely; they’re dispersed in various locations. Without a Save Token at hand, dying means replaying big chunks of the game. This design choice sharpens the tension but also demands careful resource management and exploration.
Across the adventure, you’ll find a total of 11 Save Tokens. Some are tucked inside locked containers or hidden on bodies, while others can be bought from merchants. Knowing exactly where to find each makes all the difference when survival hinges on saving.
All Save Token Locations in Hellraiser Difficulty
Tracking down every one of these 11 tokens in story sequence is the key to mastering Hellraiser Difficulty. Alongside their locations, you’ll get combat tips and suggestions on when to use your precious saves to avoid losing progress where it really counts.
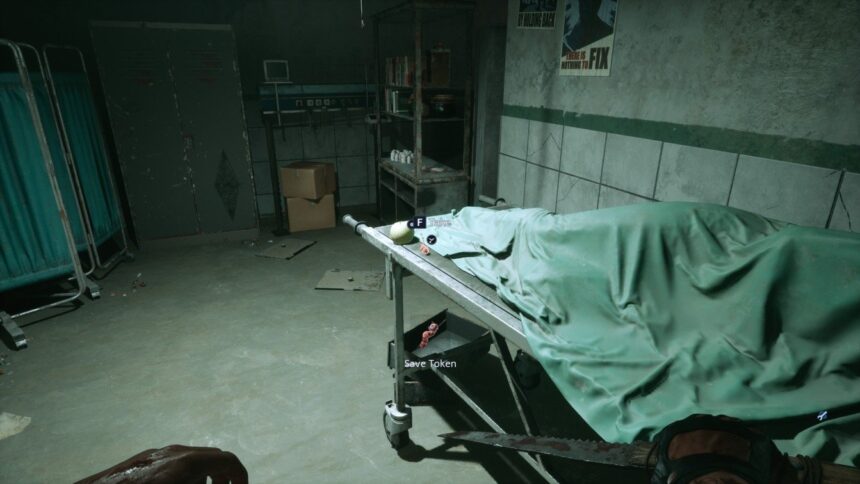
Save Token 1 – After the First Knife Enemy
Right after defeating your first knife-wielding enemy, enter the medical room featuring a stretcher with a corpse. The Save Token is found near the corpse’s leg. Remember to press E to collect it—it’s your first chance to secure that all-important manual save.

Once acquired, you can use this token from your inventory to save your game manually—don’t hesitate to do so before moving on.
Save Token 2 – Locked Container Near the Yellow Ladder
After grabbing the pistol and clearing out enemies in the warehouse, look for a locked container near the yellow ladder. This container holds numerous items, including a Save Token, but opening it requires lockpicking finesse.
To pick the lock, gently rotate it. If the lock doesn’t shake, you’ve hit the right spot—hold it steady until it pops open. If you feel a slight shake, you’re close but not quite there. This subtle mechanic ensures you don’t waste precious time or risk triggering alarms.
Save Token 3 – First Merchant Visit
Once you’ve escaped your initial tense encounter with Charlotte, you’ll meet Zora, the vendor. She’s your go-to for buying the third Save Token, which costs around 100 coins. Don’t forget to sell off unneeded items to amass enough currency for the purchase.
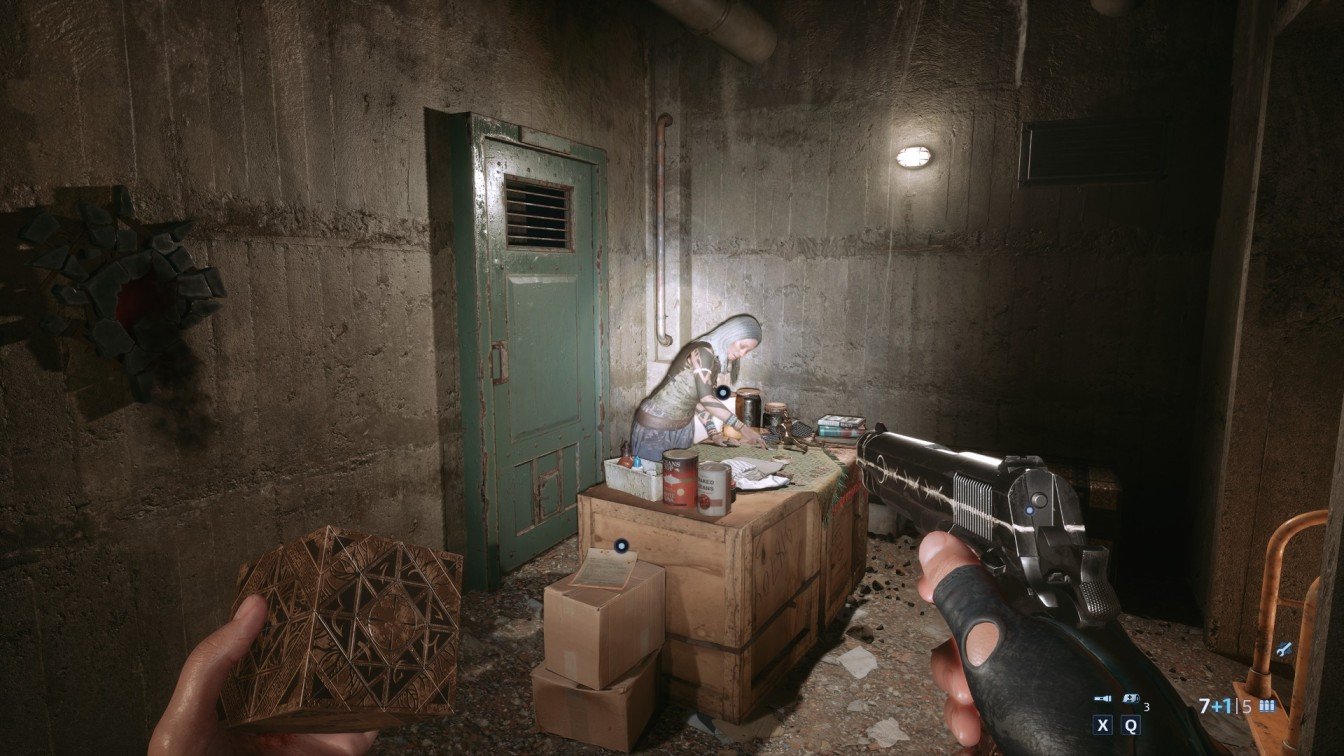
Purchasing this token early ensures a safety net in case the next areas prove challenging.
Save Token 4 – Cabin at the Top of the Cemetery
In the Graveyard, reach the cabin at the cemetery’s summit. Inside, you’ll find a locked safe containing the fourth Save Token. The code to open the safe is 9606, so have this ready to avoid unnecessary frustration.
Save Token 5 – Flower Pot Near the Merchant
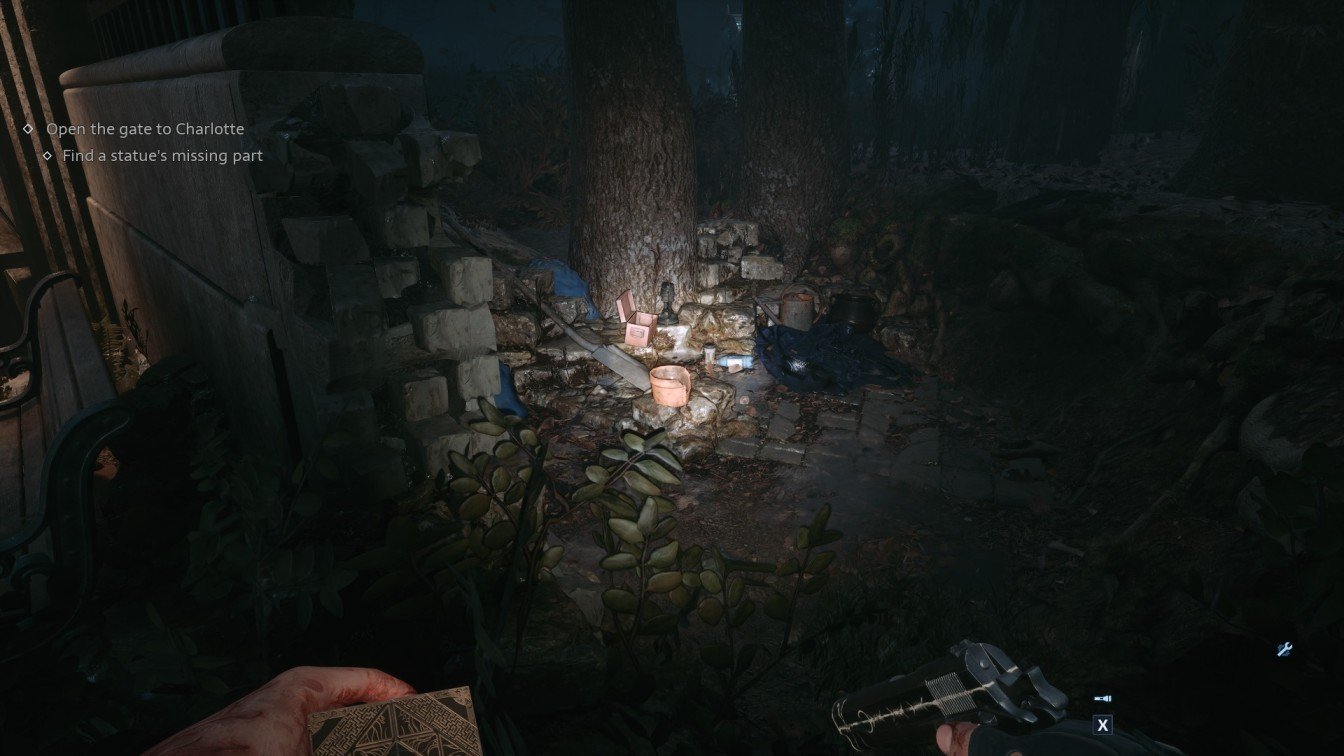
Continuing forward, after the triple statue gates, you’ll encounter another Merchant. Near her shop, a narrow forest path on the left leads you to several flower pots and a shovel. Inspecting one of these pots reveals the fifth Save Token.
Save Token 6 – After the Cabin Sequence
Once you’ve opened two statue gates and reach the third locked gate, circle back to Zora’s inventory to pick up the sixth Save Token. This buyable save point is crucial before challenging sections ahead.
Save Token 7 – Return to the Clubhouse
After defeating Charlotte and acquiring her heart, head back to the clubhouse area. Find the merchant nearby and buy the seventh Save Token for 300 coins. It’s a hefty price, but well worth it for the safety net it provides.

Save Token 8 – Body After Retrieving the Peephole Insert
Following your encounter with The Multi-Limb or Embracer at the club, pickup the peephole insert, then climb the nearby ladder. There’s a body positioned in this upper area holding the eighth Save Token—search carefully to claim it.
Save Token 9 – Before the $ex Rooms
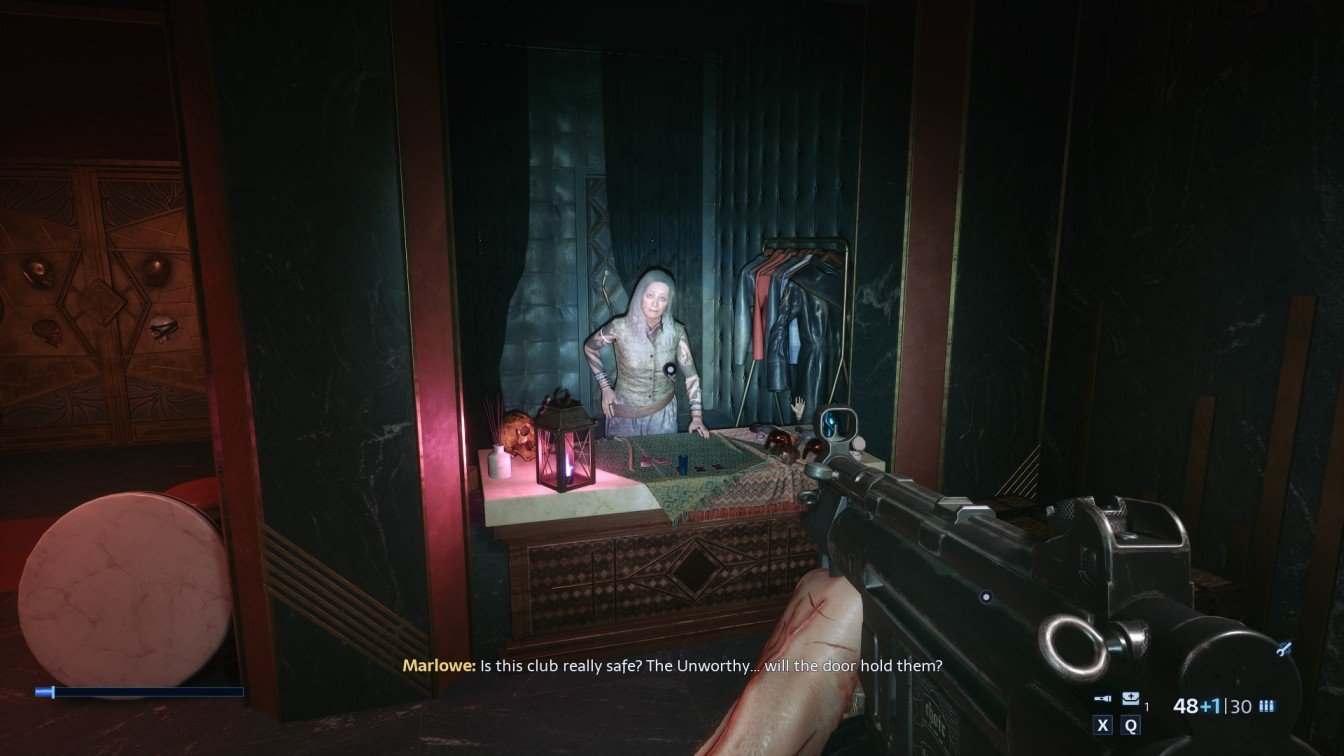
Back at the club after escaping Sister of Mercy and The Chatterer, locate the merchant just before entering the locked $ex rooms. Here you can purchase the ninth Save Token for 400 coins—a smart investment before a notoriously tricky area.
The token costs 400 coins.
Save Token 10 – Plant After the Second Bruno Fight
Once you defeat Bruno a second time and solve the bell puzzle to access the upstairs office, check the plant pot to the left of the bookshelves. This is where you’ll find the tenth Save Token—be sure to grab it before moving on.
Save Token 11 – Bedroom After Using the Elevator Key
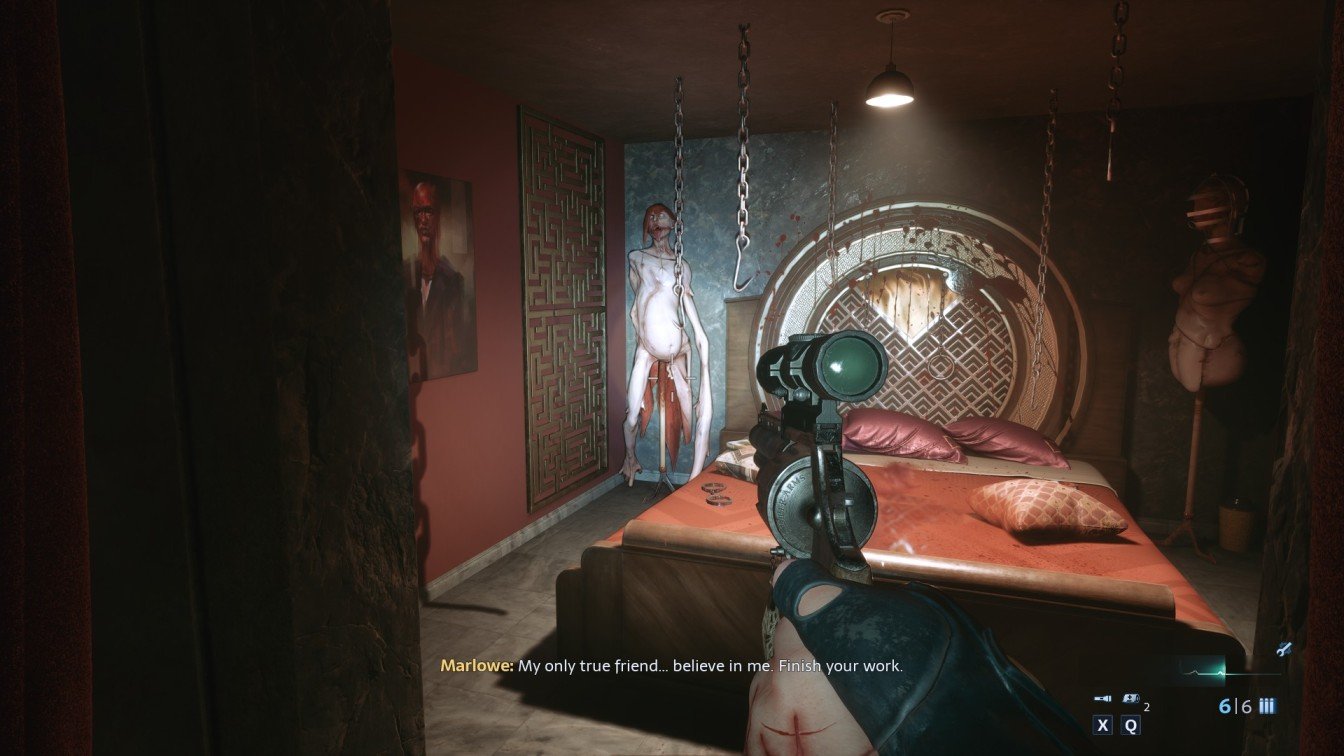
Use the elevator key and explore the bedroom overlooking Bruno’s surgery. The final Save Token is attached to a body on the left side of the room—this will be essential for your final stretch.
This body is your key to the last Save Token.
Best Places to Use Your Saves
Finding all 11 tokens is one thing, but knowing when to save is just as critical. Combat encounters and stealth sections in Hellraiser Difficulty can cost you hours if you die without saving. Use your tokens wisely to avoid going back too far.
Consider this save usage order, proven effective during play:
- After reaching the yellow ladder: Save near the second token area to stabilize progress early on.
- Before the cemetery house stealth section: The cabin at the graveyard’s top is a perfect safe spot before stealth.
- Before the first Bruno fight: Use boltcutters, then reload a save before facing Bruno.
- Before the cabin sequence: Backtrack and save to prepare for this challenging area.
- Before fighting Charlotte: A save here minimizes loss from a brutal fight.
- Before the voyeur room stealth section: Save before tackling the Sister of Mercy stealth segment.
- Before fighting Sister of Mercy: Have a fresh save before this boss fight.
- At the start of the Industrial Estate: Save near Zora after reaching the area.
- After the second Bruno fight: Save before using the elevator key.
- Before the large water room: Save before entering the hazardous, enemy-packed area.
- Before fighting Marlowe: Reserve your final save for this crucial boss fight.
You can tweak this save order if certain sections pose more challenge. Making sure you stock up on ammo, health, and loot before saving means less retracing if you do end up reloading.
Can You Replay the Endings on Hellraiser Difficulty?
Once you finish the game, you aren’t locked out from revisiting the endings on Hellraiser Difficulty. When the credits roll, head to the main menu and select Continue. This lets you re-experience the ending selections without replaying the entire game.
If the Continue option doesn’t allow it, simply load an earlier save and make your way back to fight Marlowe again.
You can even save smarter in a second run by skipping certain save points like the one in the watery room, then keeping those tokens for after the Marlowe fight—giving you a safety net for replaying endings later.