


- Desktop Explorer Walkthrough: All Puzzle Solutions, Passwords & Achievements
- OpenMe Password
- The Cave Puzzle Solutions
- The Temple Puzzle Solutions
- Temple Path 1 (Shai → Anubis)
- Temple Path 2 (Thoth)
- Temple Path 3 (Ra)
- Before starting M4x1mus puzzles, recover your account password by correctly answering security questions.
- Advance through the puzzles in this order for clarity.
Desktop Explorer throws puzzles at you from the very start, blending password cracking with layered file inspections and subtle environmental clues. These challenges demand more than just brute force guesses—you’ll need sharp eyes to catch details easily missed on a first try.
Progressing through each major section in sequence is essential. From simple passwords to multi-step interactions, these solutions will help you push past the sticking points without getting lost in overly complex trial and error.
Warning: Detailed puzzle spoilers follow for those who want answers over discovery.
Desktop Explorer Walkthrough: All Puzzle Solutions, Passwords & Achievements
OpenMe Password
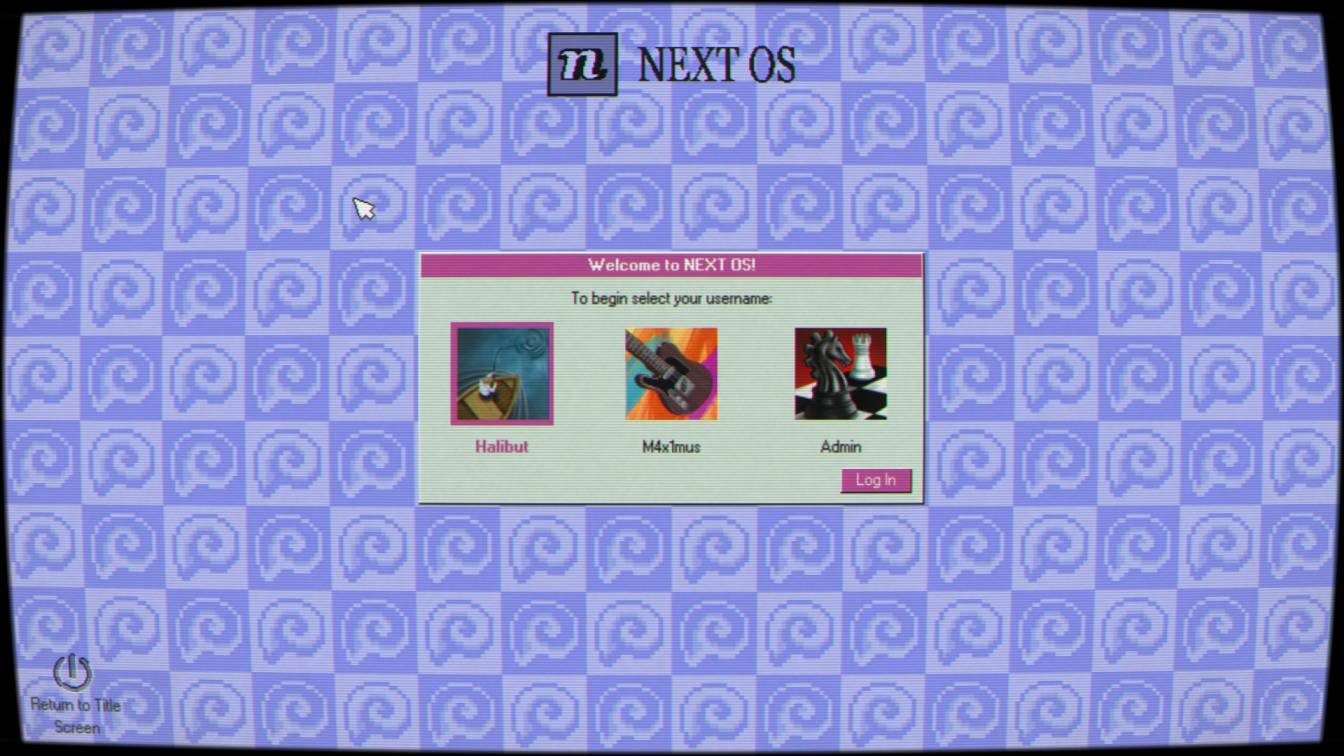
Entering guppy gives you access, kicking off the installation sequence. Then Pizarro, the in-game bot, guides you through navigation and essential mechanics, so pay close attention here.
OpenMe Password: guppy
Pizarro’s introduction is more than a tutorial—it sets the foundation for how to interact with puzzles effectively.
After entering the password, Desktop Explorer installs on your computer.
A bot named Pizarro then appears on your screen. It introduces the Desktop Explorer system, explains the basic navigation, and teaches you how the game’s puzzle mechanics work. Don’t skip these messages because they explain several controls that become important later.
The Cave Puzzle Solutions
The Cave is Desktop Explorer’s first significant puzzle hub. Most answers are single words or phrases, but a handful require actions rather than typed inputs.
Puzzle 0 – Prologue: Enter fortuna.
Puzzle 1 – Go In: The password is Inanna.
Puzzle 2 – Ancient Ruins: Type ELEPHAS.
Puzzle 3 – Narrow Tunnel: The solution is SALVE.
Puzzle 4 – Crossroads: Unlock with PORTONUS.
Puzzle 5 – Big Door: Enter MMTT.
Puzzle 6 – Lights Out: Use the password Kassandra.
Puzzle 7 – Dark Sanctum: Type RUBICON to proceed.
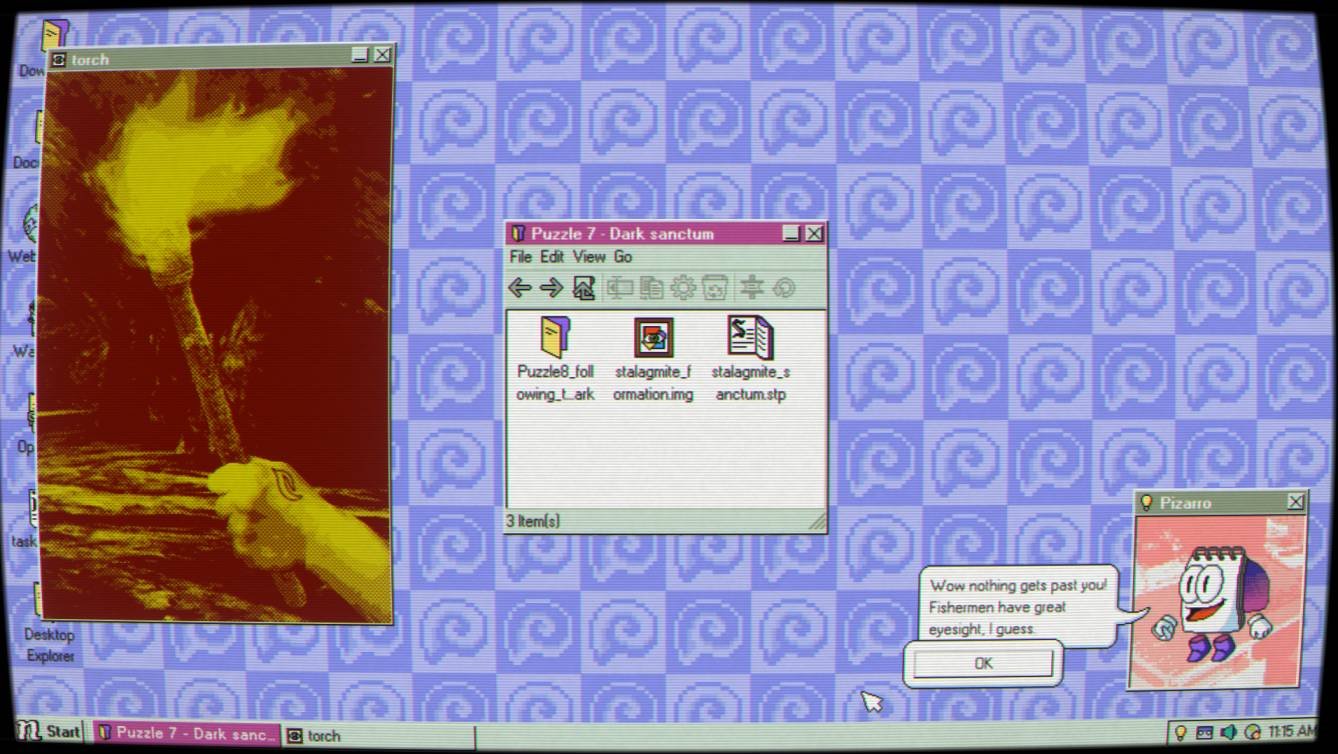
Puzzle 8 – Following the Dark: Again, use RUBICON.
Puzzle 9 – Altar: This one breaks the pattern. Instead of a password, you need to stack stones physically on the altar. Typing answers won’t work here, so interact with the objects meticulously.
Puzzle 10 – Beyond: A multi-step task that unfolds gradually. First, gather the three stones found during Puzzle 6 and Puzzle 8.
Stack the images of these stones and then use the lens on the mural to reveal hidden passwords. Each color filter flashes a clue requiring input in this order: crocodile, then 14, followed by fire, and finally Walleye.
Achievement Tip: Instead of entering Walleye as the last password, typing father unlocks the This Is Not Your Computer achievement. Be careful not to miss this on your first run.
Completing these steps clears The Cave and opens the next game region.
Next, use the lens on the mural in the room. Each color reveals a different password. Enter them in the order below.
crocodile > 14 > fire > Walleye
Missable Achievement – This Is Not Your Computer
Instead of entering Walleye, type father as the final answer to unlock the This Is Not Your Computer achievement. If you enter Walleye first, you’ll miss this achievement during that playthrough.
Once you finish these four steps, you’ll clear The Cave and unlock the next major area of the game.
The Temple Puzzle Solutions
The Temple unlocks after The Cave and branches into three character-driven paths. Puzzles vary widely here — passwords, file renames, and object inspections become the norm.
Adhere to the sequence below to maintain progress and avoid roadblocks.
Temple Path 1 (Shai → Anubis)
Start the Temple with Shai and progress to the Anubis route.
Anubis Puzzle: The password is Ammit.
Words From Beyond 1: Rename the file ABRACADABRA to INANNA and save.
This rename is crucial for advancing.
Words From Beyond 2: Input SEKHETAARU.
Yellow Lockbox Puzzle: The solution lies in the trash bin. Instead of searching further, just open the bin to find the clue you need.
This puzzle is easier than it first looks.
Temple Path 2 (Thoth)
Temple Path 2 (Thoth)
Select Thoth when it becomes available.
Thoth Password: 5267
Hourglass Puzzle: Set the correct value at 67.
Choose Go to the Future afterward to continue onward.
Temple Path 3 (Ra)
The Ra path includes varied challenges. Follow each task in order to avoid confusion.
Ra Puzzle: Enter Sahmat.
Tomb Site – Rename the Magic Word
Open the source code and type exactly: WE ARE INCOMPLETE WITHOUT YOU. Then talk to Pizarro.
Use the in-game hint light bulb if stuck to guide you through.
When questioned, answer NO.
When the game asks a question, answer: NO
Tomb Site – Mistake File Actions:
- Compress the Mistake file.
- Then open that compressed file again.
Once reopened, enter the final answer.
Tomb Site Answer: MERNEITH
Solving this finishes the Temple and grants access to the next section.
Tomb Site Answer: MERNEITH.
M4x1mus Password Recovery Answers
Before starting M4x1mus puzzles, recover your account password by correctly answering security questions.
Here are the required answers:
| Security Question | Answer |
|---|---|
| Dinosaur | stegosaurus |
| Future School | cascadia |
| Middle Name | Faiza |
Getting these right unlocks the M4x1mus segment.
M4x1mus Puzzle Solutions
M4x1mus is notably complex, containing passwords, navigation puzzles, file management tasks, and mini-games. Observing desktop details is often part of puzzle solving here.
Advance through the puzzles in this order for clarity.
For the Do Not Open file, enter password: POWER.
Follow the solutions below in order.
When you reach the Do Not Open file, enter the following password: POWER
The Wait, Do Not Move puzzle requires no code. Instead, swap out the screen protector with the maze image, and the puzzle progresses automatically.
This puzzle doesn’t need a code.
Replace the screen protector with the maze image. After swapping it, the puzzle will continue automatically.
NextRooms Login Details:
| Username | Password |
|---|---|
| The_Max | sweaters123 |
Compass Puzzle: Use the clock at the screen’s bottom-right for orientation. The red arrow points north, then input directions exactly: North → West → South → East → South → West.
This mimics a classic Konami Code style input, demanding precise sequence entry.
Compass Puzzle
This puzzle can be confusing because the direction changes with the compass.
Look at the clock in the bottom-right corner of the screen. Use the red arrow as north, then enter the directions in the following order.
North → West → South → East → South → WestThe input follows the same style as a Konami Code, so make sure you enter every direction in the correct sequence.
Room Codes
Room Codes Collected:
- RC-CLR7V40
- RC-L1Z4RD5
- RC-CLR7V40
- RC-L1Z4RD5
K4M4R3N4 Quiz Answers:
| Question | Correct Answer |
|---|---|
| Dream in Gouache | The Sweaters |
| Slasher Fest | Zombie |
| Rod & Reel | Red |
| Linkearlier’s After Trilogy | Pineapple Summer |
Magic Hat Puzzle Answer: CRONOS
Aquarium Puzzle Code: 3142
Second Compass Puzzle: Again use the clock and red arrow as north, entering the directions: North → South → East → North → East → South.
Wormhole Puzzle Steps: Collect painting codes, then save images of the television and the painting with shapes. These come into play shortly.
Color Codes for Painting Puzzle:
| Color | Value |
|---|---|
| Purple | 0 |
| Red | 2 |
| Blue | -2 |
| Green | 3 |
| Yellow | 1 |
Number Grid Layout:
| 8 | 1 | 6 |
| 3 | 5 | 7 |
| 4 | 9 | 2 |
Painting Entry Order for Puzzle:
- 896
- 712
- 354
Note that the 8-ball clue comes specifically from the painting itself, not from unrelated 8-ball images you might encounter.
Complete the paint puzzle using these clues to proceed.
Col Locker Password: 0321
Ticket Puzzle Instructions: This puzzle involves several actions. First, play the game until you receive a ticket, then duplicate it repeatedly. Compress these duplicates into ZIP files, copy the ZIPs again, and repeat until accepted.
This requires patience and methodical repetition until the system registers completion.
Vending Machine Code: Insert $3.75 exactly to move forward.
Nonogram Puzzle: Solve the entire grid to continue. No password required here.
Dress-Up Puzzle: Outfit the mannequin to exactly match the figure in the reference photo on the wall. The puzzle won’t accept incomplete or inaccurate matches.
Color Codes
Use these values during the painting puzzle.
| Color | Value |
|---|---|
| Purple | 0 |
| Red | 2 |
| Blue | -2 |
| Green | 3 |
| Yellow | 1 |
Number Layout
Arrange the numbers like this.
| 8 | 1 | 6 |
| 3 | 5 | 7 |
| 4 | 9 | 2 |
Painting Order
After collecting every clue, enter the paintings in this order.
- 896
- 712
- 354
Note: During this puzzle, you’ll come across several different 8-ball images. The correct clue comes from the painting’s 8-ball, not the key, advertisement, or image file. This small detail has confused a lot of players.
Paint Puzzle
After entering the correct painting order, complete the Paint Puzzle using the clues collected from the Wormhole section.
Col Locker Password: 0321
Ticket Puzzle
This puzzle is different from the others because it requires several actions instead of entering a password.
Complete it in this order:
- Finish a game until you receive a ticket.
- Create copies of the ticket.
- Compress the copied tickets into ZIP files.
- Copy the ZIP files again.
Keep repeating the required steps until the puzzle accepts your result.
Vending Machine
Insert exactly: $3.75
Nonogram Puzzle
Solve the Nonogram completely to continue.
There isn’t a password for this section.
Dress-Up Puzzle
Dress the mannequin so it matches the person shown in the picture hanging on the wall.
The outfit has to match the reference image before the puzzle will accept it.
Dress-Up Puzzle 2