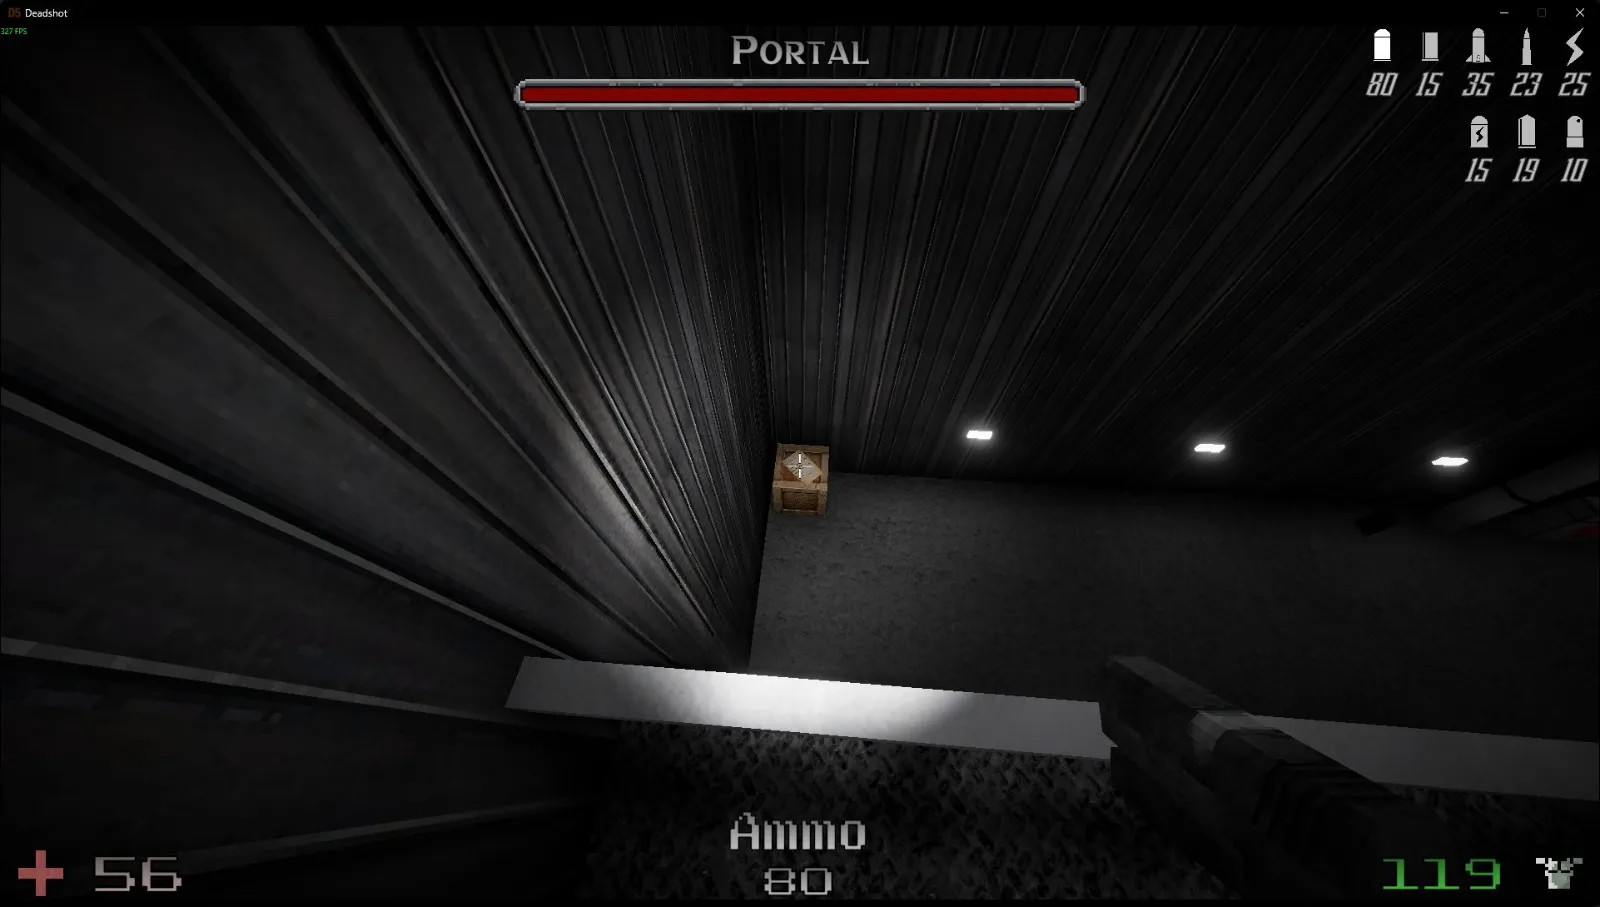
Hunting down the last collectible? This walkthrough covers all secrets, all notes for Educated, and every fountain for Thirsty, with a few achievement detours along the way.
- Before You Start
- C1L1 — The Barracks
- C1L2 — Power Control
- C1L3 — Power Core
- C1L4 — Maintenence Tunnels
- C1L5 — Storage Area
- C1L6 — Area 66
- C2L1 — Town Square
- C2L2 — Central Park
- C2L3 — Sewage
- C2L4 — Subway Tunnels
- C2L5 — Industrial Area
- C2L6 — Periphery
- C3L1 — Entrance Zone
- C3L2 — Beta Labs
- C3L3 — Alpha Labs
- C3L4 — Containment Zone
- C3L5 — Mutagen
- C3L6 — Dead End
Before You Start
I’ve arranged the route in level progression order, so you can follow along as you play rather than bounce between separate collectible lists. Here’s what each level contains:
- C1L1: 4 notes + 3 secrets
- C1L2: 2 notes + 3 secrets
- C1L3: 3 notes + 3 secrets
- C1L4: 3 notes + 3 secrets
- C1L5: 2 notes + 2 secrets
- C1L6: 1 note + 1 secret
- C2L1: 2 notes + 4 secrets + GOOOOAL!!!!! achievement + Easter egg developer room
- C2L2: 2 notes + 4 secrets + Thirsty achievement
- C2L3: 3 notes + 2 secrets
- C2L4: 2 notes + 5 secrets
- C2L5: 3 notes + 4 secrets
- C2L6: 1 note + 2 secrets
- C3L1: 2 notes + 2 secrets
- C3L2: 2 notes + 3 secrets
- C3L3: 2 notes + 1 secret
- C3L4: 3 notes + 3 secrets
- C3L5: 3 notes + 2 secrets
- C3L6: 2 notes + 1 secret
C1L1 — The Barracks
Level total: 4 notes and 3 secrets. Break the wood, then enter the first door on the left to find a secret.

Enter the room directly across from your starting room. The note is on the bed.
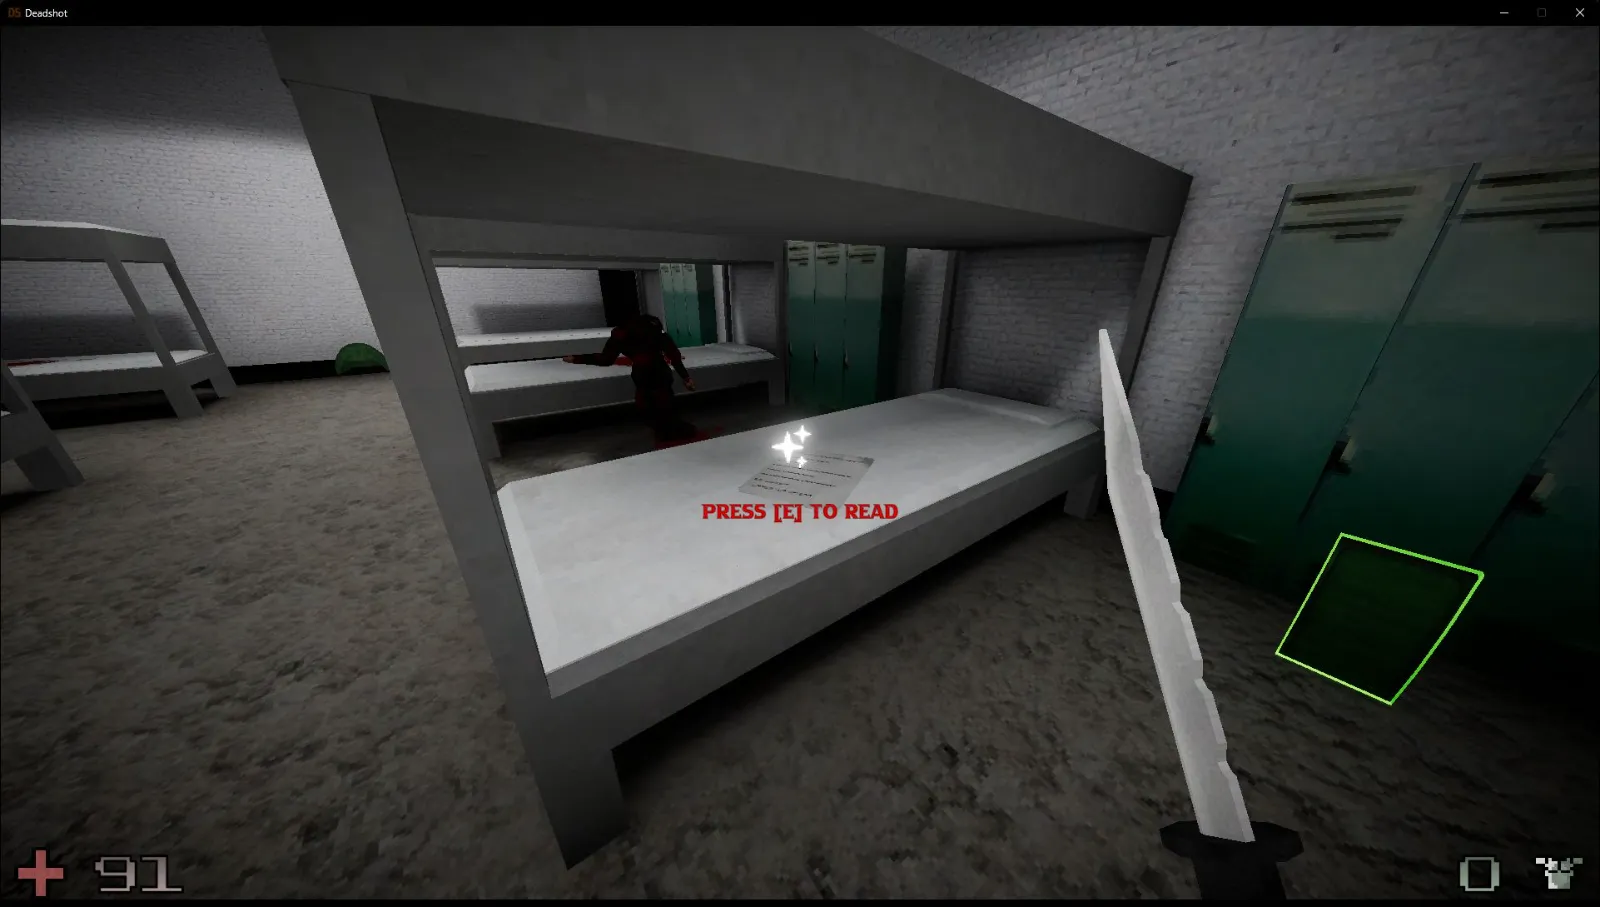
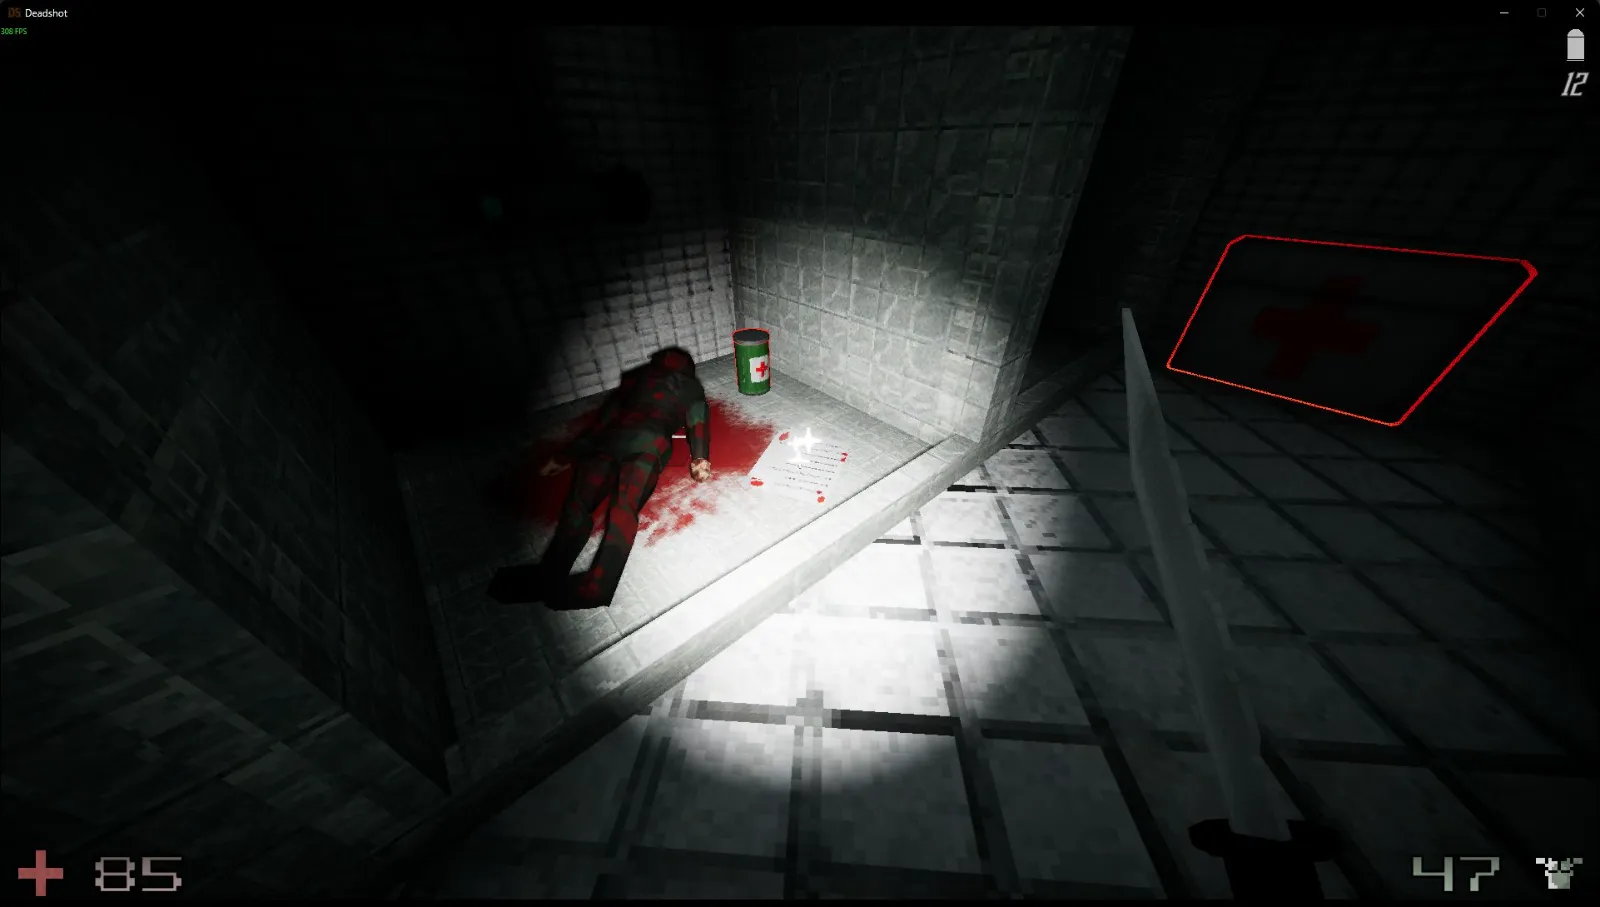
Head into the men’s side of the bathroom and check near the showers at the back for another note.
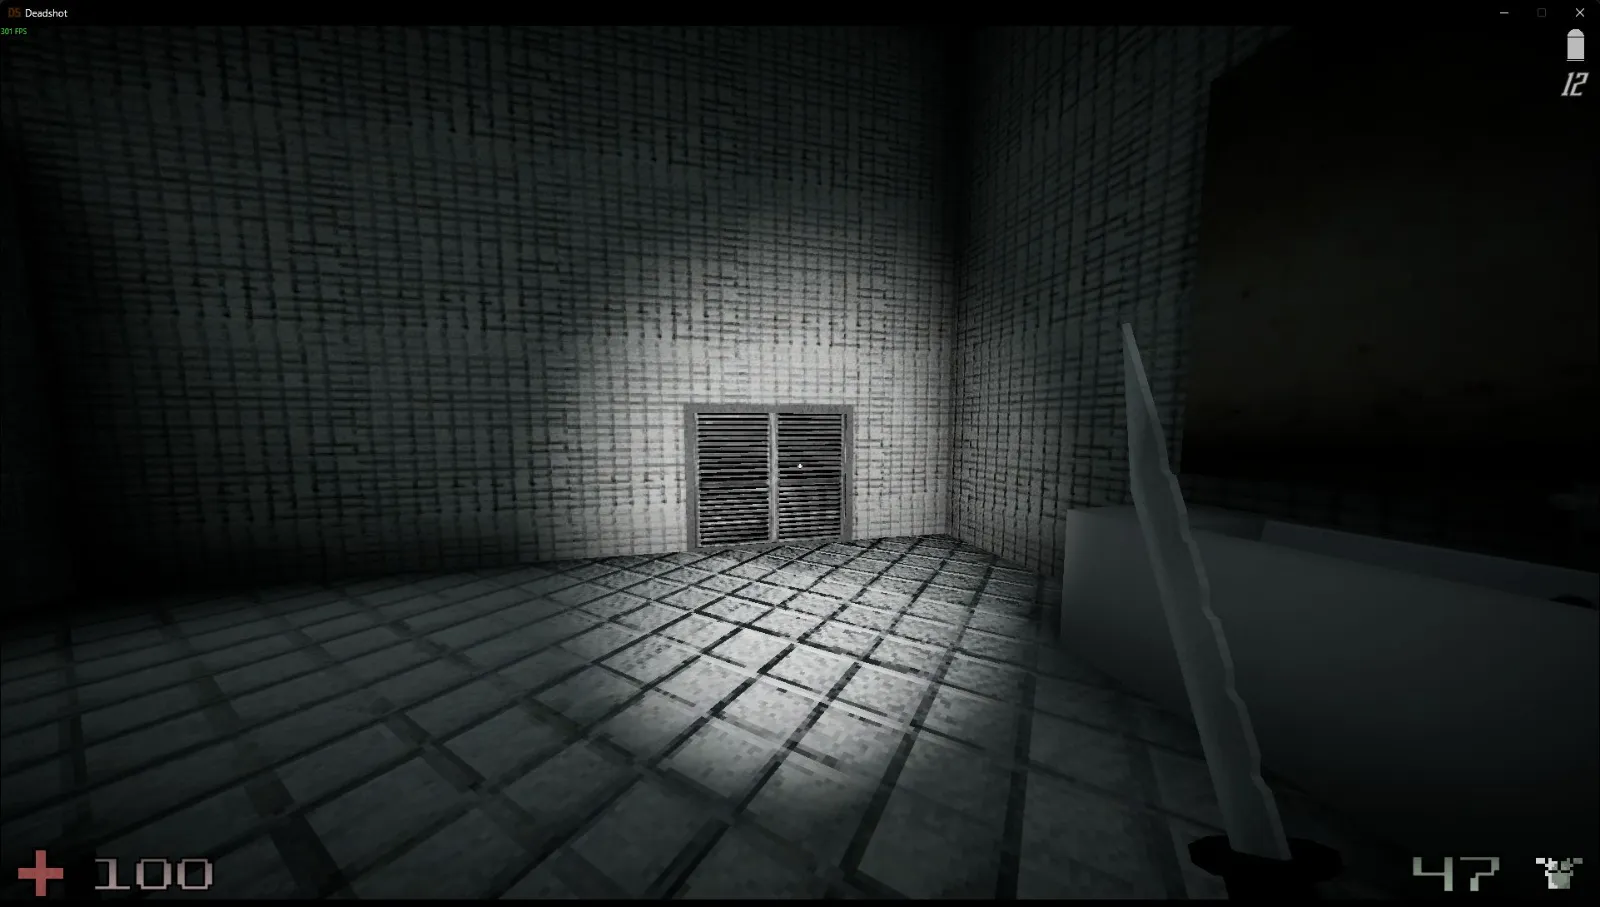
Before leaving the bathroom, climb into its vent to discover a secret.
In the pistol room, collect the note from the table.
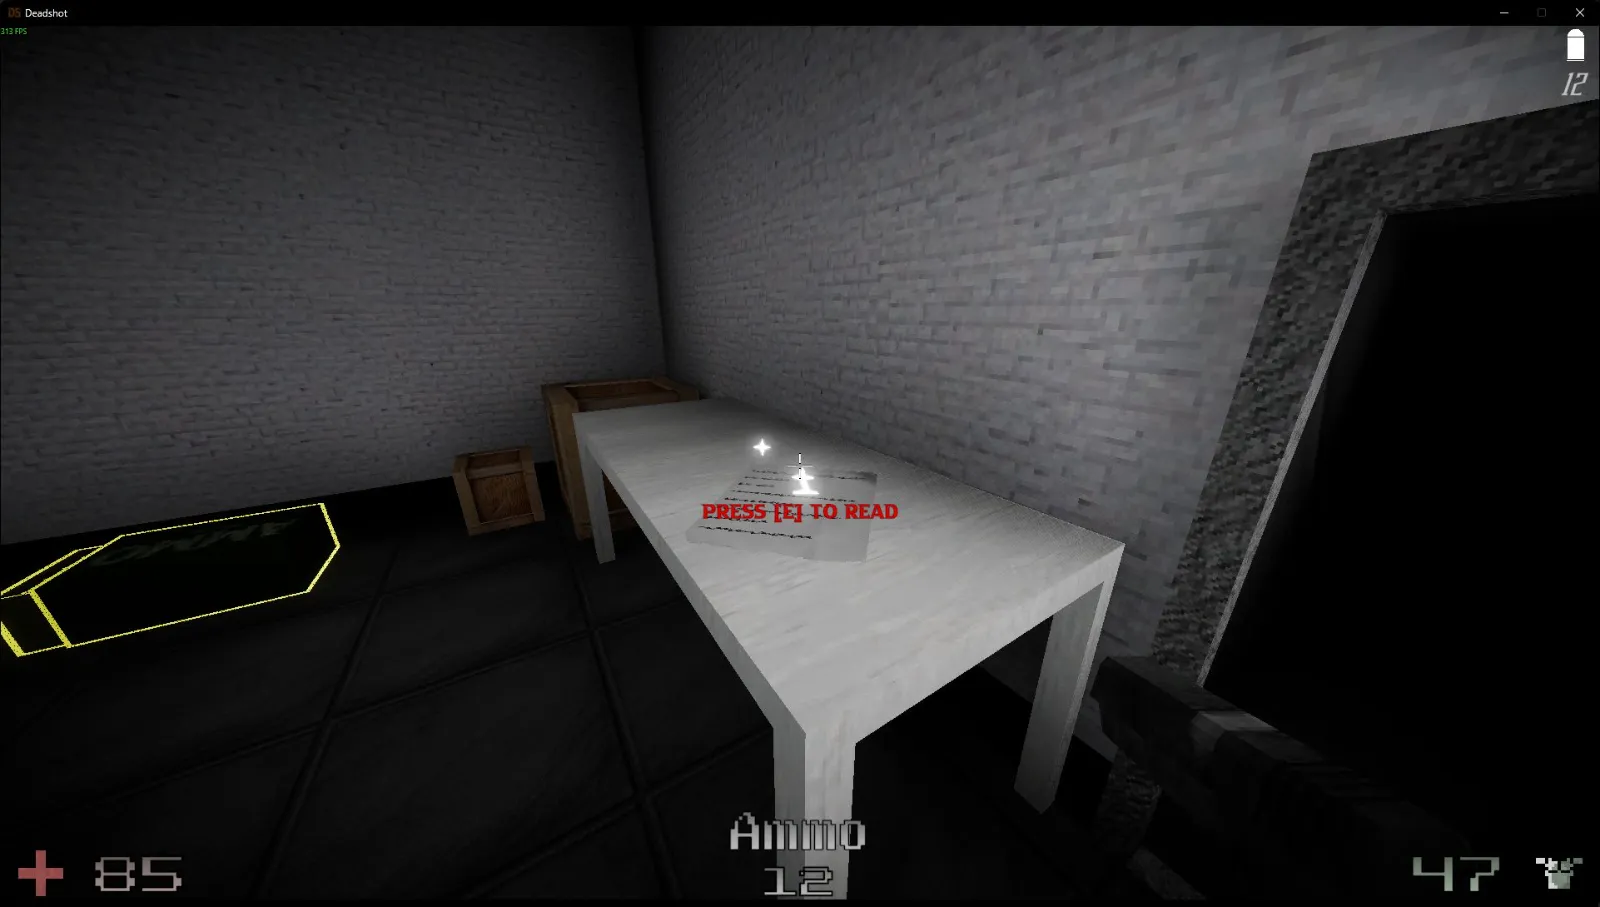
Check the control panel for the next note.

Head down the stairs to find the remaining secret.

C1L2 — Power Control
Level total: 2 notes and 3 secrets. Start by collecting the note on the control panel.

Enter the vent beneath the stairs to reach a secret area.
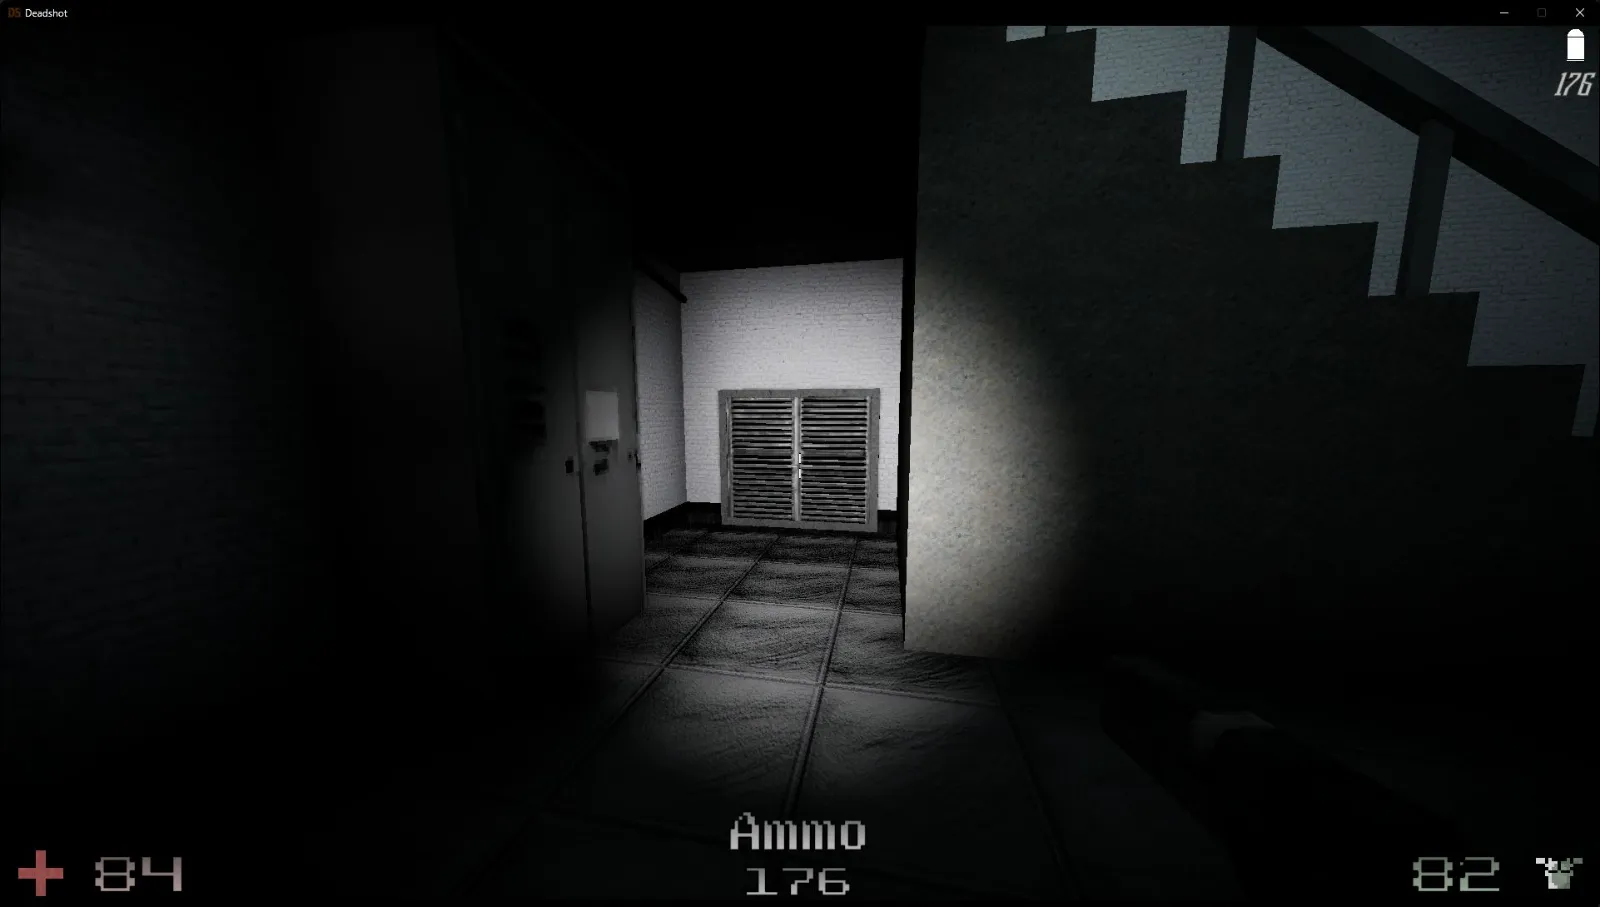
Pick up the note inside the vent’s secret area before moving on.
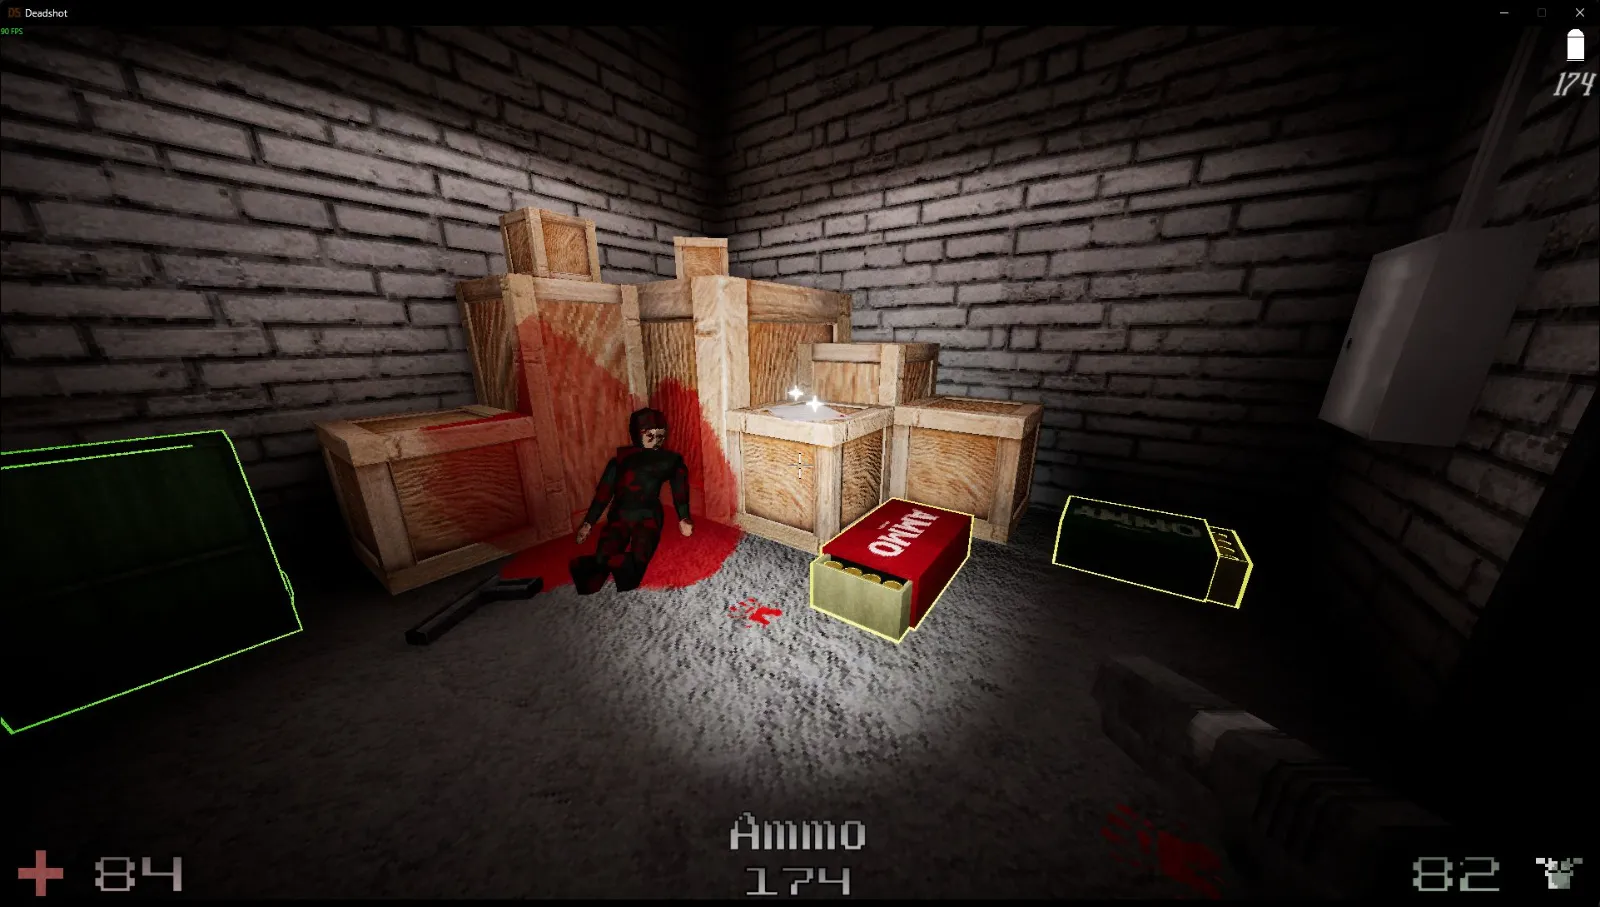
Once you have both fuses, return to the North Wing for the next secret detour.

After obtaining the keycard, backtrack to the control room and use it on the door to access the remaining secret.

C1L3 — Power Core
Level total: 3 notes and 3 secrets. The first note is on the control panel.
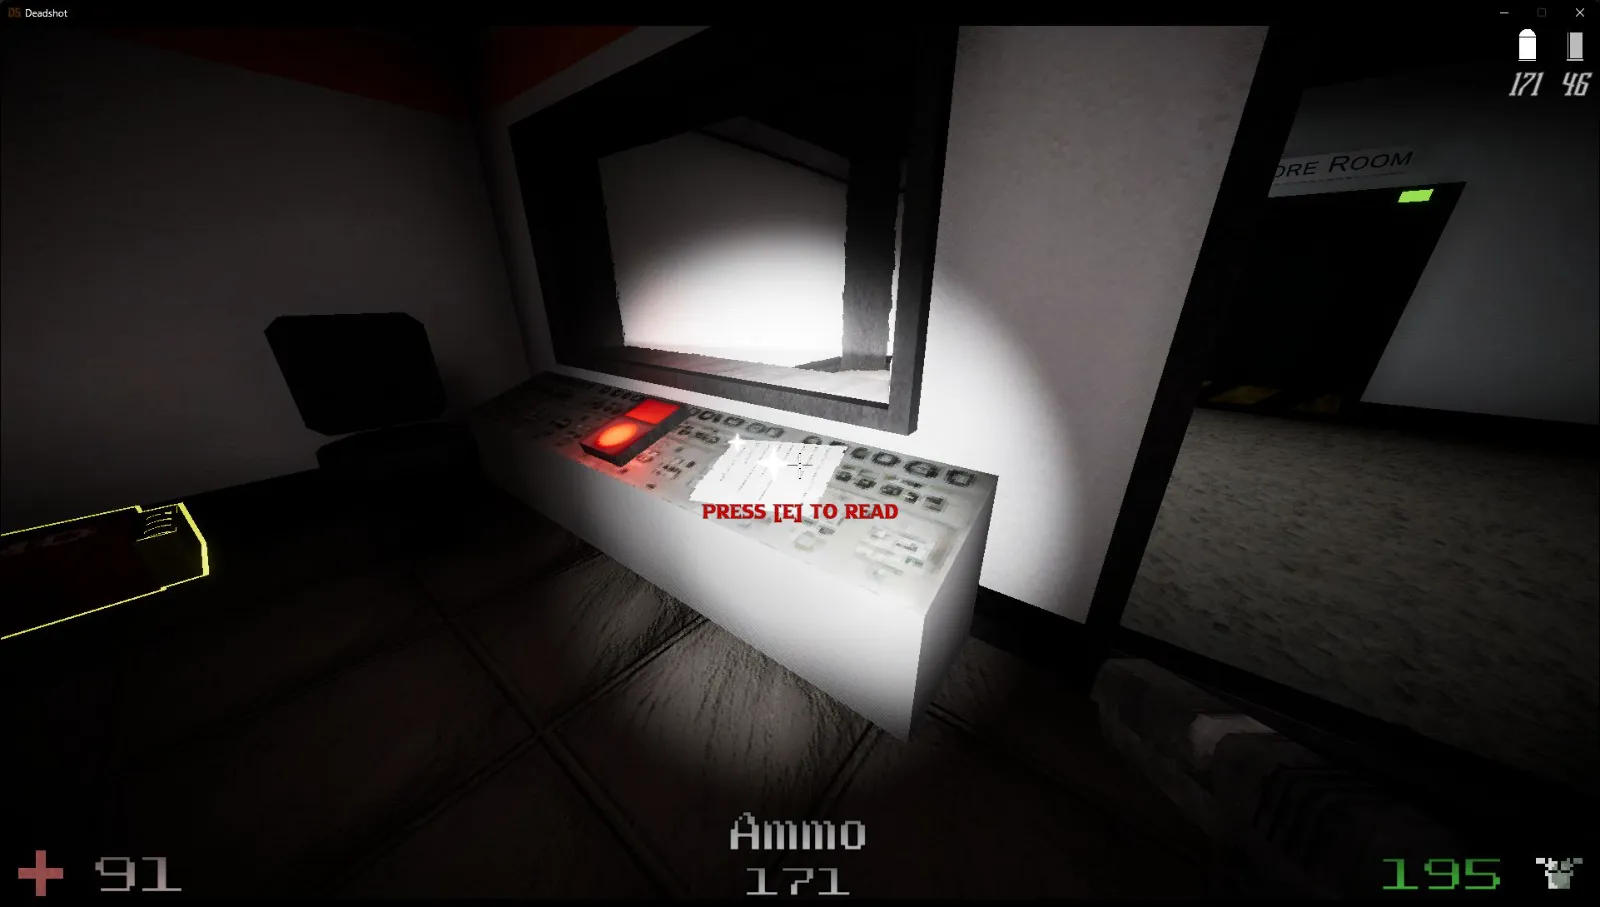
Look on the shelf for the next note.

Break through the wood and enter the door on the left to uncover a secret.

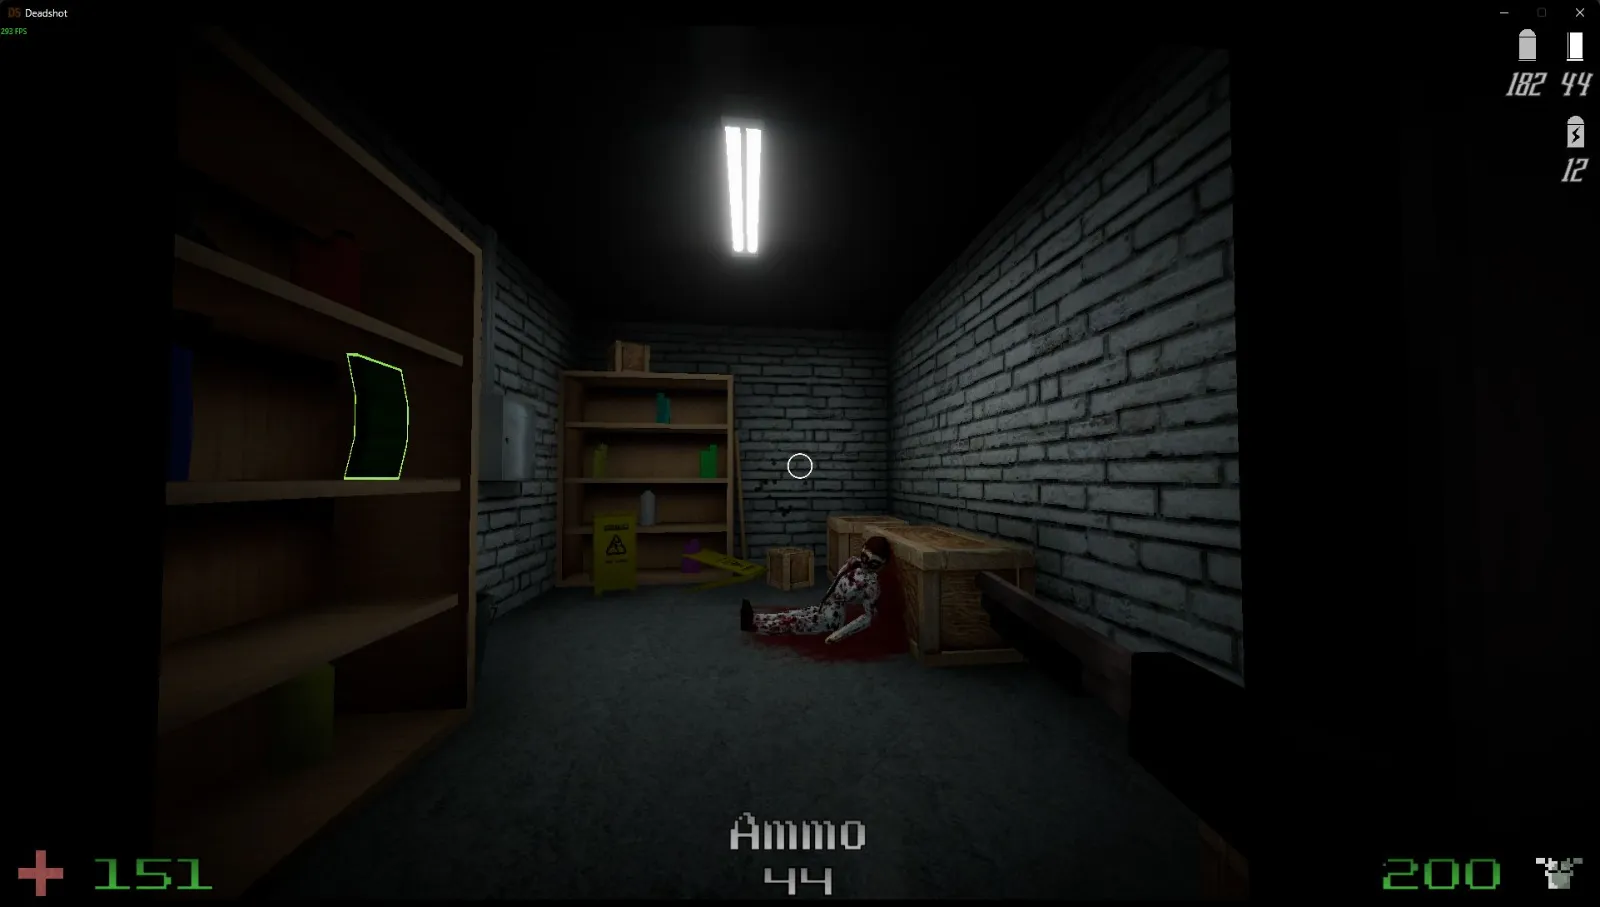
Collect the note on the main power control panel.

Once the power is on, jump down into the power core for a secret. Use the ladder to climb back out.
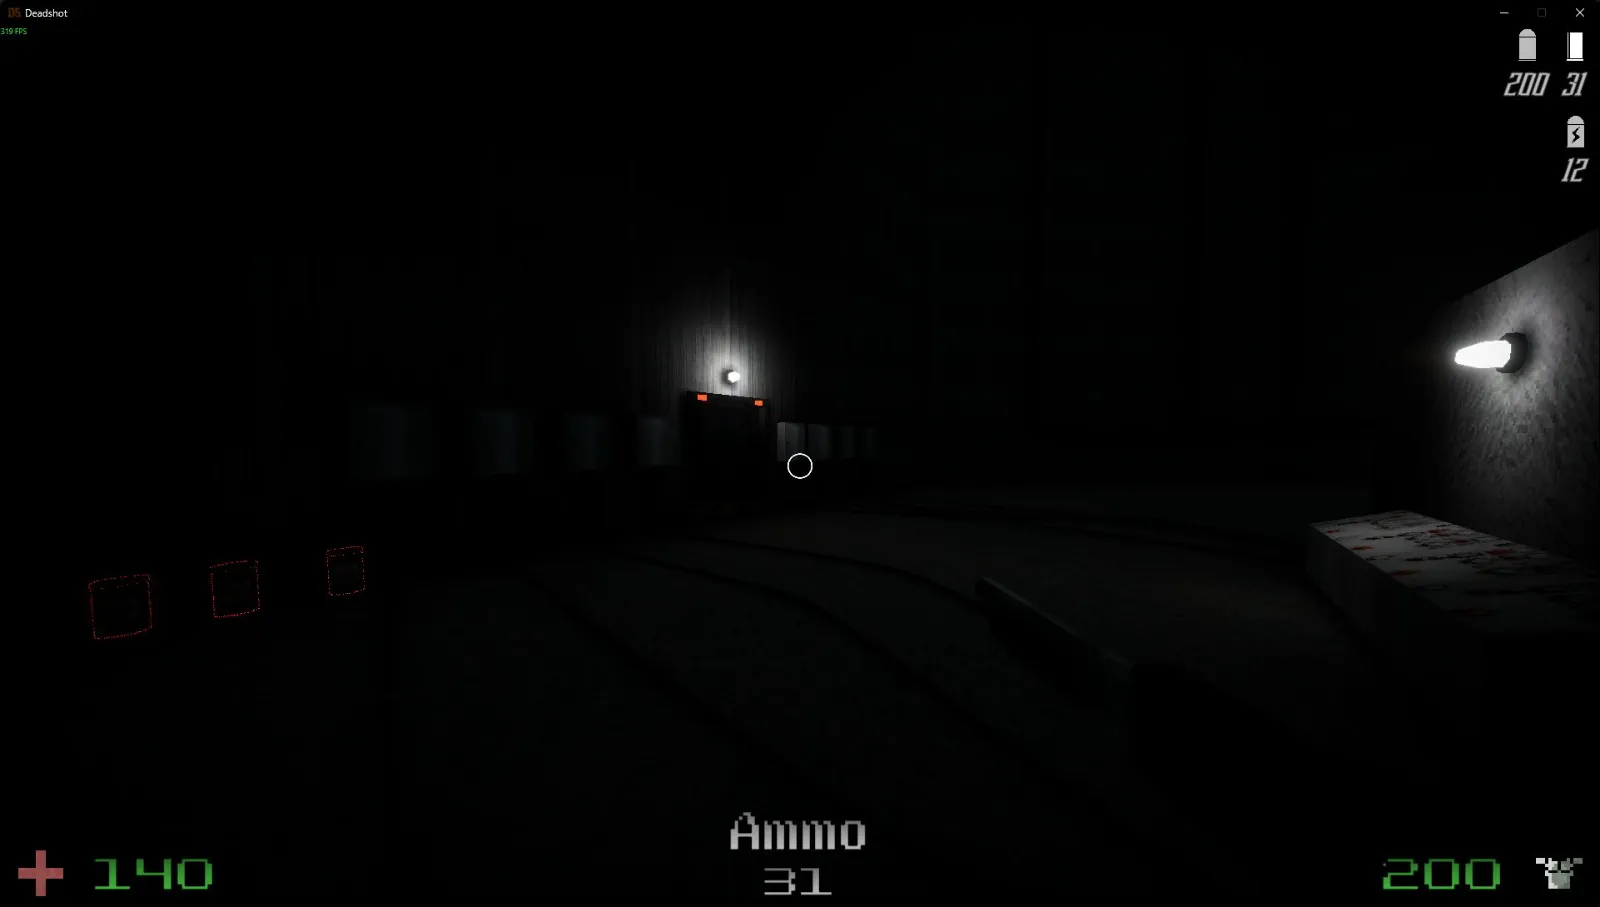
There’s also an ammo crate on the other side of the power core. Use the ladder to get out after collecting it.
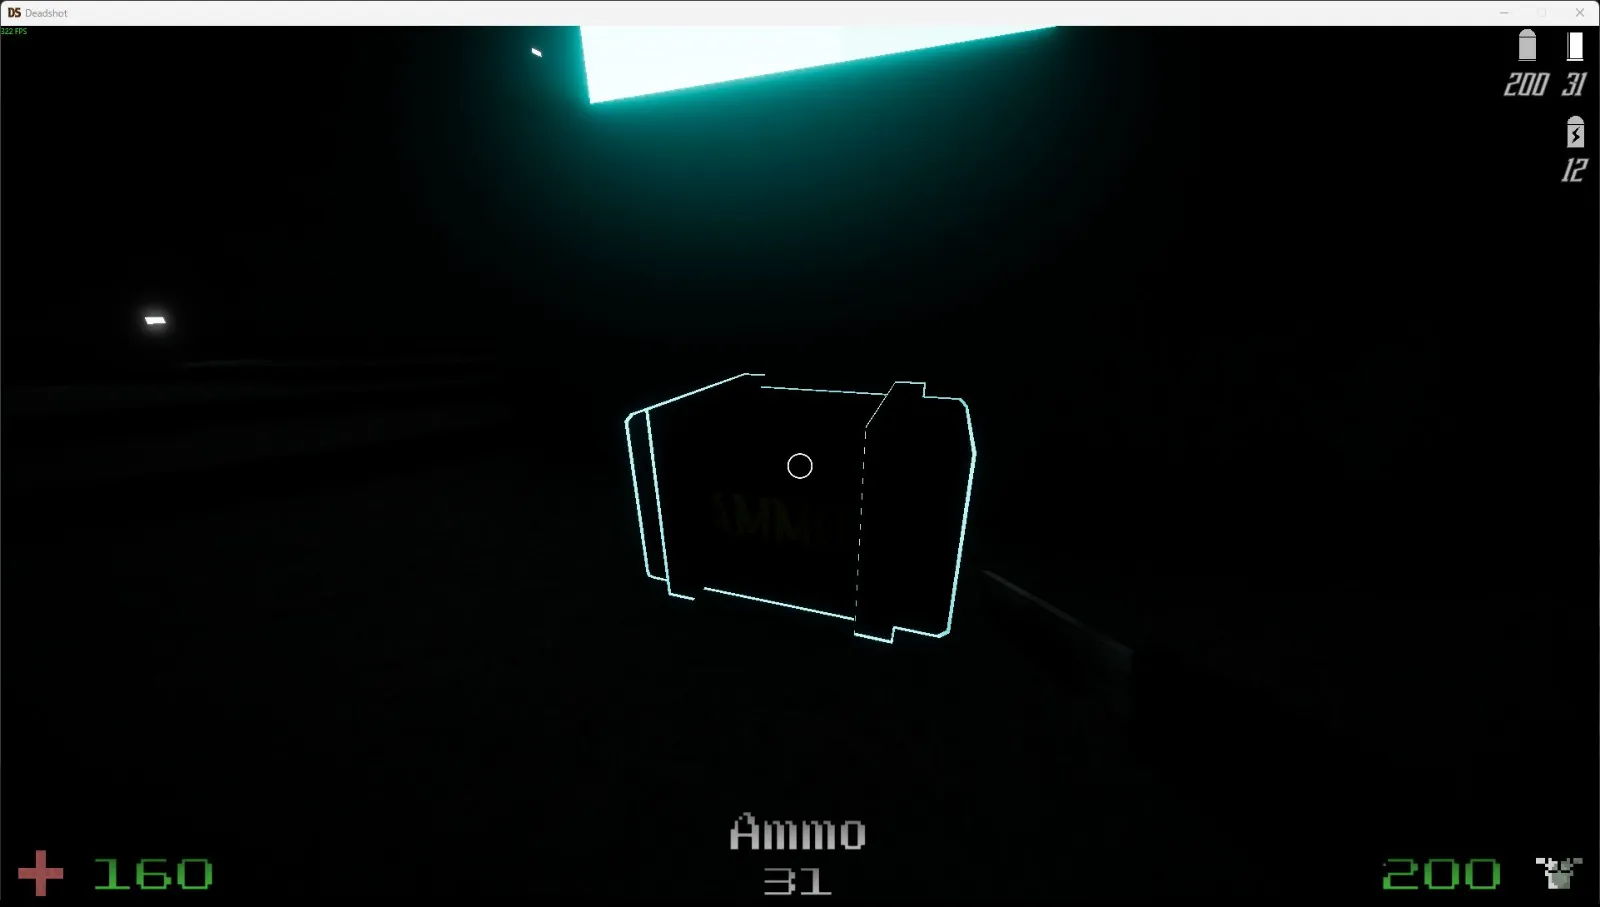
With the power restored, head back up the stairs. The previously closed secret room is now open.

C1L4 — Maintenence Tunnels
Level total: 3 notes and 3 secrets. Search beneath the hallway that splits toward 3 doors for a secret, then use the ladder to get out.
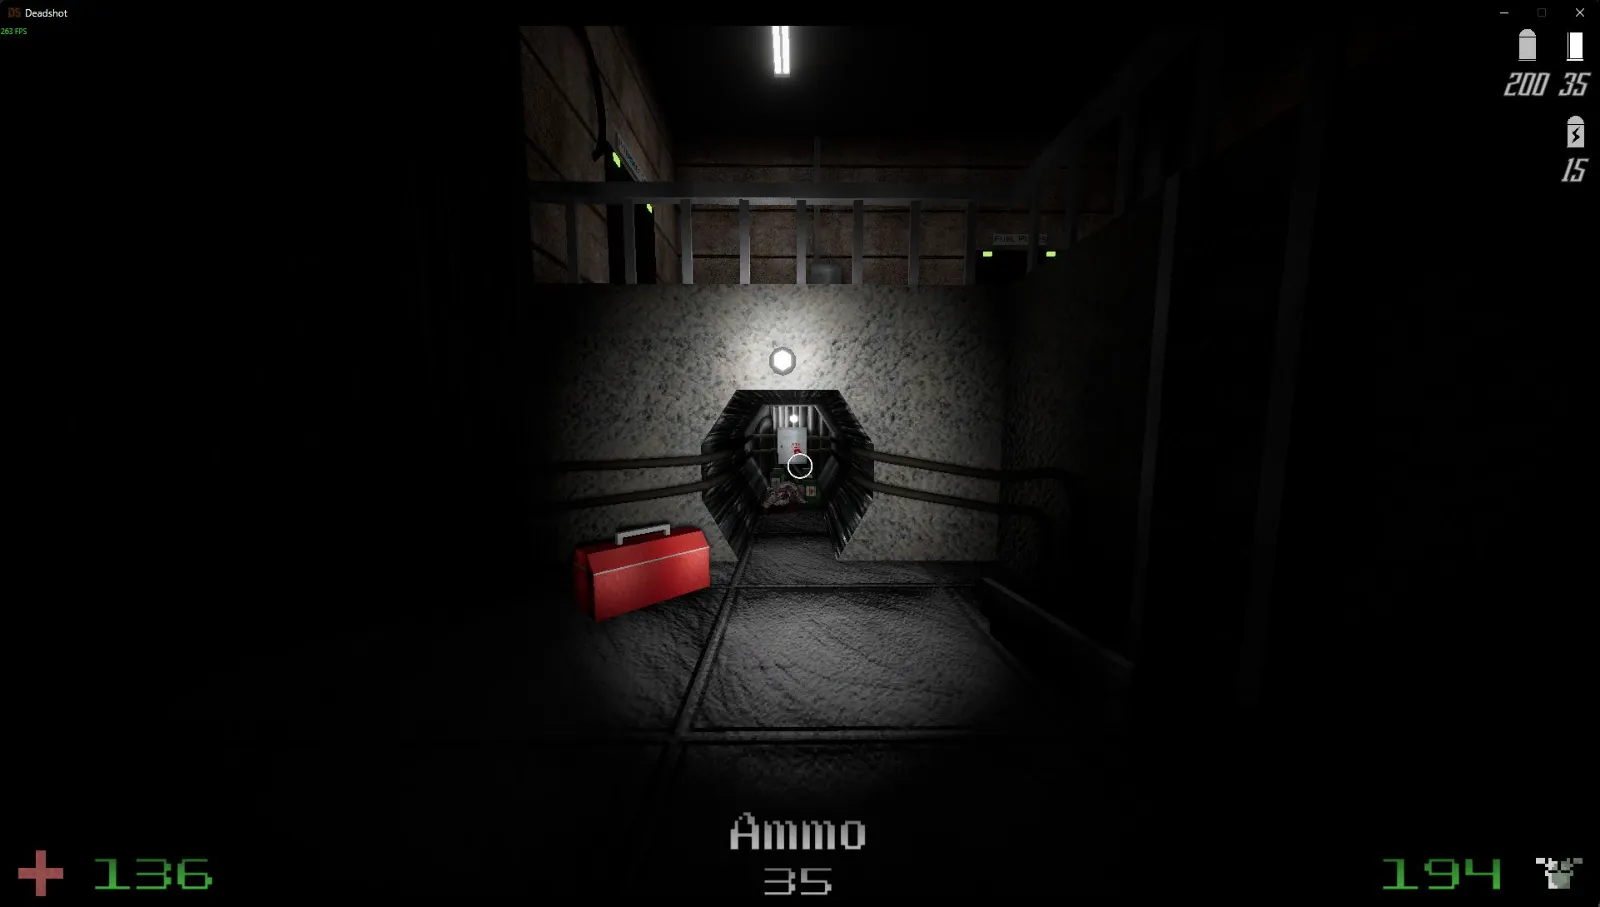
In the fuel pumps control room, pick up the note from the chair.

Check underneath the hallway that splits toward 4 doors for another secret. The ladder is your way back up.
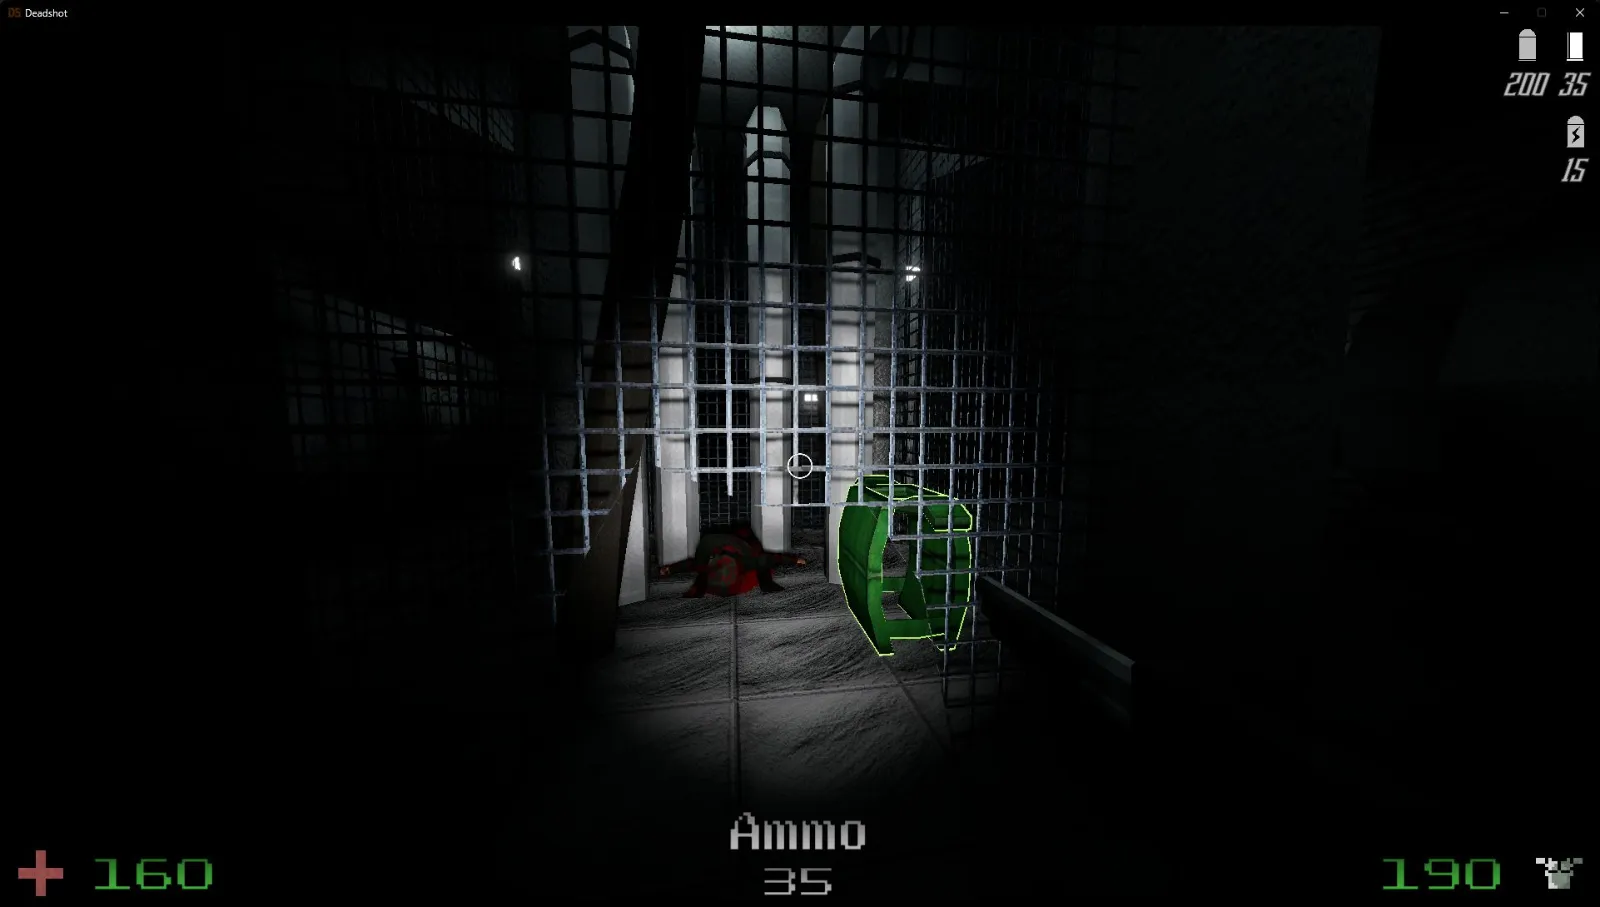
Collect the note on the table in the assault rifle room.
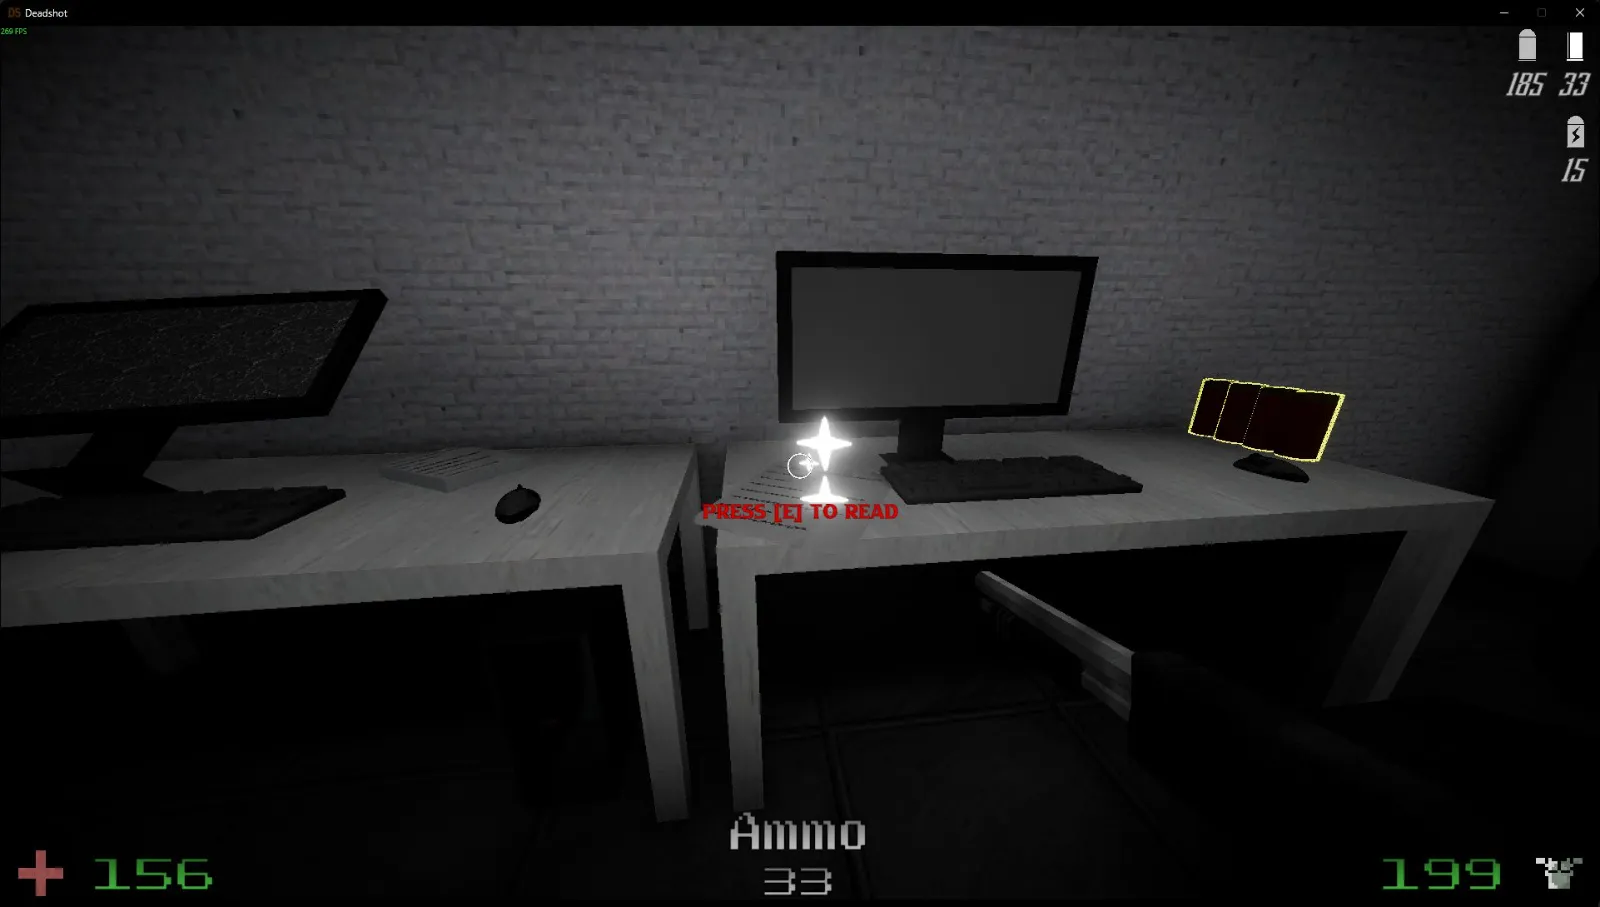
On your way to the water pumps, look beneath the stairs for a secret.

Grab the note beside the keycard.

C1L5 — Storage Area
Level total: 2 notes and 2 secrets. Collect the note on the checkpoint control panel.

Enter the vent in the first storage room to find a secret. Leave through the door afterward.

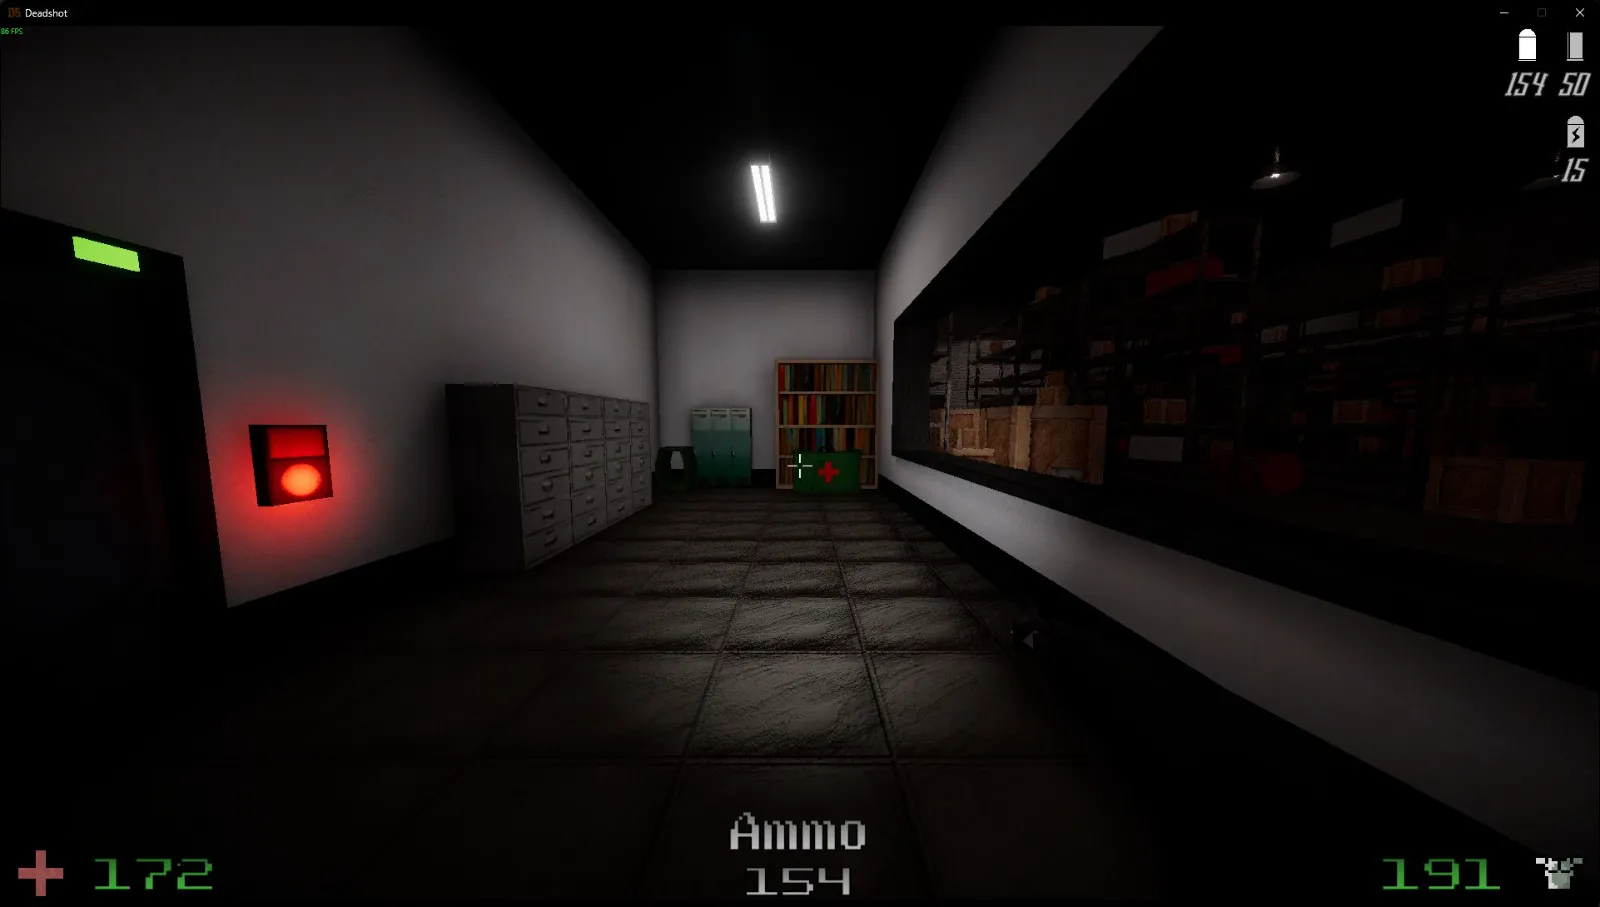
Pick up the Rocket Launcher here.
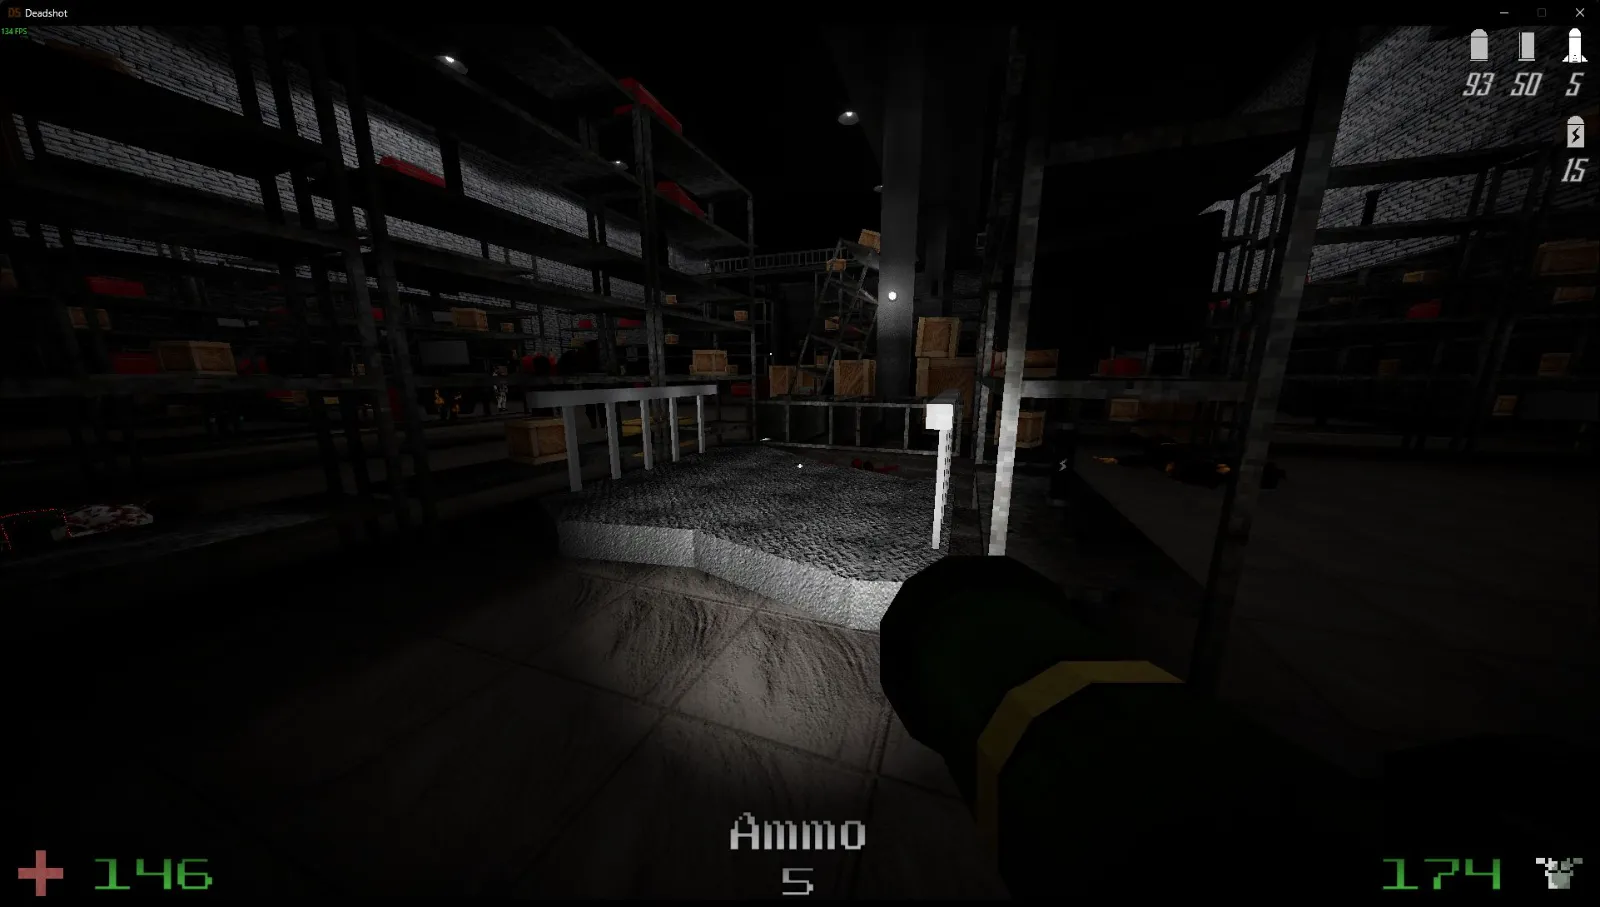
After the second storage room, look on the ground for the next note.

Once you’re on the catwalk, turn left and jump into the area shown for the other secret.


C1L6 — Area 66
Level total: 1 note and 1 secret. Check the chair where you open the garage to find the note.

In the tank courtyard, follow the right-side wall to locate the secret.

C2L1 — Town Square
Level total: 2 notes and 4 secrets, plus the Easter egg developer room and GOOOOAL!!!!! achievement. Check the spot just before you climb the building for the first note.

After climbing the building, check the top of the ladders for a secret.

For the Easter egg room, take the gap on the left side of the roof.

Go through the gap and look for the building toward the middle-left. The developer room contains 6 notes that are not required for the achievement, so this is an optional detour.
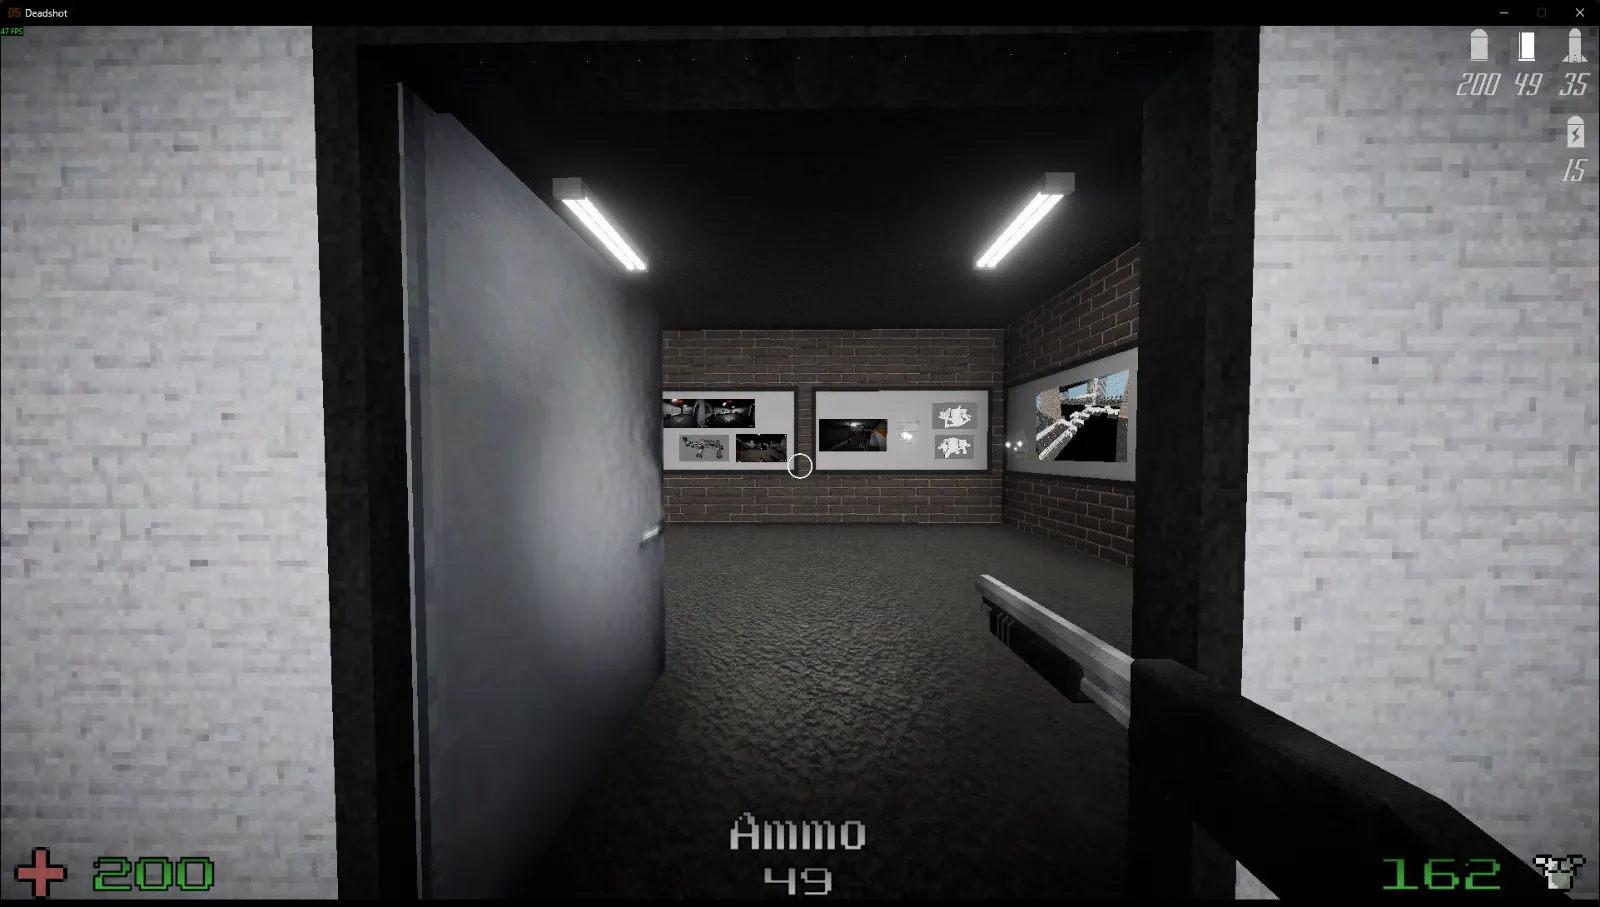
Once you’re off the roof, cross the parking lot and follow the alley all the way to its end for another secret.

Turn left at the large 3-way junction. Look on the right-hand side of the street for the next secret.
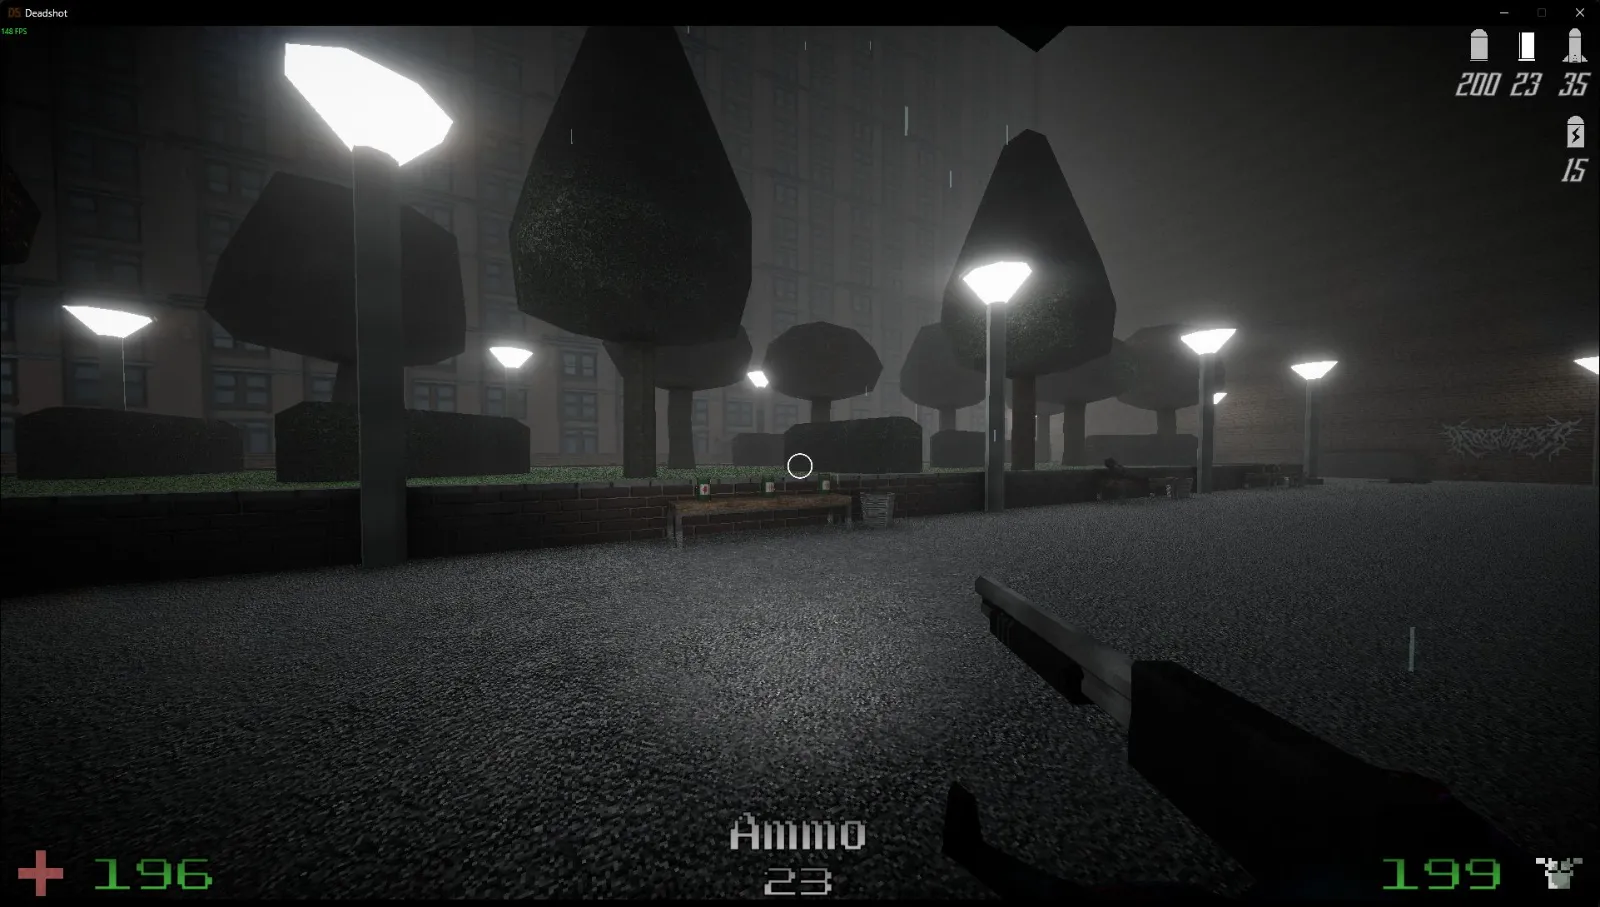
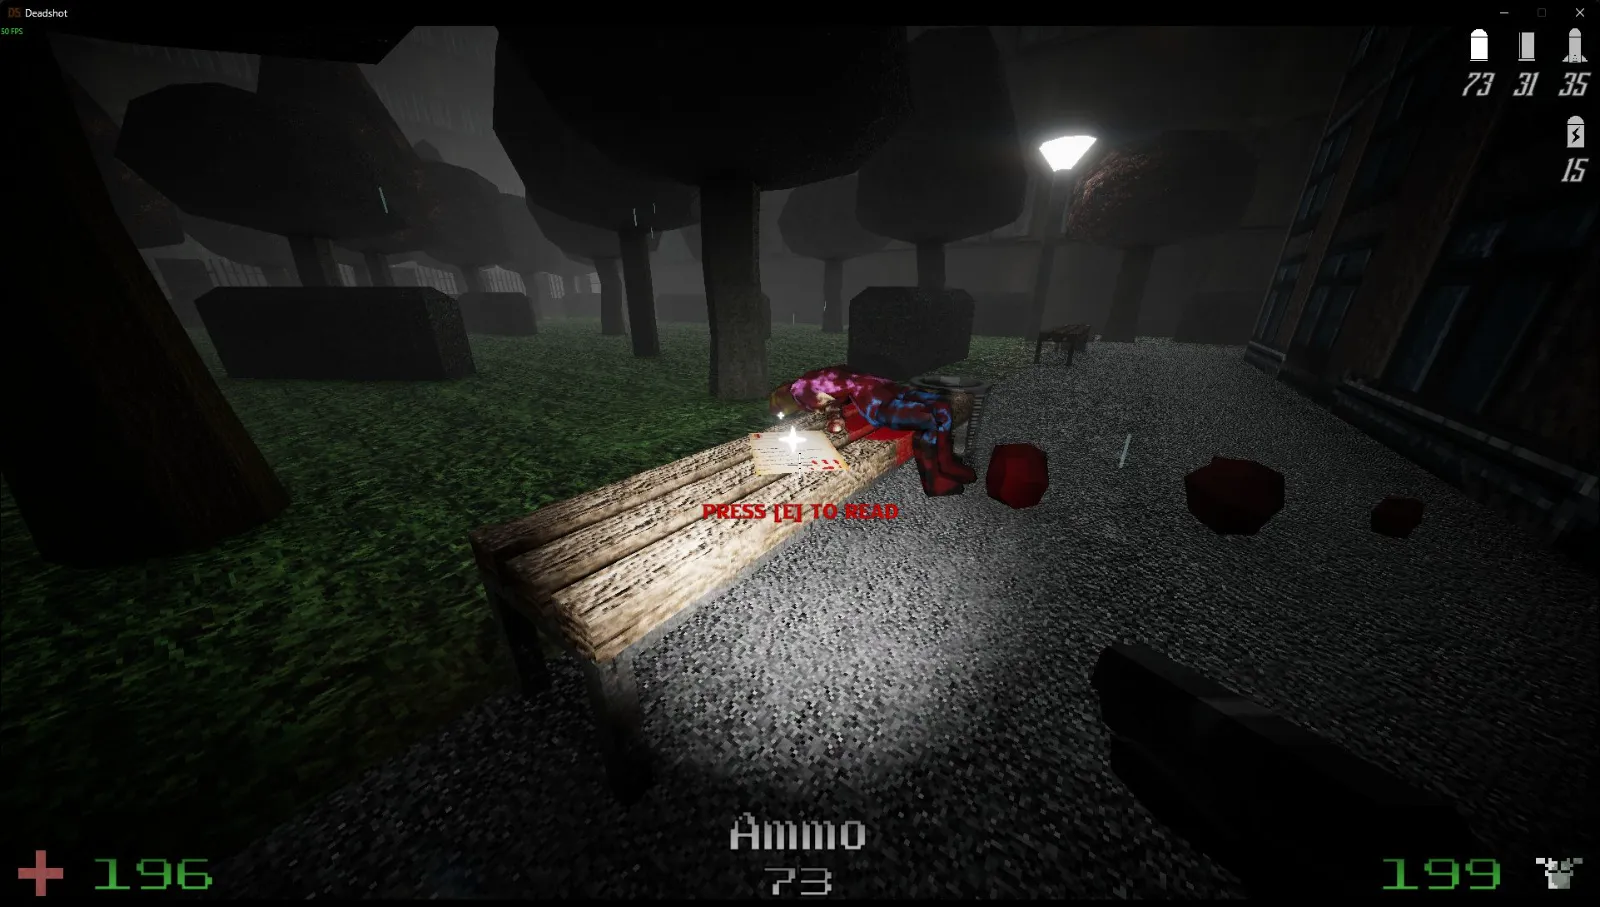
Return to the normal route and collect the note on the bench in the park.
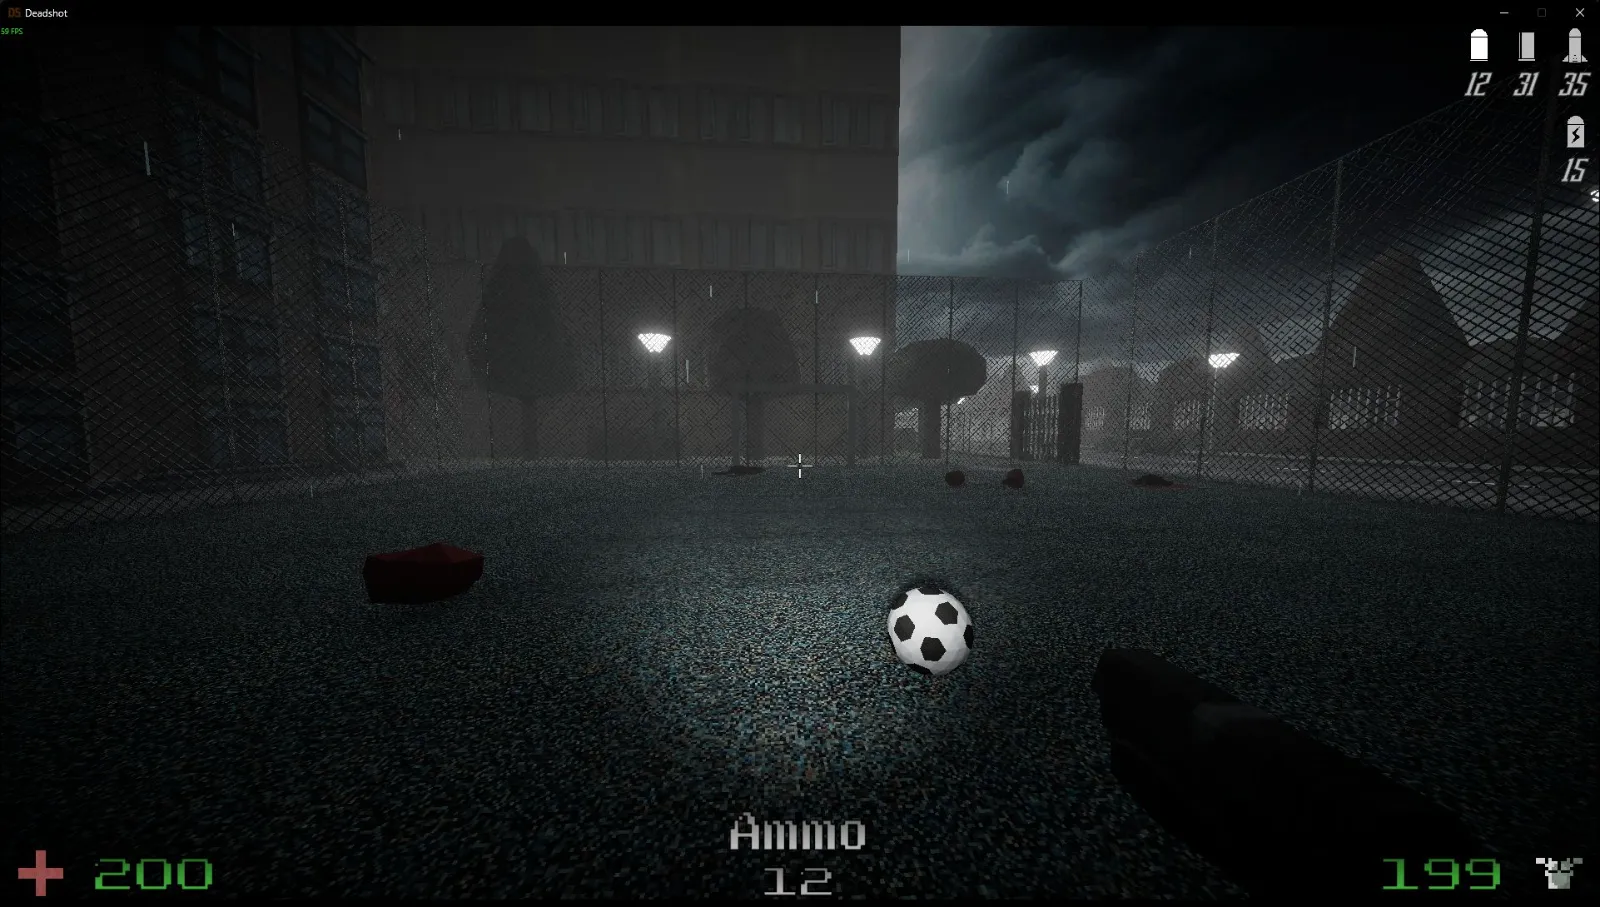
Search the corner of the park for the remaining secret.

Bonus achievement: score a goal to unlock GOOOOAL!!!!!.
C2L2 — Central Park
Level total: 2 notes and 4 secrets, plus the fountains for the Thirsty achievement. Start with the 1st fountain shown here.

Shoot the wood through the slot in the window, then head inside to collect a secret and a note.
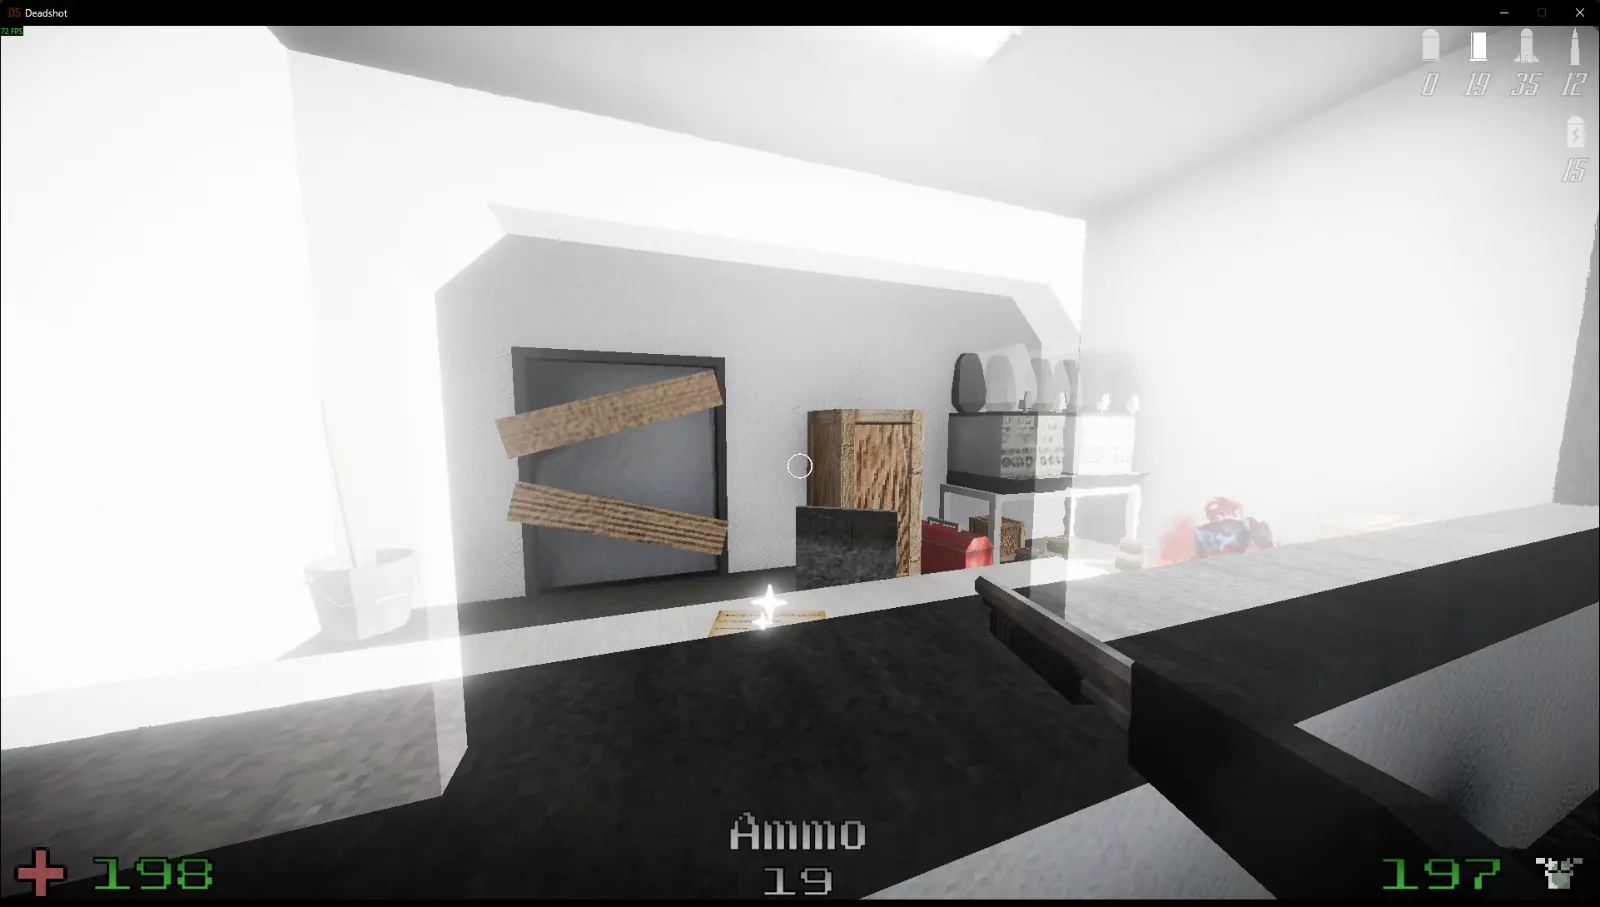
Take the left branch at the fork and follow it to the 2nd fountain.

Check the end of the dirt path for a secret.

Take the right branch of the fork to reach the 3rd fountain.

Continue down the path to the 4th fountain, at the front of the square.
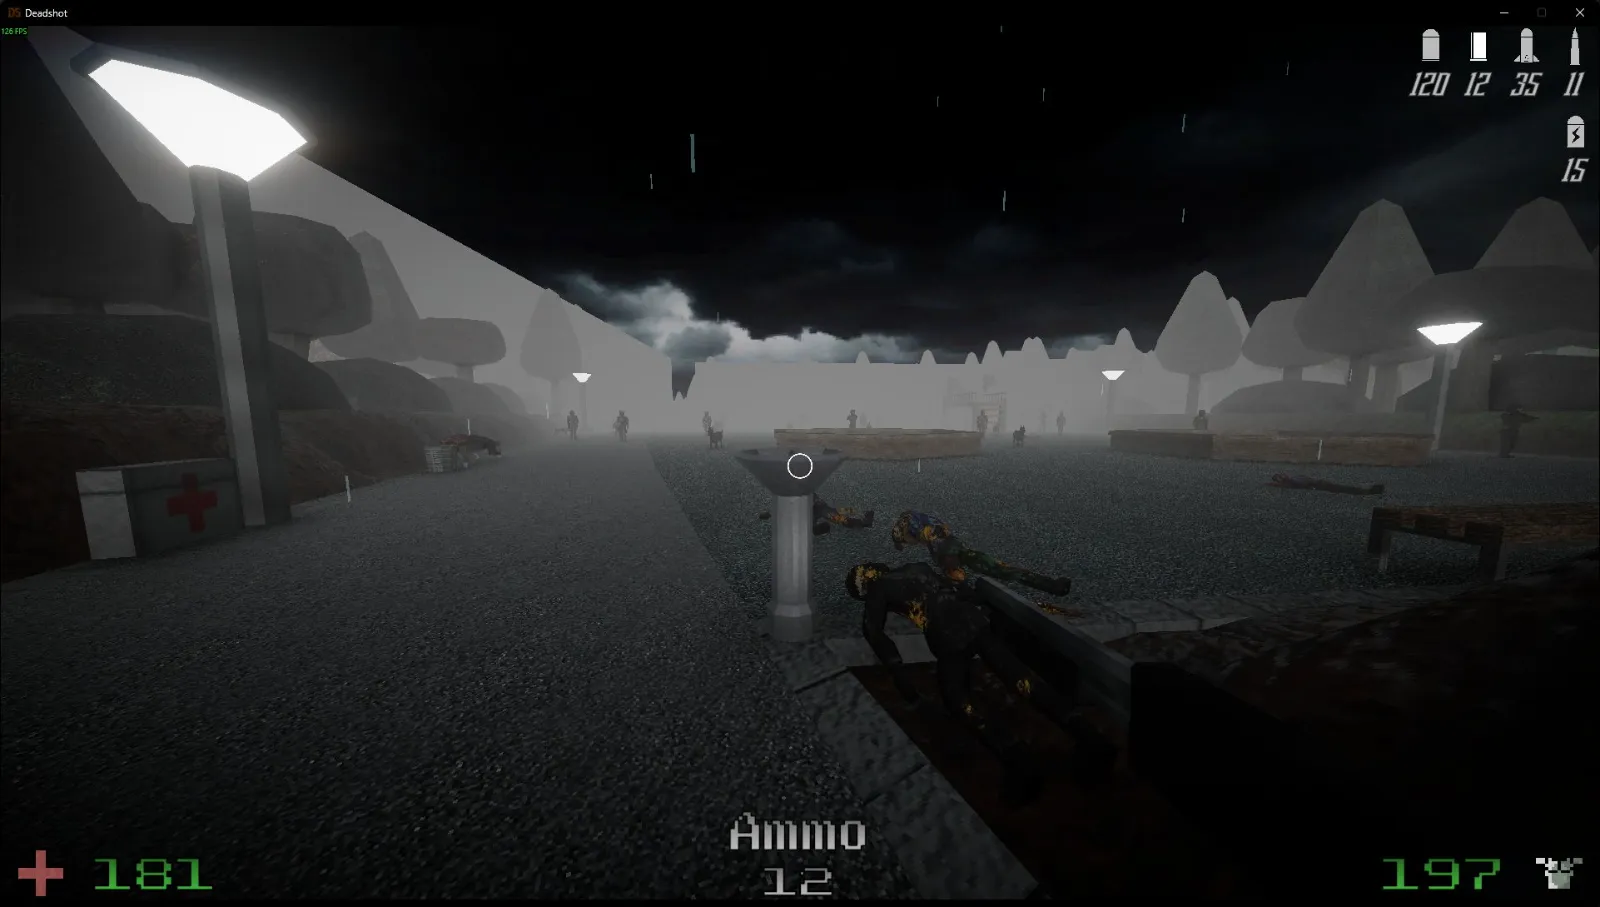
While you’re in the square, collect the note on the bench.
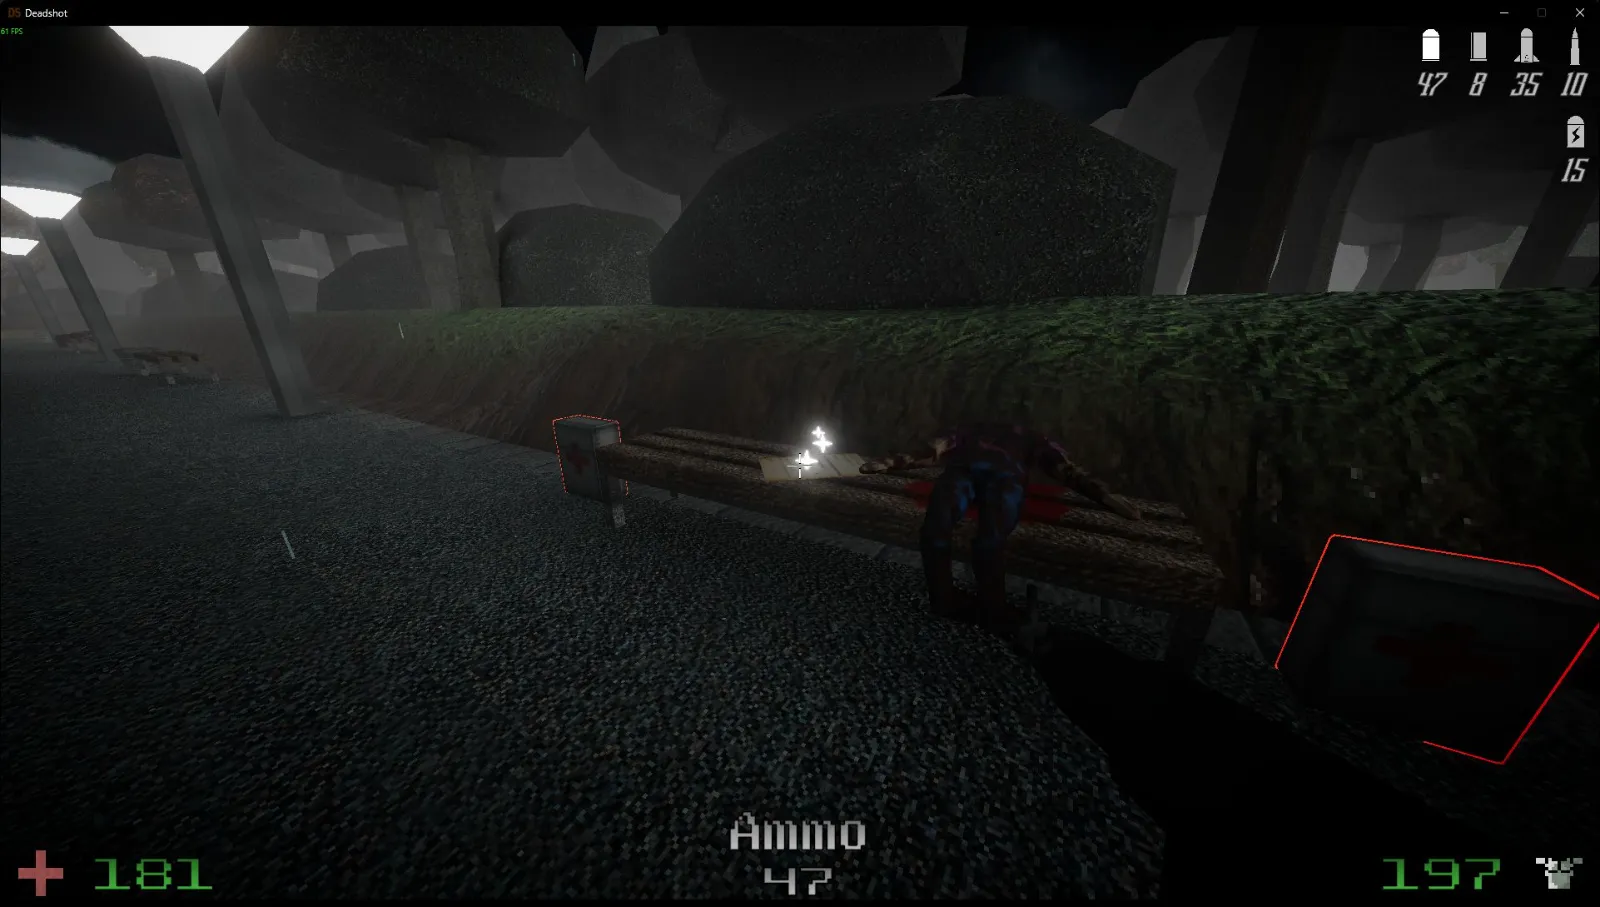
Keep going until the route splits into multiple paths. You’ll find the 5th fountain here.
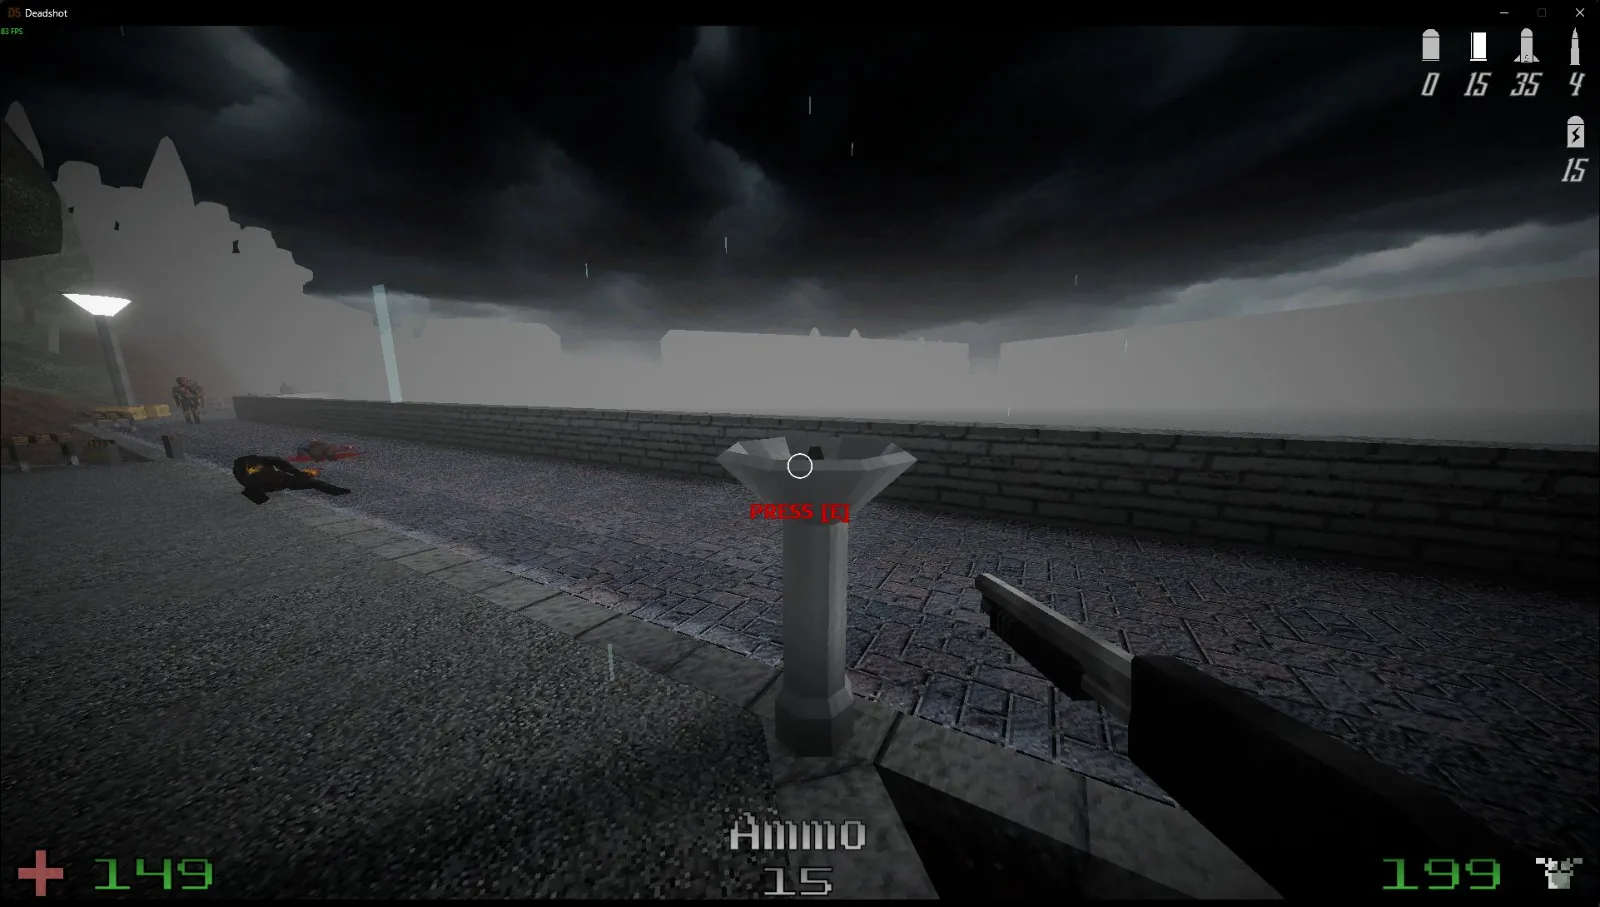
Follow the water along the right-hand side and check the end for a secret.
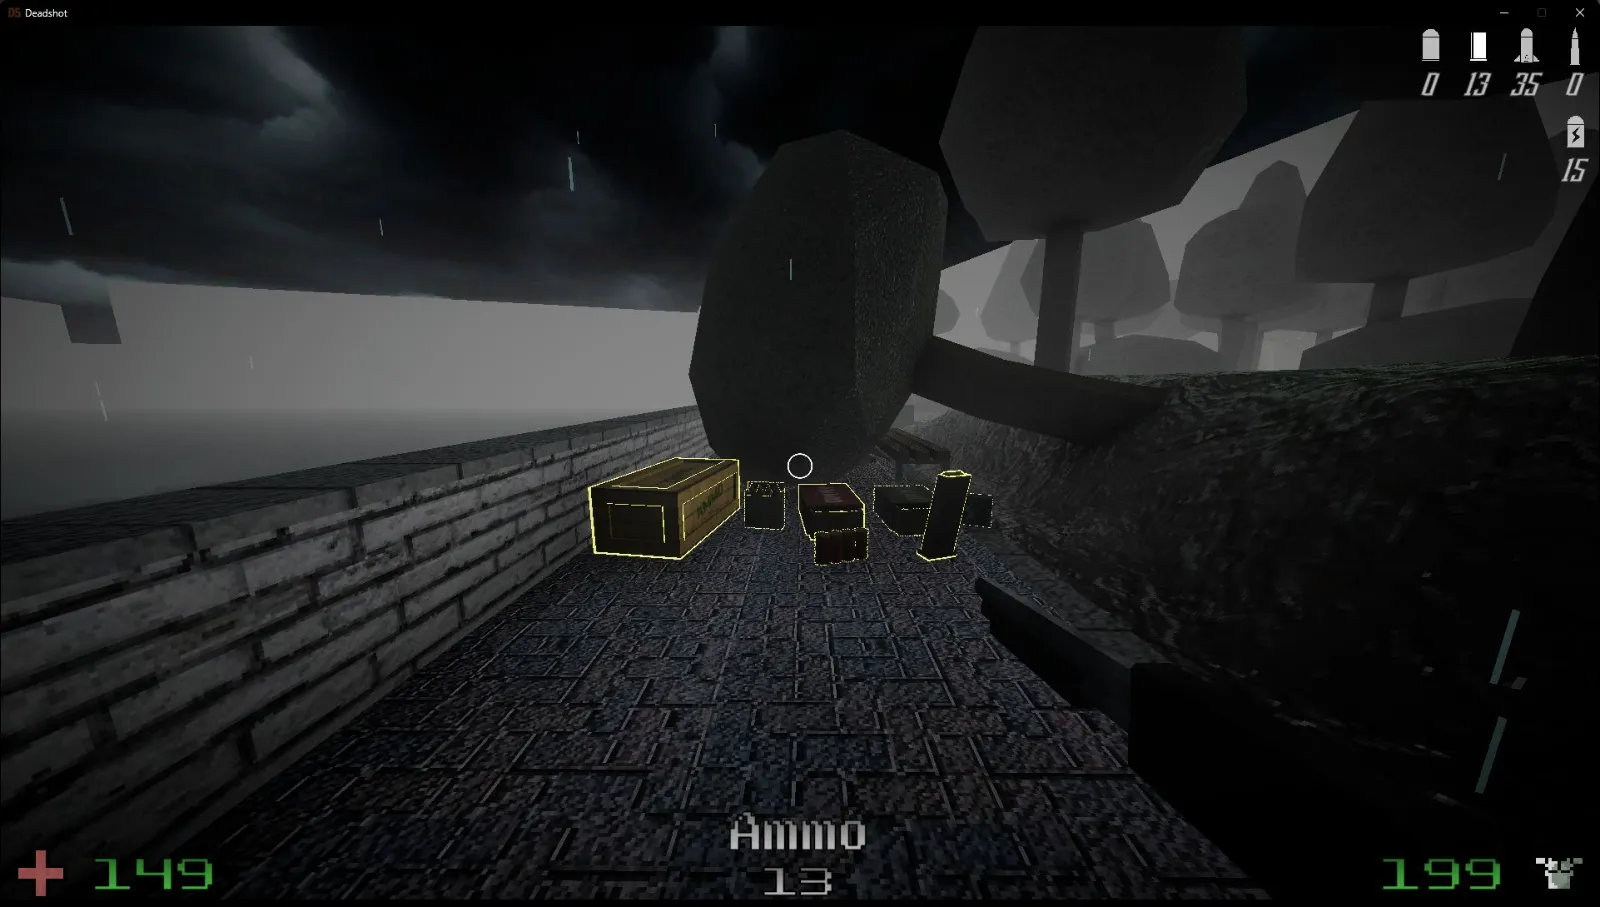
At the multiple-path split, take the first left. Another secret waits at the end of the dirt path.

Take the 2nd left at the multiple-path split to find the 6th fountain near the end of the level.

C2L3 — Sewage
Level total: 3 notes and 2 secrets. Collect the note on the breaker room door.
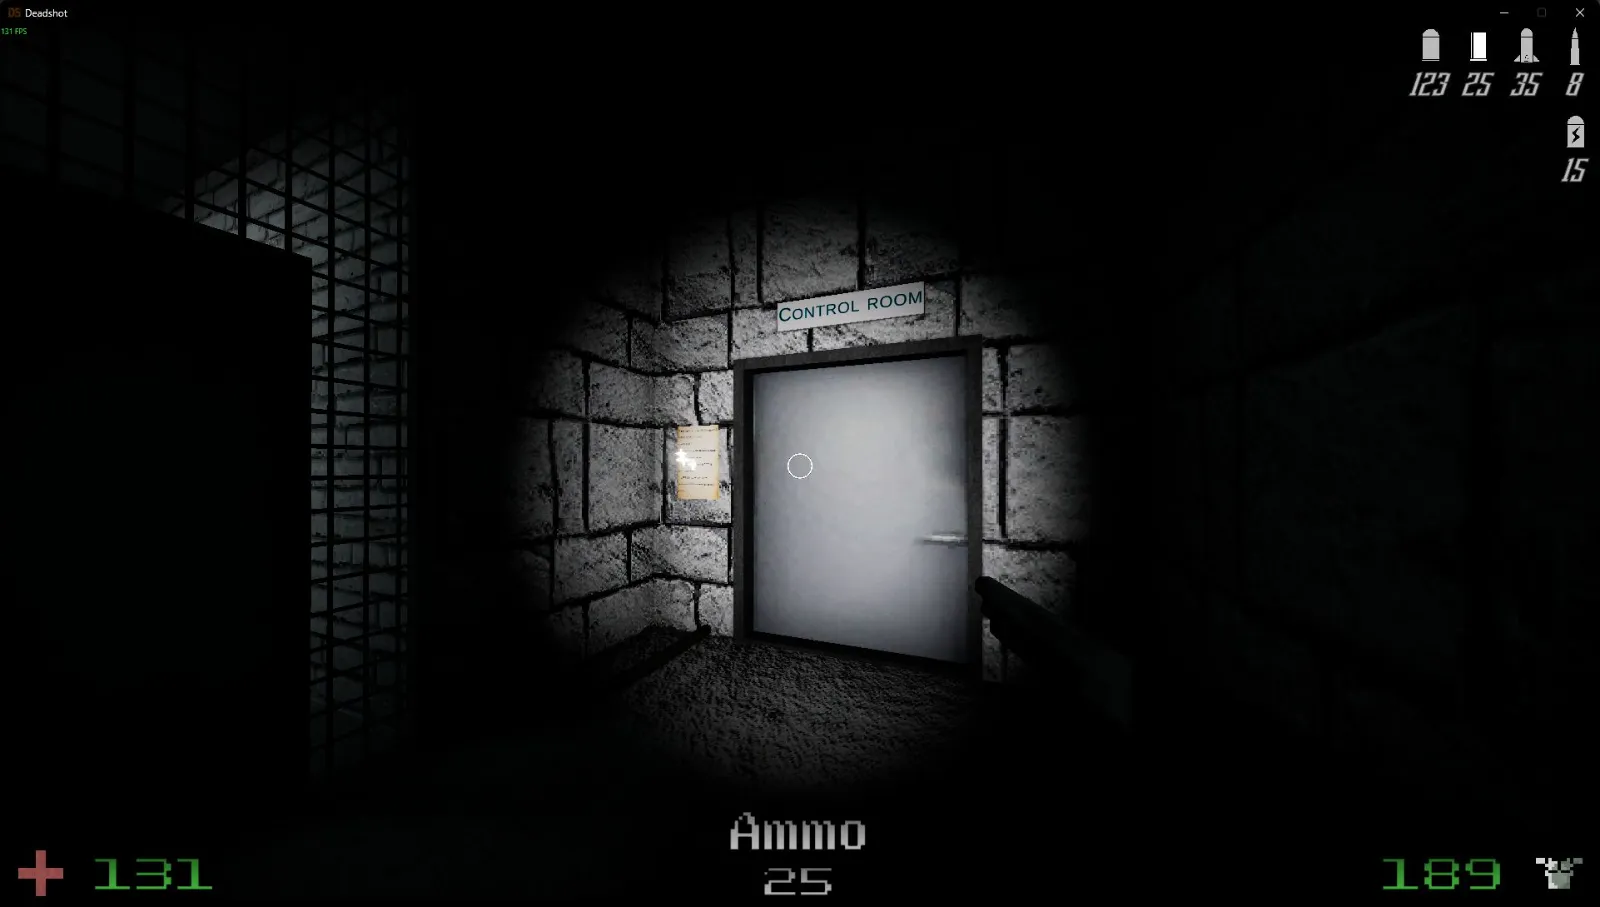
Jump into the water shown here to begin the secret detour.

Next, break the vent to continue into the secret area.

Pick up the note on the chair.
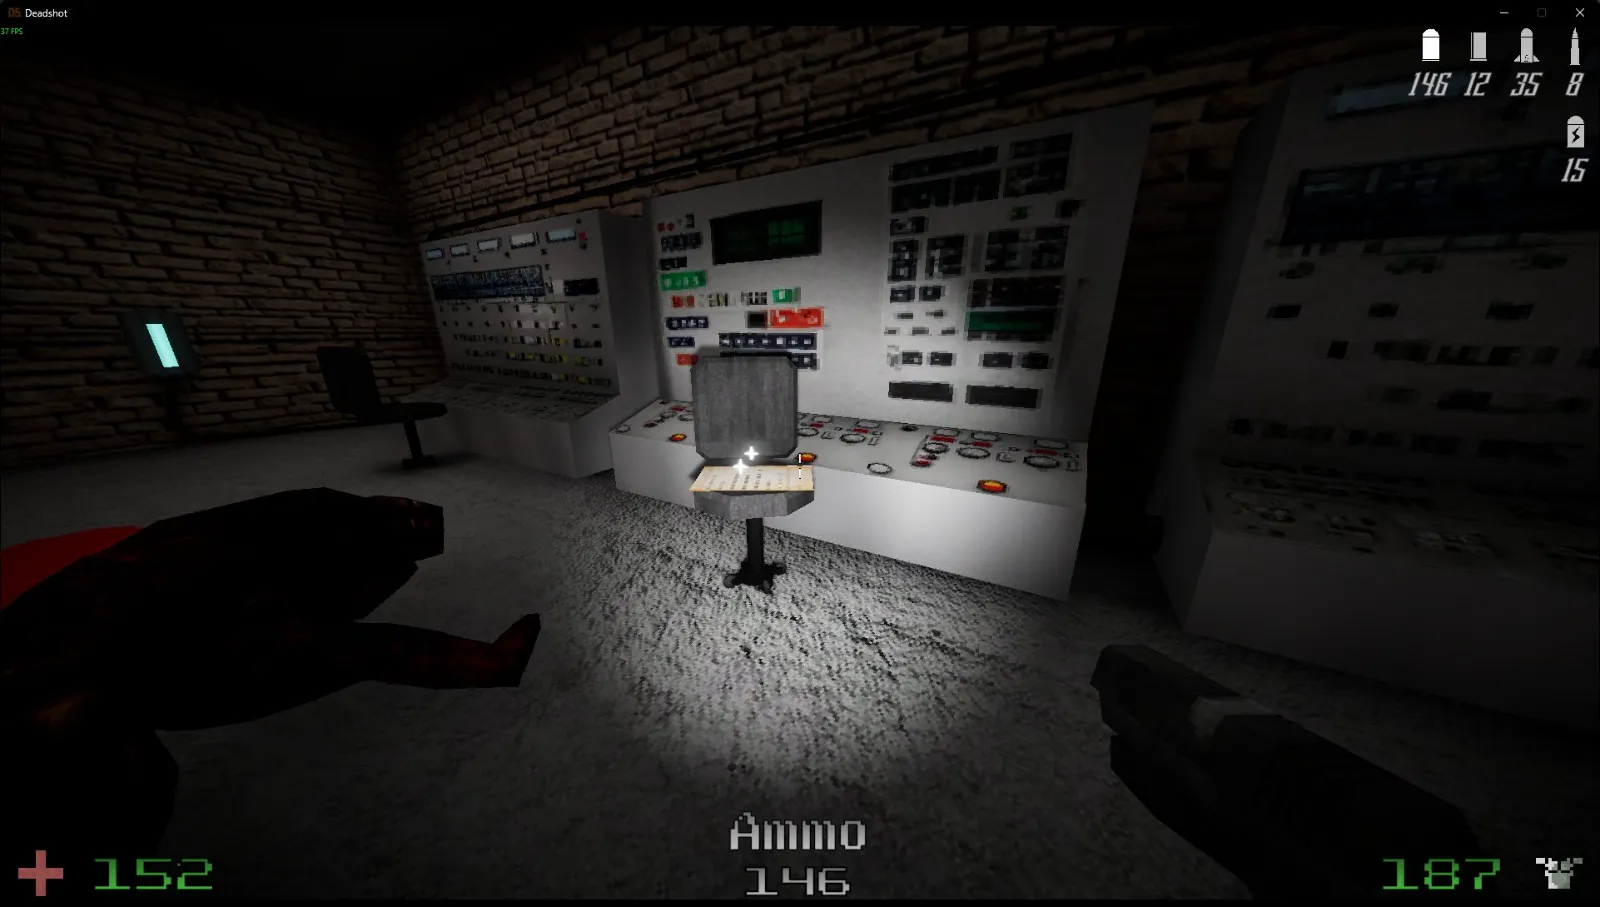
Look beneath the waterfall for the other secret.

Collect the note beside the waterfall before leaving.

C2L4 — Subway Tunnels
Level total: 2 notes and 5 secrets. Get onto the first train to find a secret on top.

At the 1st station, crouch beneath the train for another secret route.
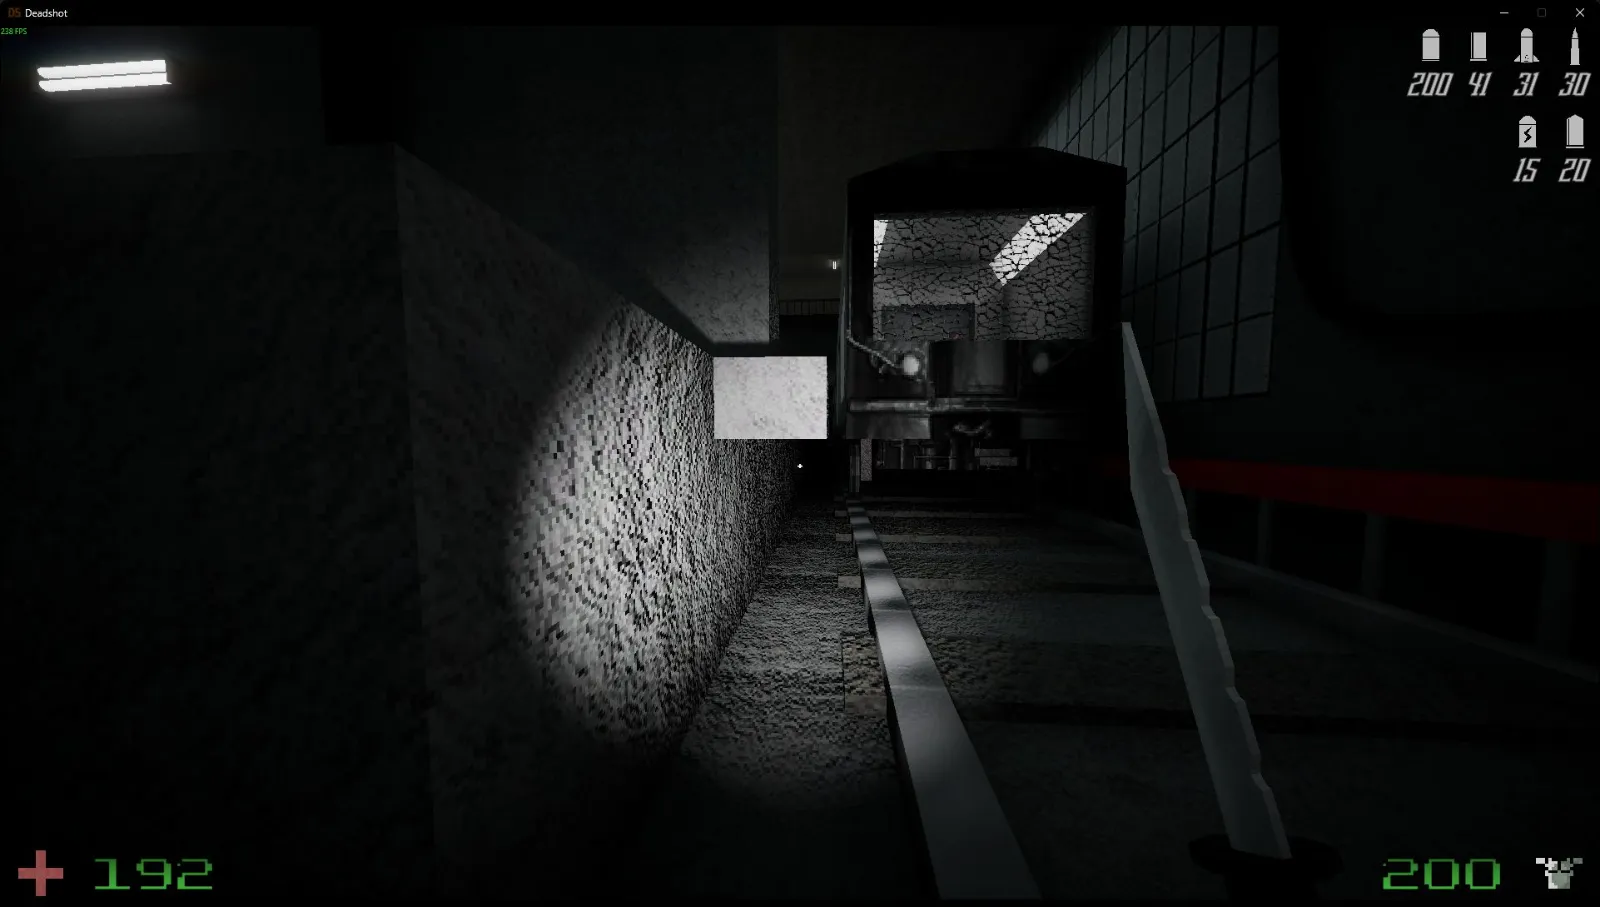
Grab the ammo crate midway through the crawl beneath the train.

Collect the note on the 2nd station’s train.
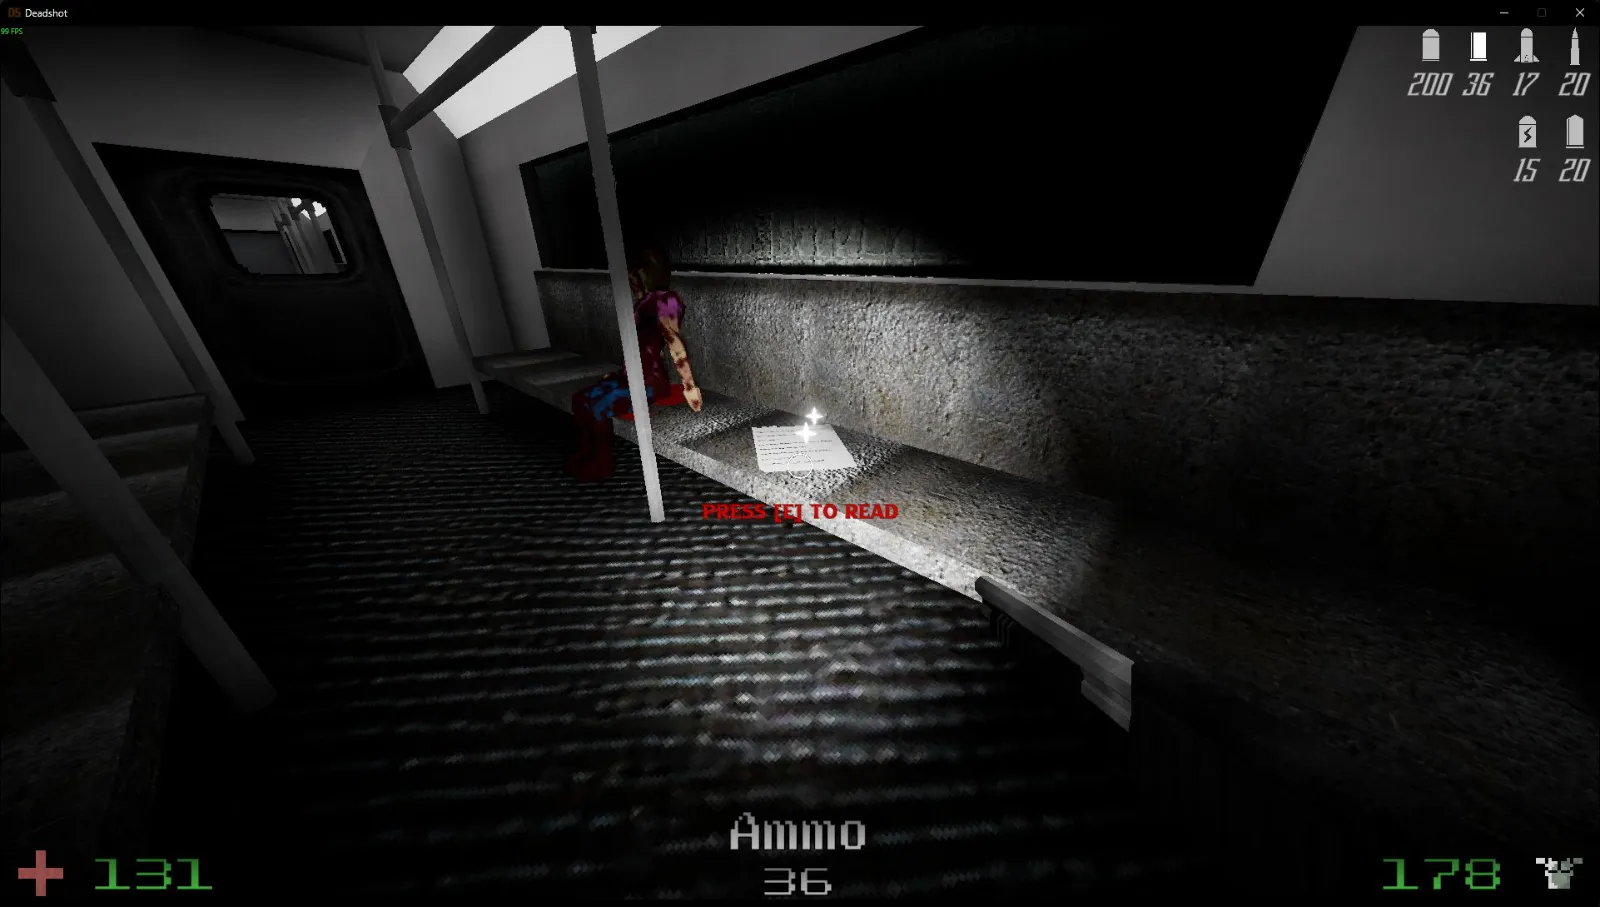
Climb onto the 2nd station’s train as well; there’s a secret on top.

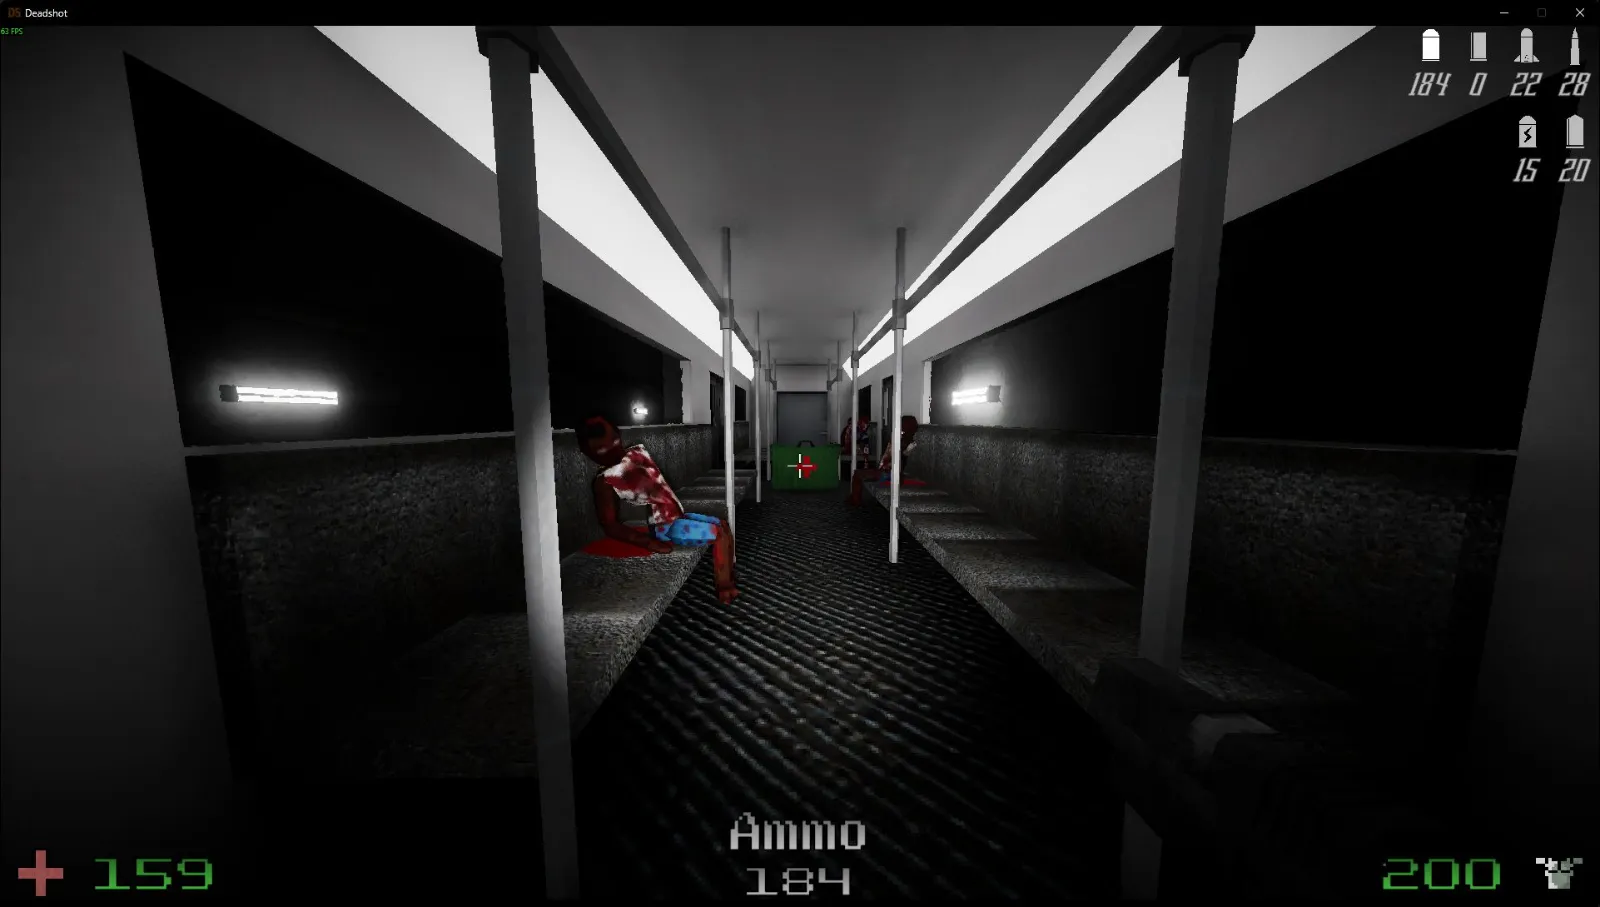
In the 2nd long hallway, enter the abandoned train to find another secret.

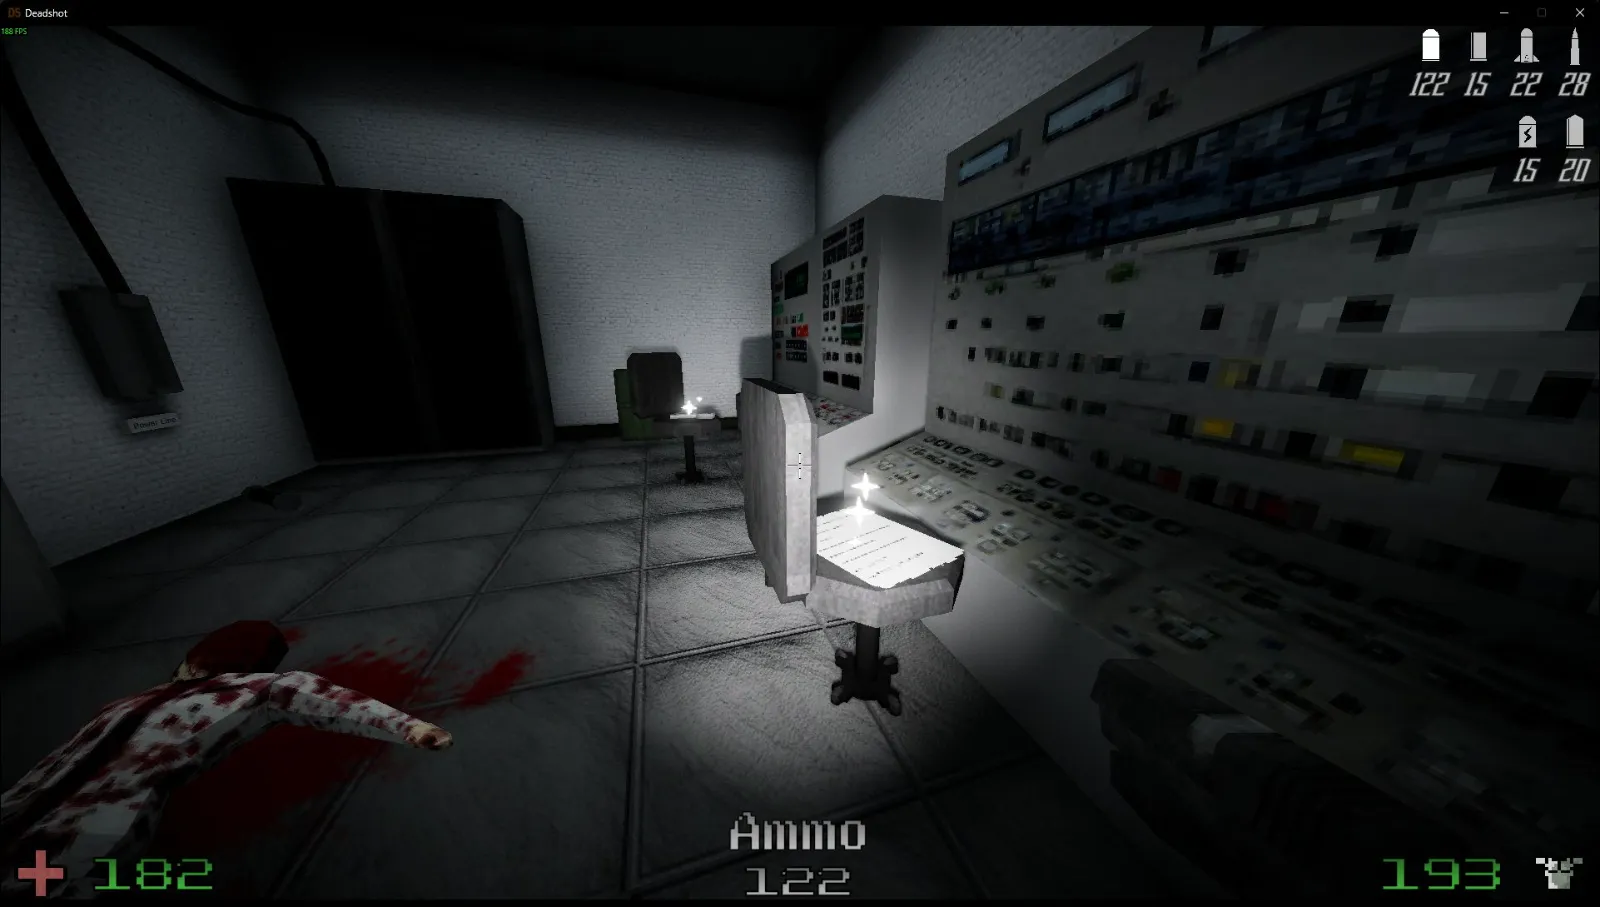
At the third station, check the chair in the control room for a note.
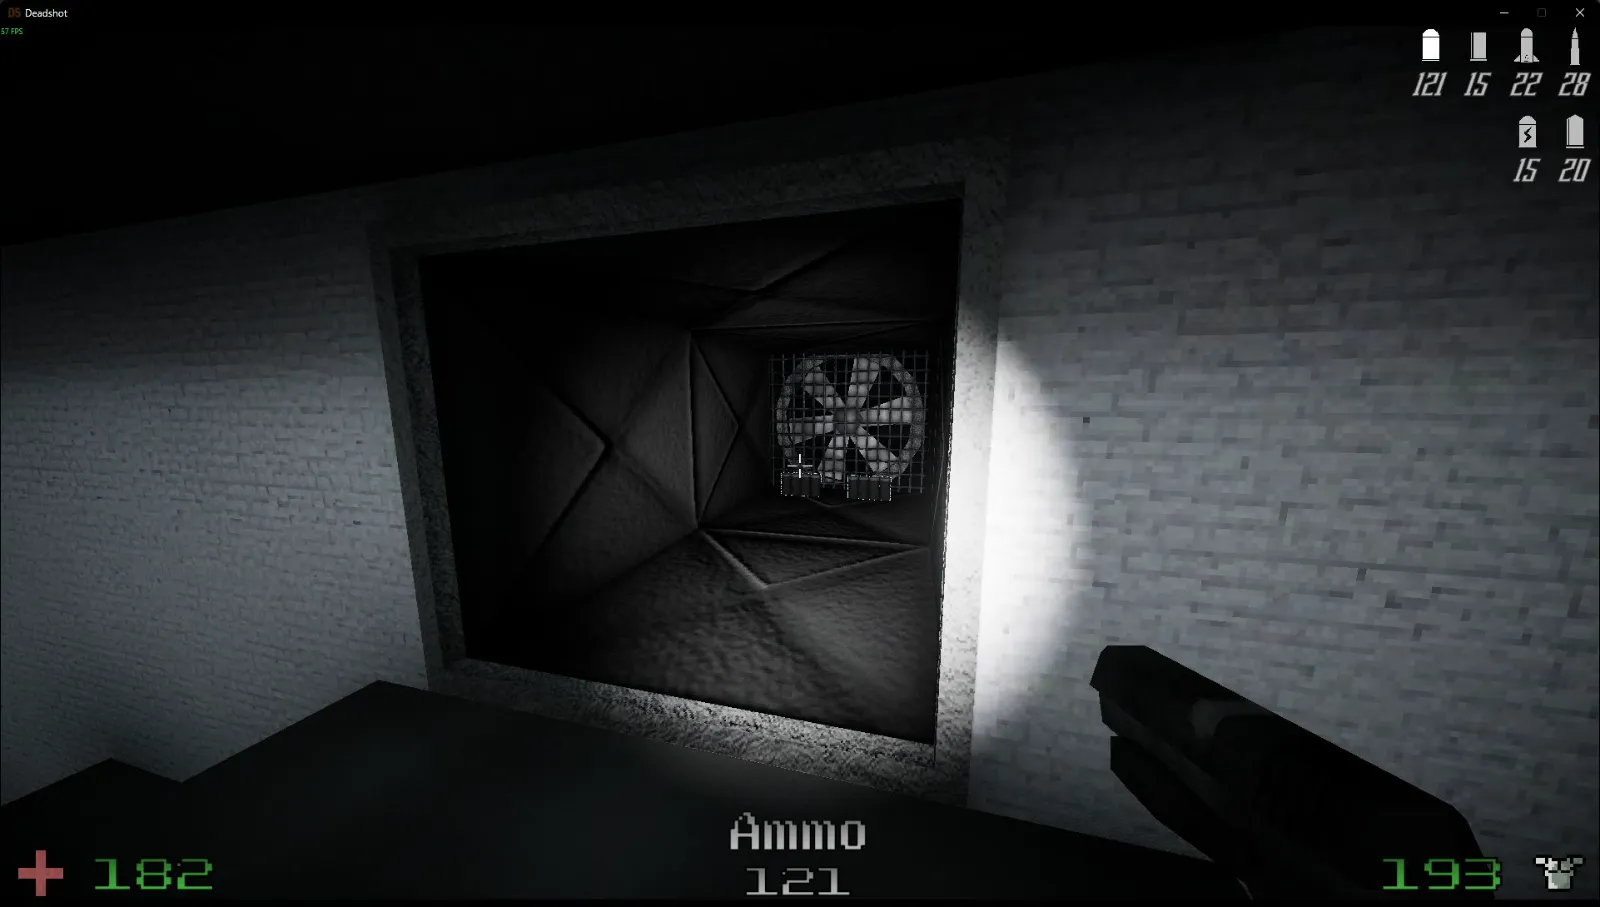
Before leaving that control room, break the vent and head inside for the final secret.
C2L5 — Industrial Area
Level total: 3 notes and 4 secrets. Look on the ground before the courtyard for the first note.

After getting the 1st key, collect the note on the 1st floor.
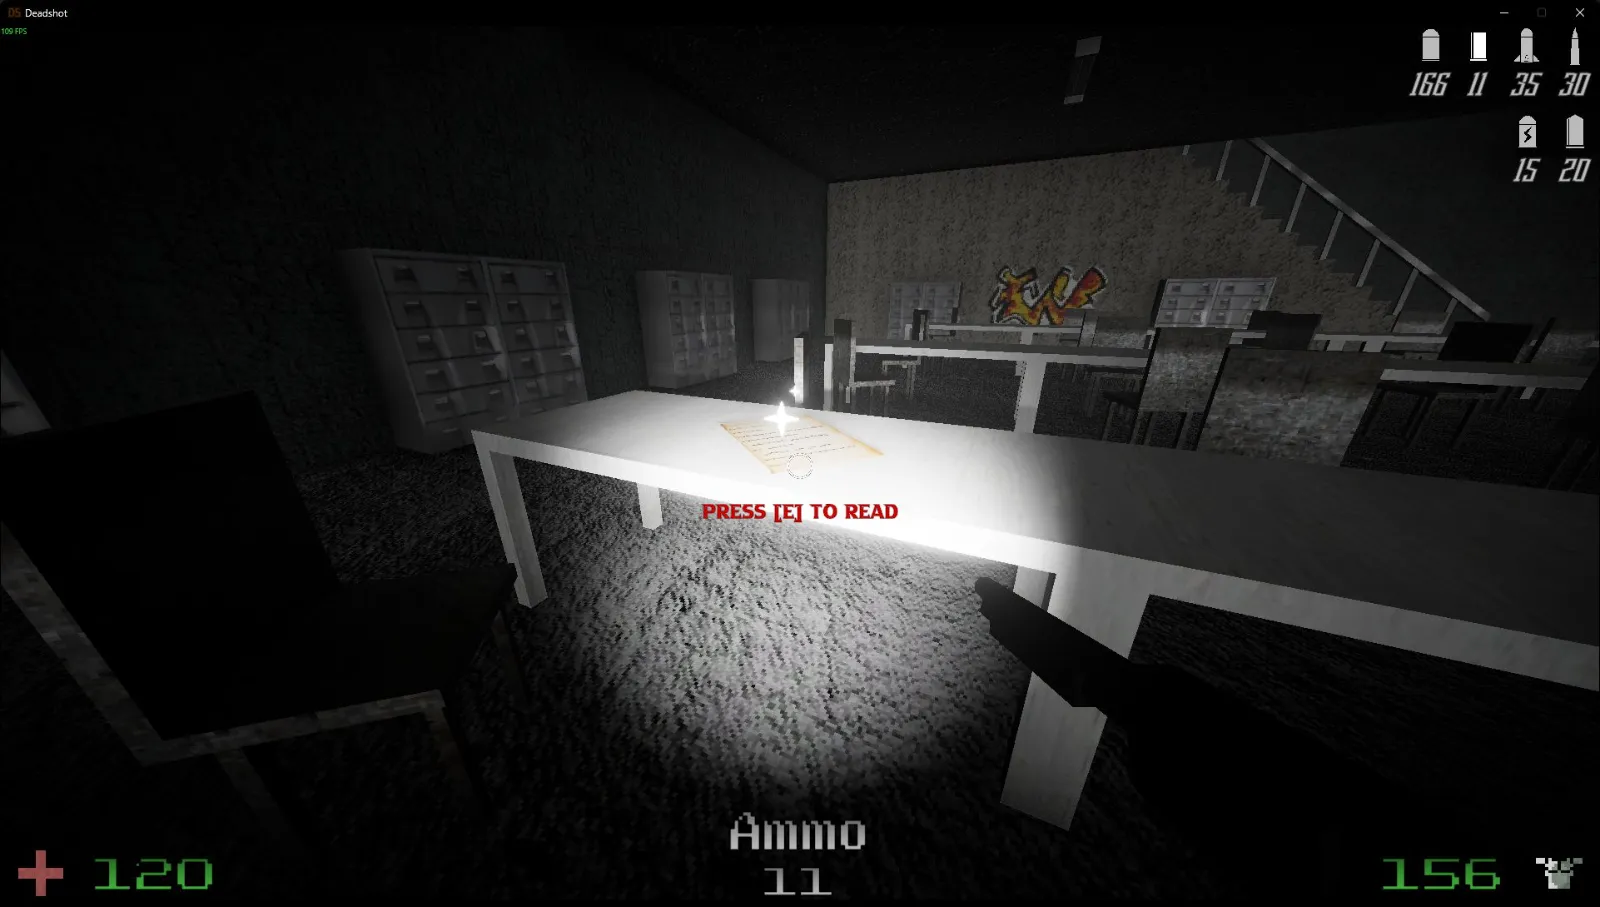
Check between the generators for a secret.
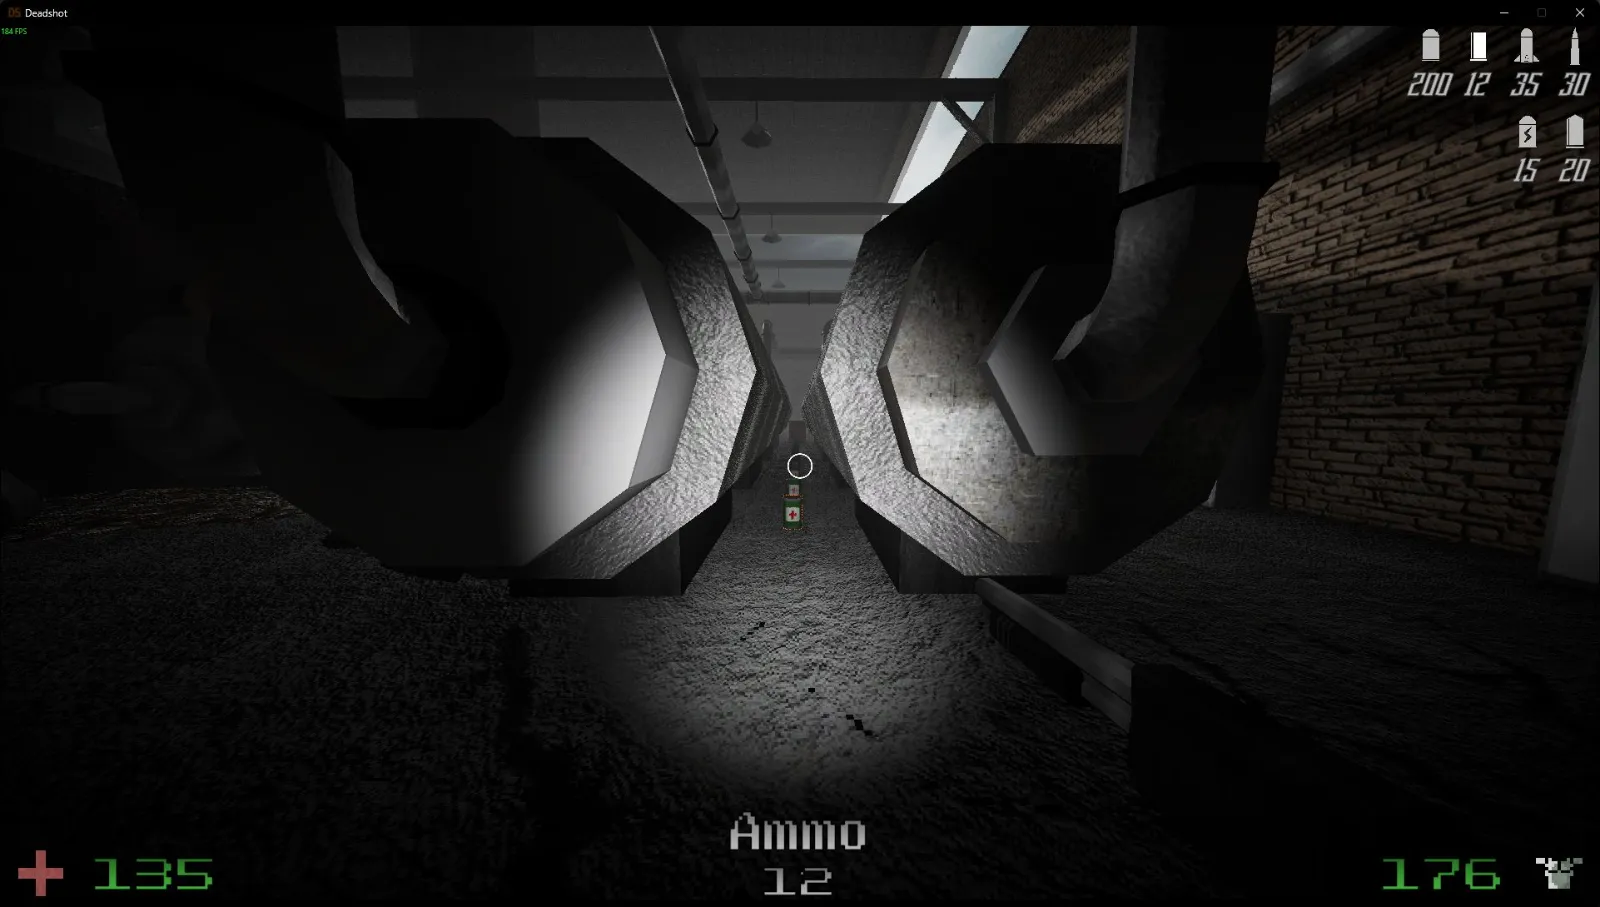
Near the 2nd key, look on the table at the back of the room for a note.
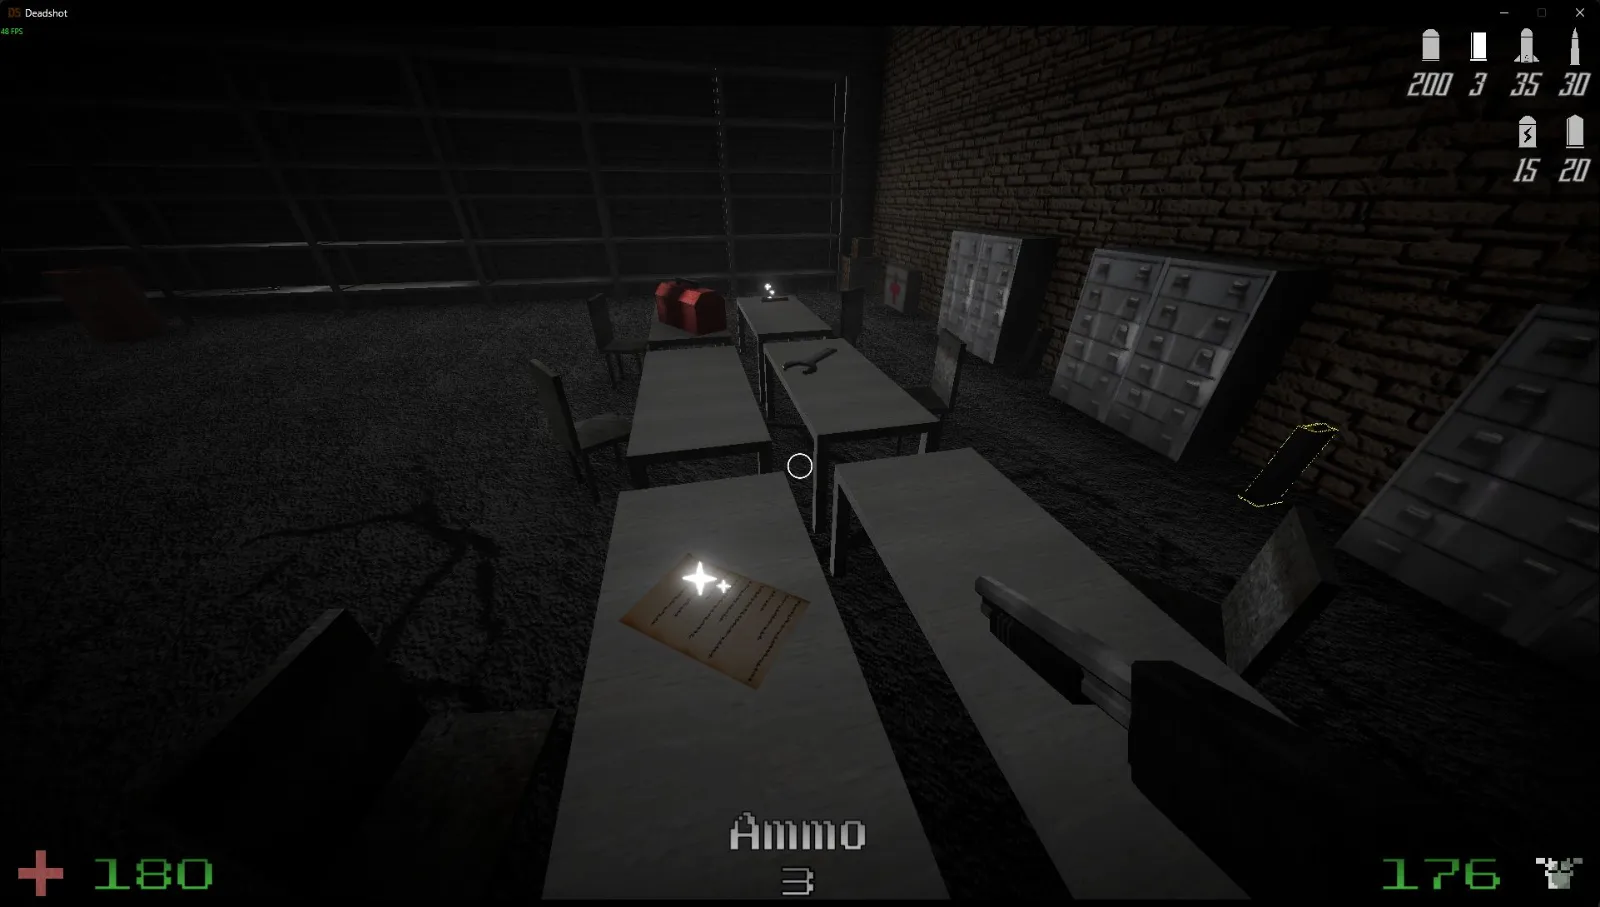
Search between the next generators for another secret.

For the next detour, jump onto the generator.
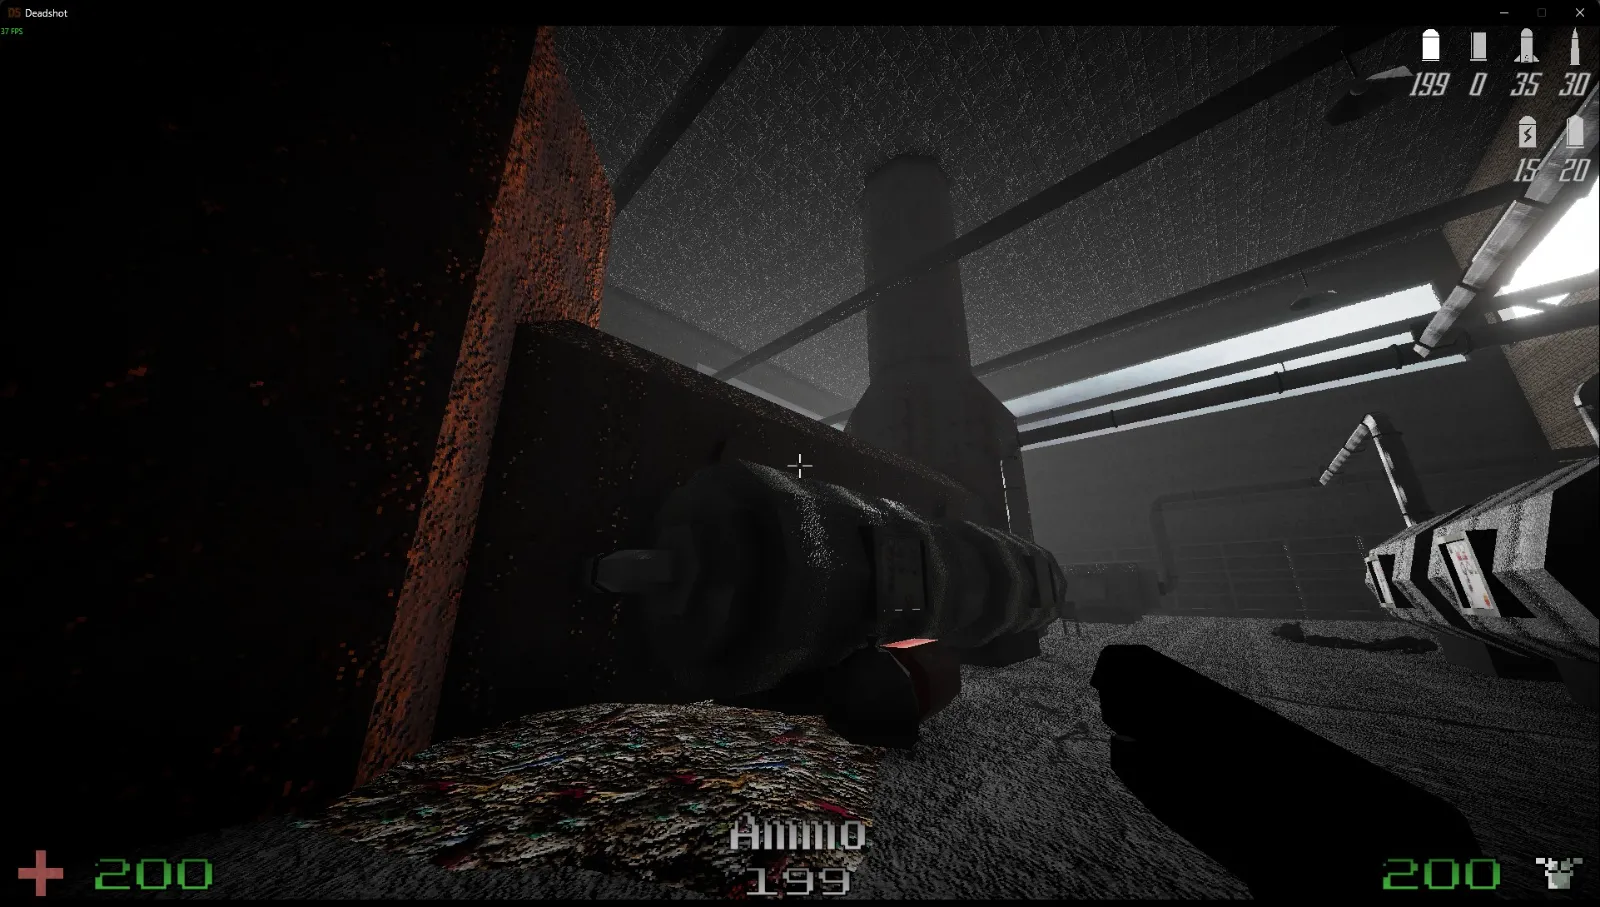
From there, get onto the top of the structure shown to reach another secret.

Jump out of the window in the corner of the 2nd floor, then climb the ladder to find the remaining secret.

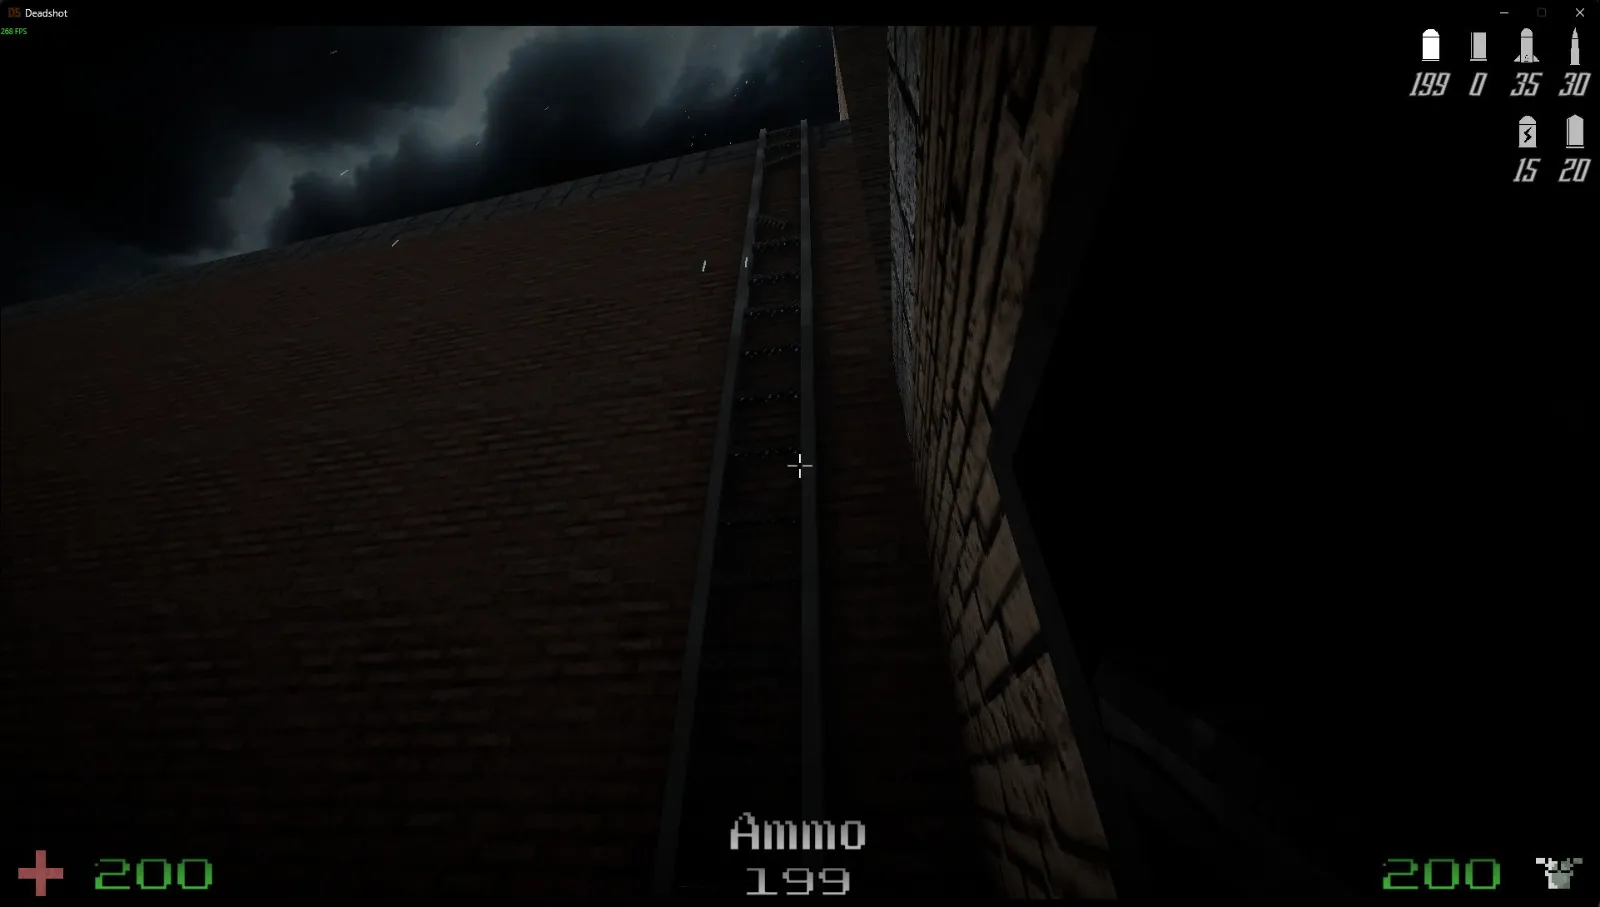

C2L6 — Periphery
Level total: 1 note and 2 secrets. Turn immediately right at the start of the level for the first secret.

Collect the note on the bench.
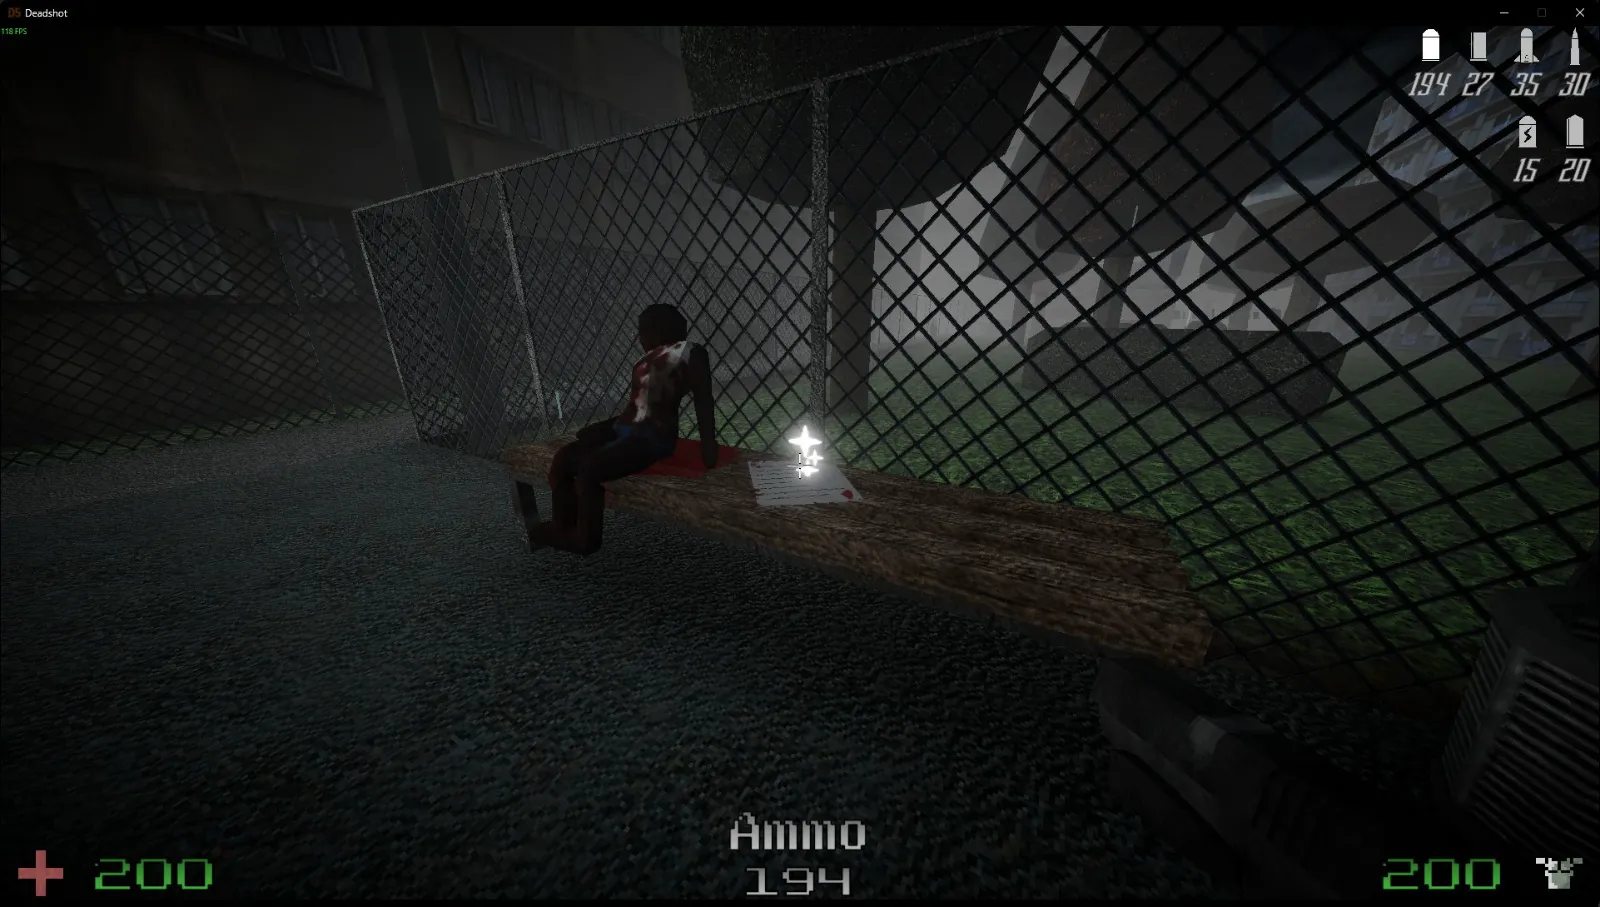
As soon as you enter the construction site, look left for the other secret.

C3L1 — Entrance Zone
Level total: 2 notes and 2 secrets. First, pick up the Grenade Launcher Attachment.
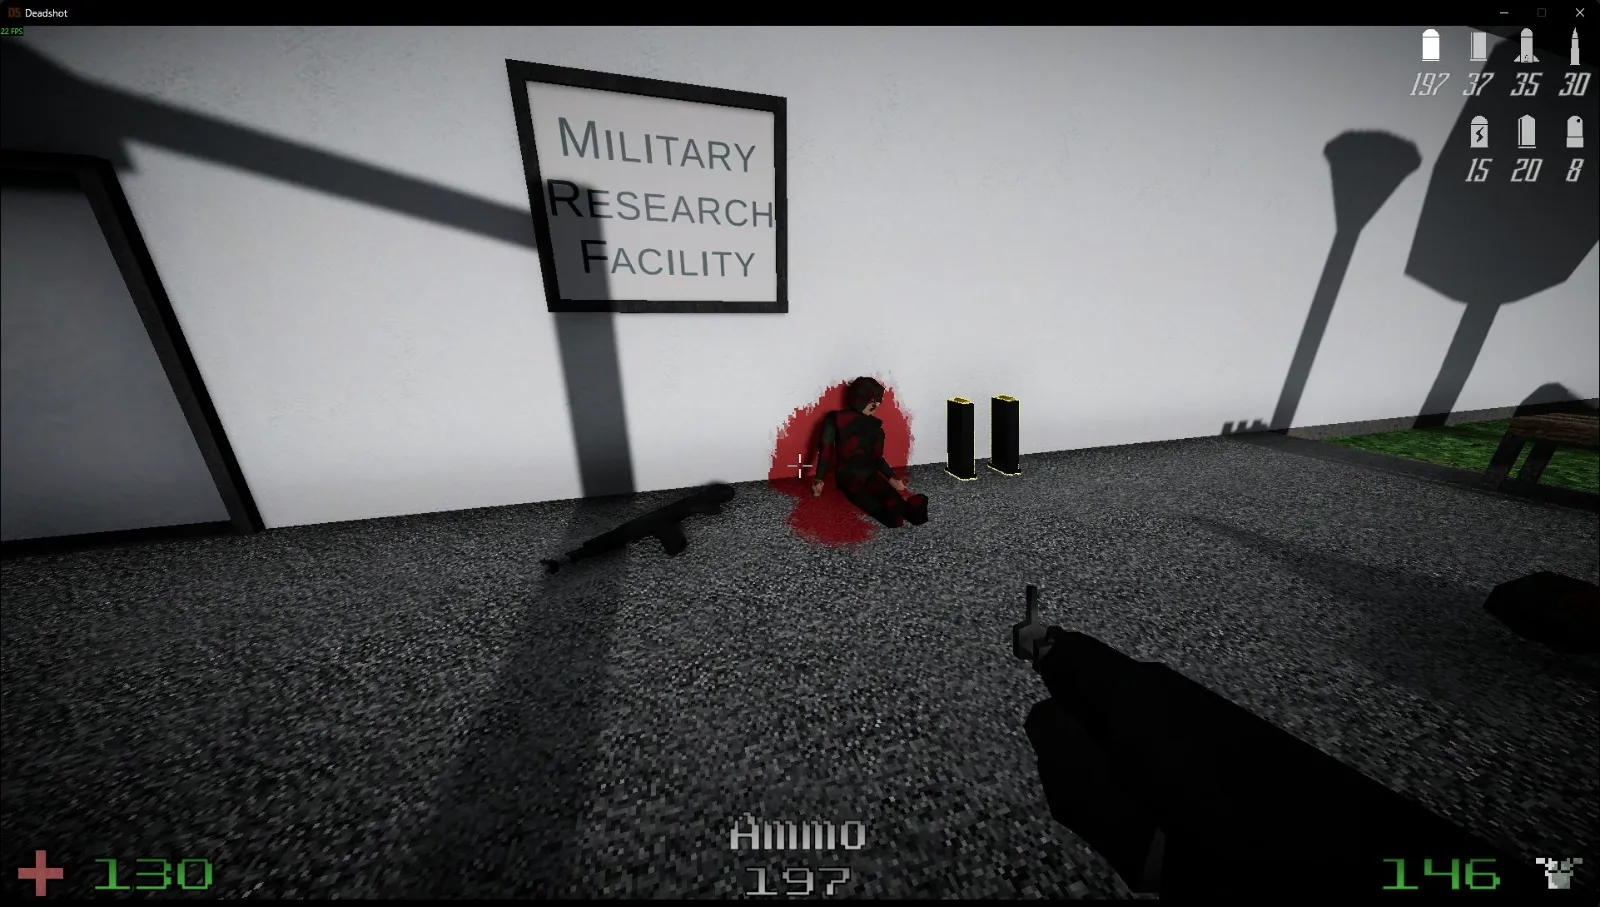
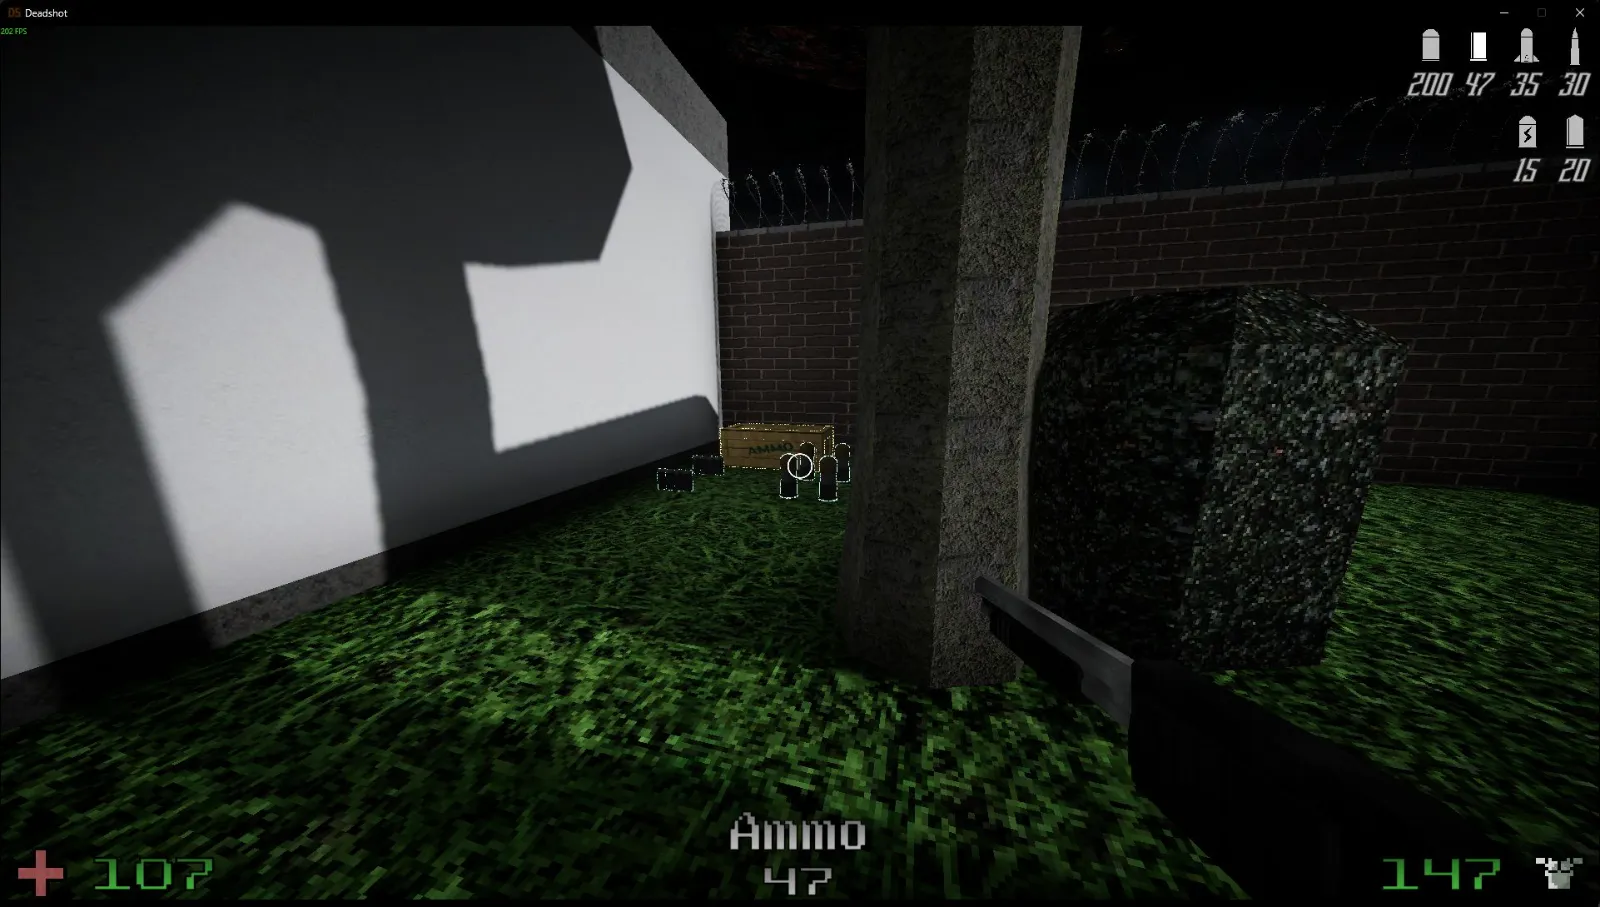
Search the corner of the parking lot for a secret.
Collect the note in Dr.Bright’s Office, in the middle.

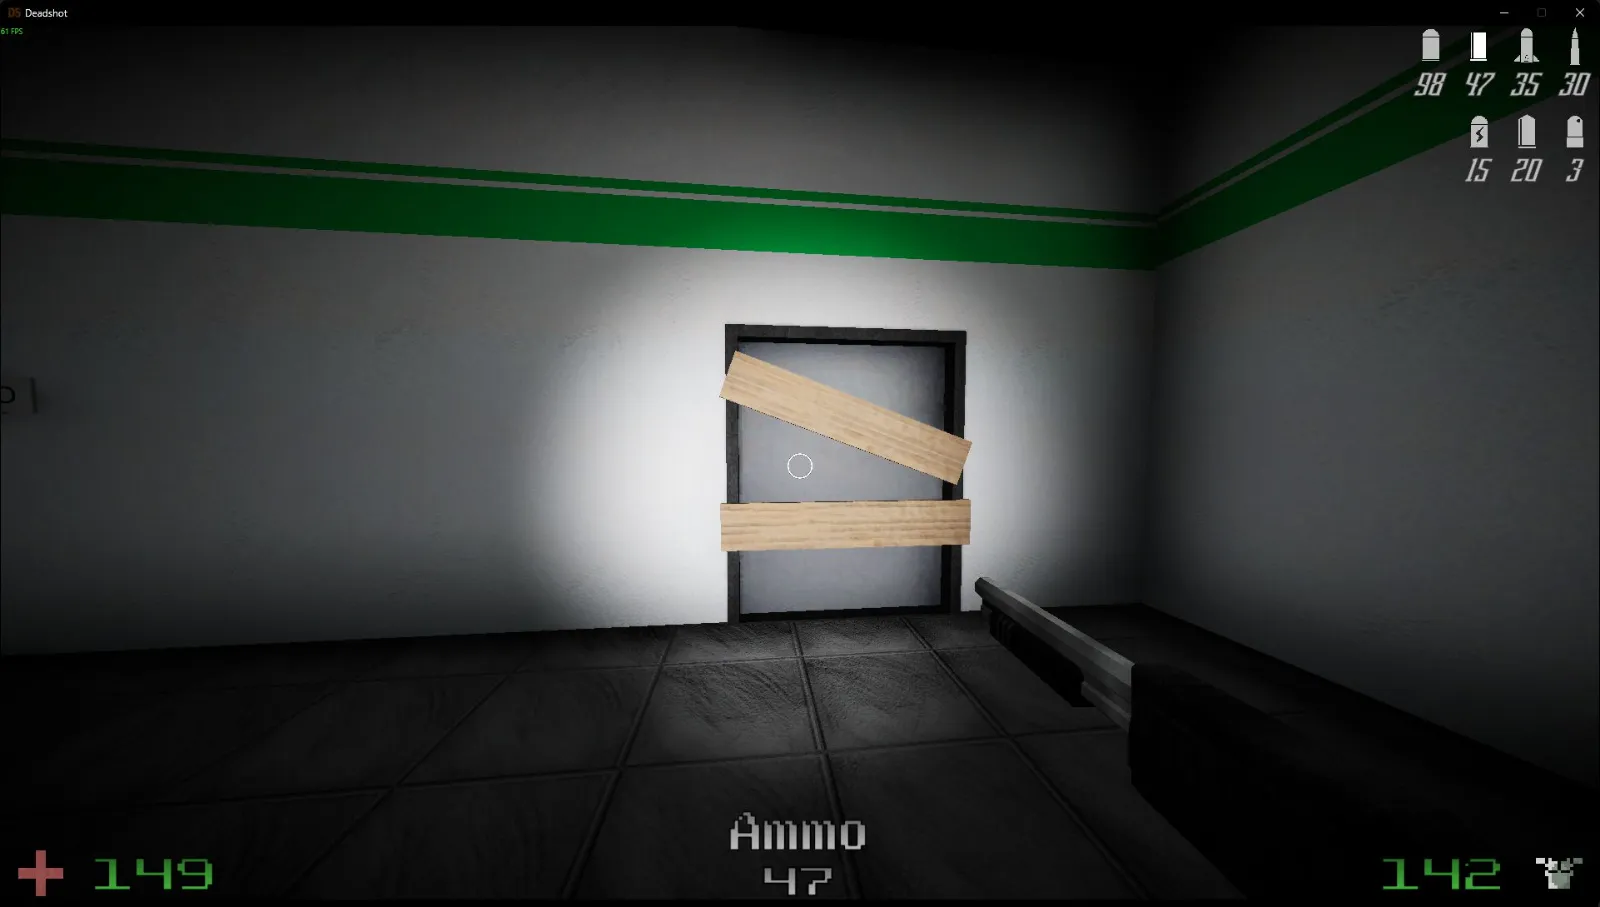
Break the wood and go through the door to reach the next secret.
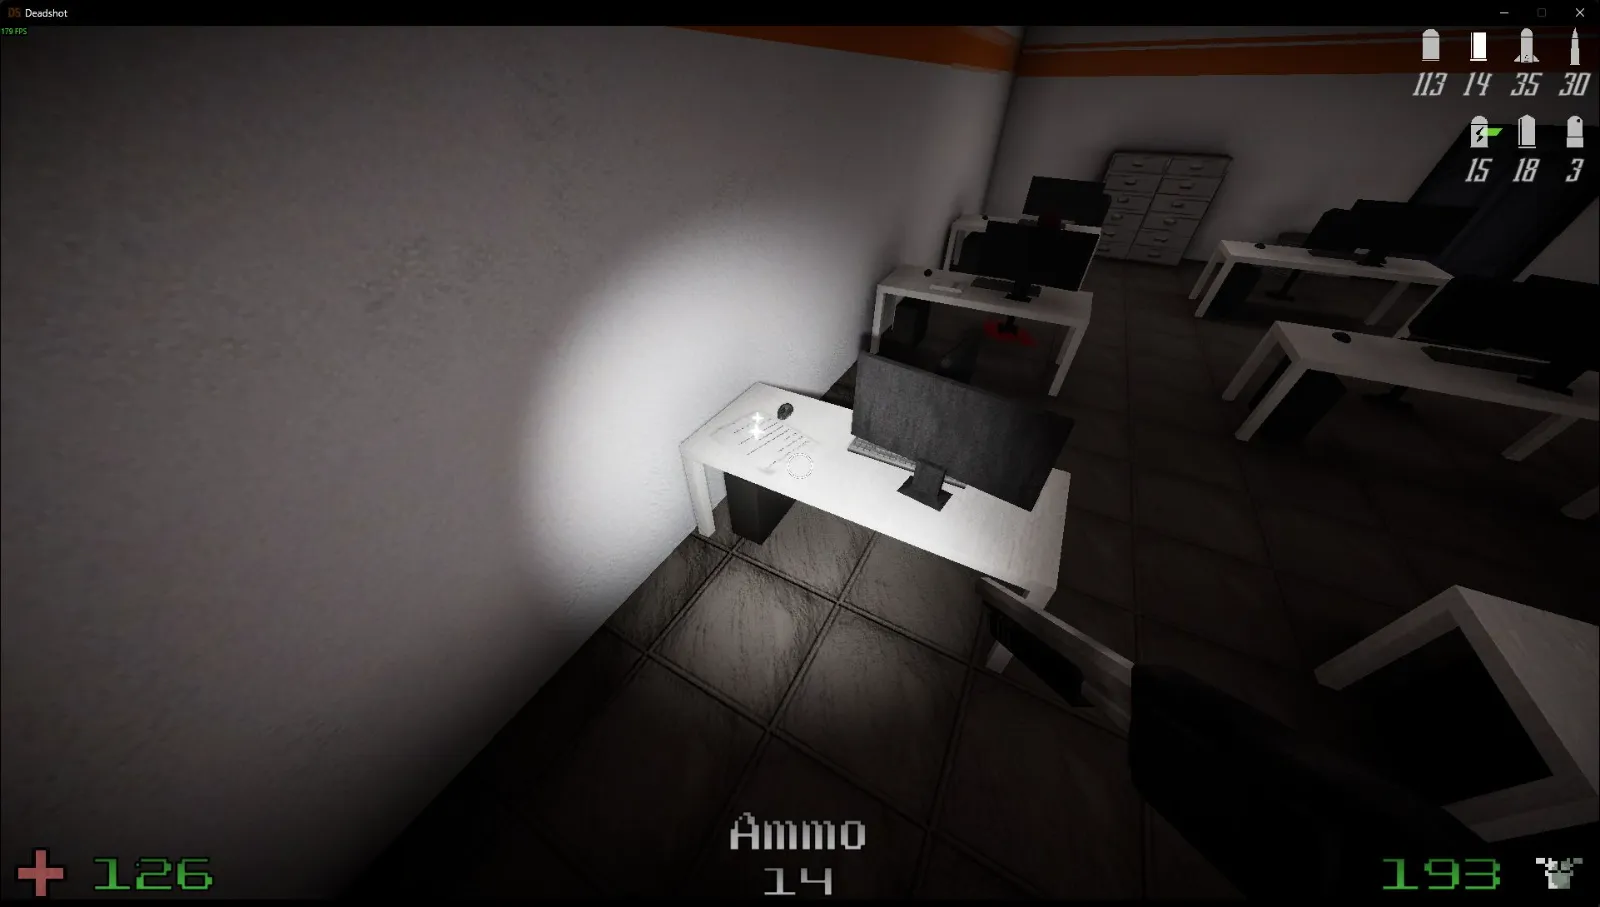
In the East Wing, collect the note on the table.
C3L2 — Beta Labs
Level total: 2 notes and 3 secrets. Check the first room for a secret before pushing onward.
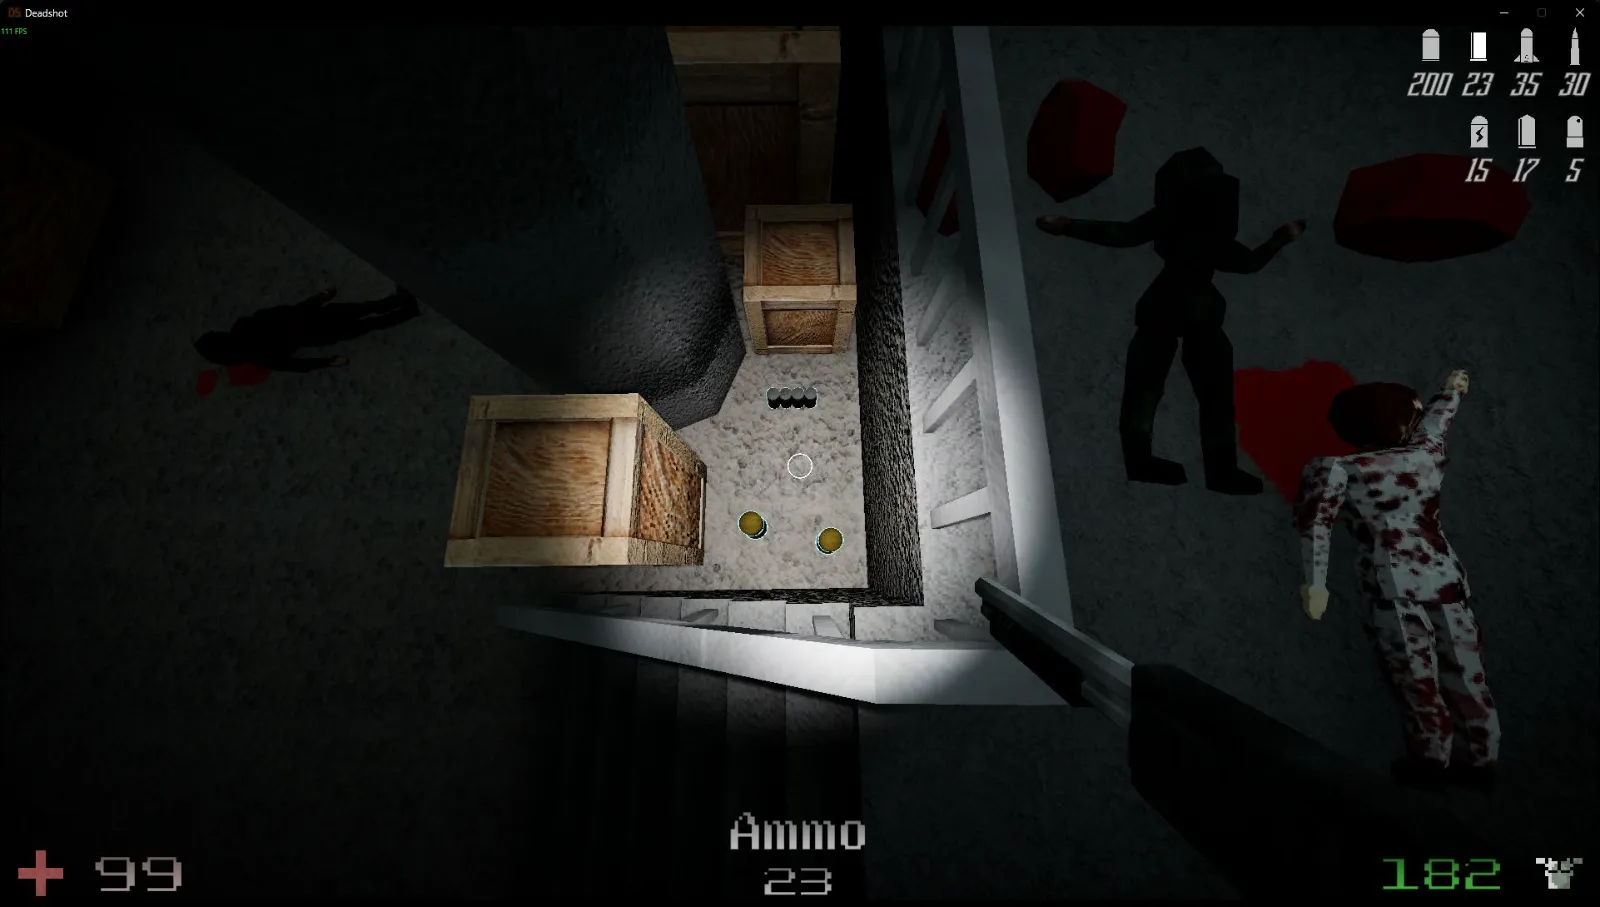
In the double-glass hallway, pass through the shattered hole in the glass on the left side to find another secret.

On the right side of the double-glass hallway, enter the left room and check its trash can for a note.

In the control room, check the chair for the next note.

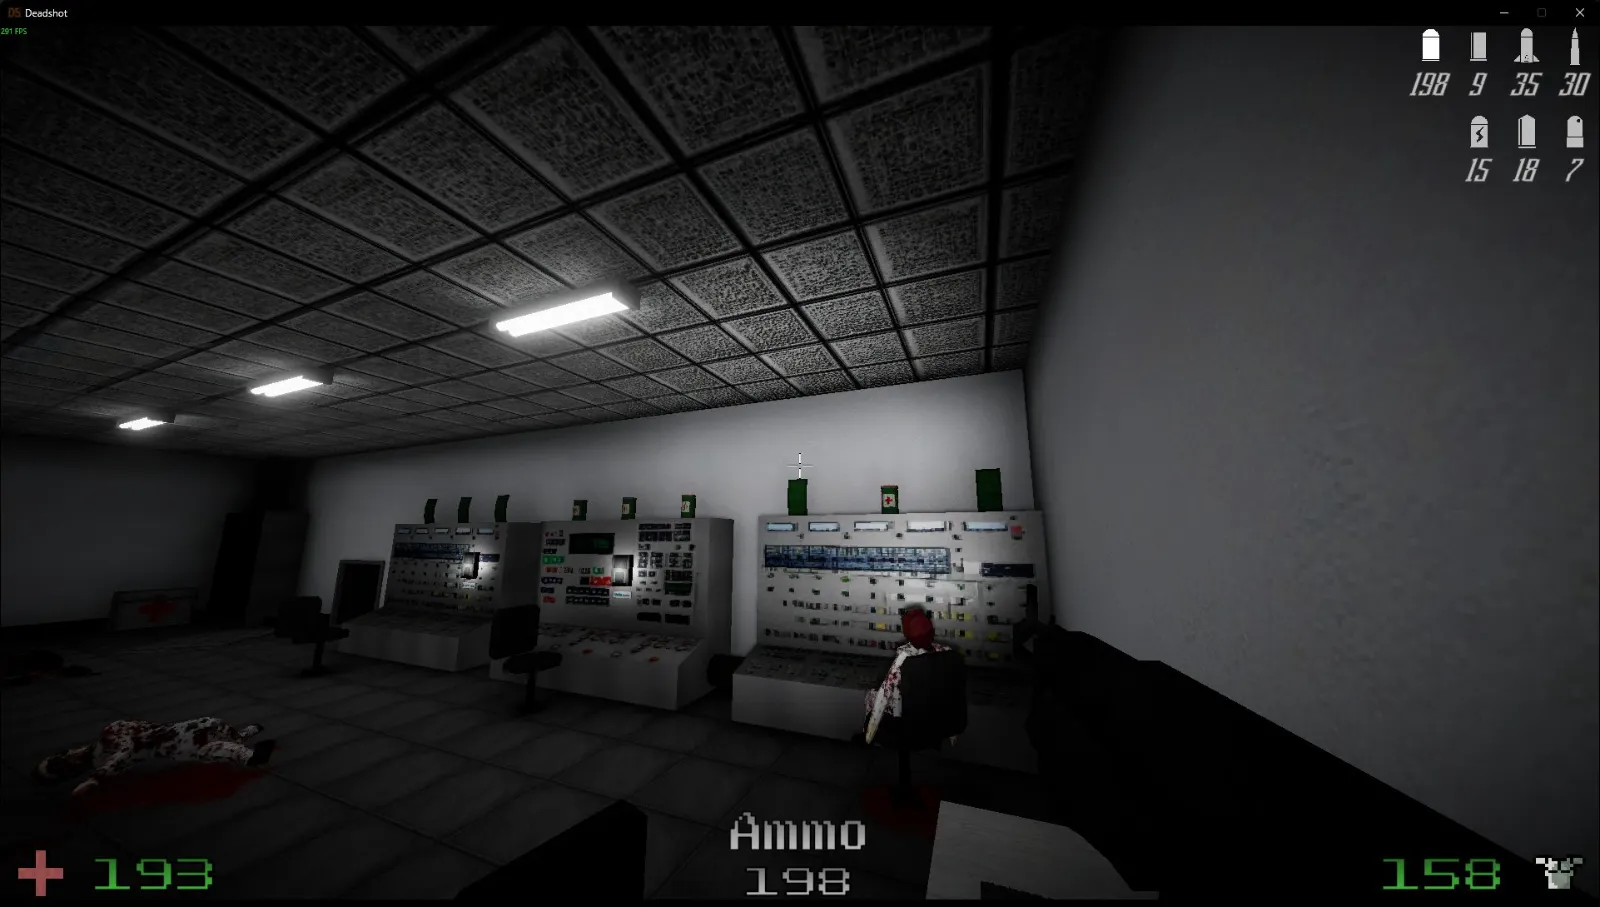
Jump onto the control panels to reach the remaining secret.
C3L3 — Alpha Labs
Level total: 2 notes and 1 secret. Enter the vent from the fuse room to discover the secret.

As you head toward the storage room, collect the note on the table.

Find the other note in the ray gun control room.

C3L4 — Containment Zone
Level total: 3 notes and 3 secrets. Pick up the note on the floor at the start.

Beside a fuse you need to collect, check the vent for a secret.

Enter the back-left cell in the Containment Room and collect the note.
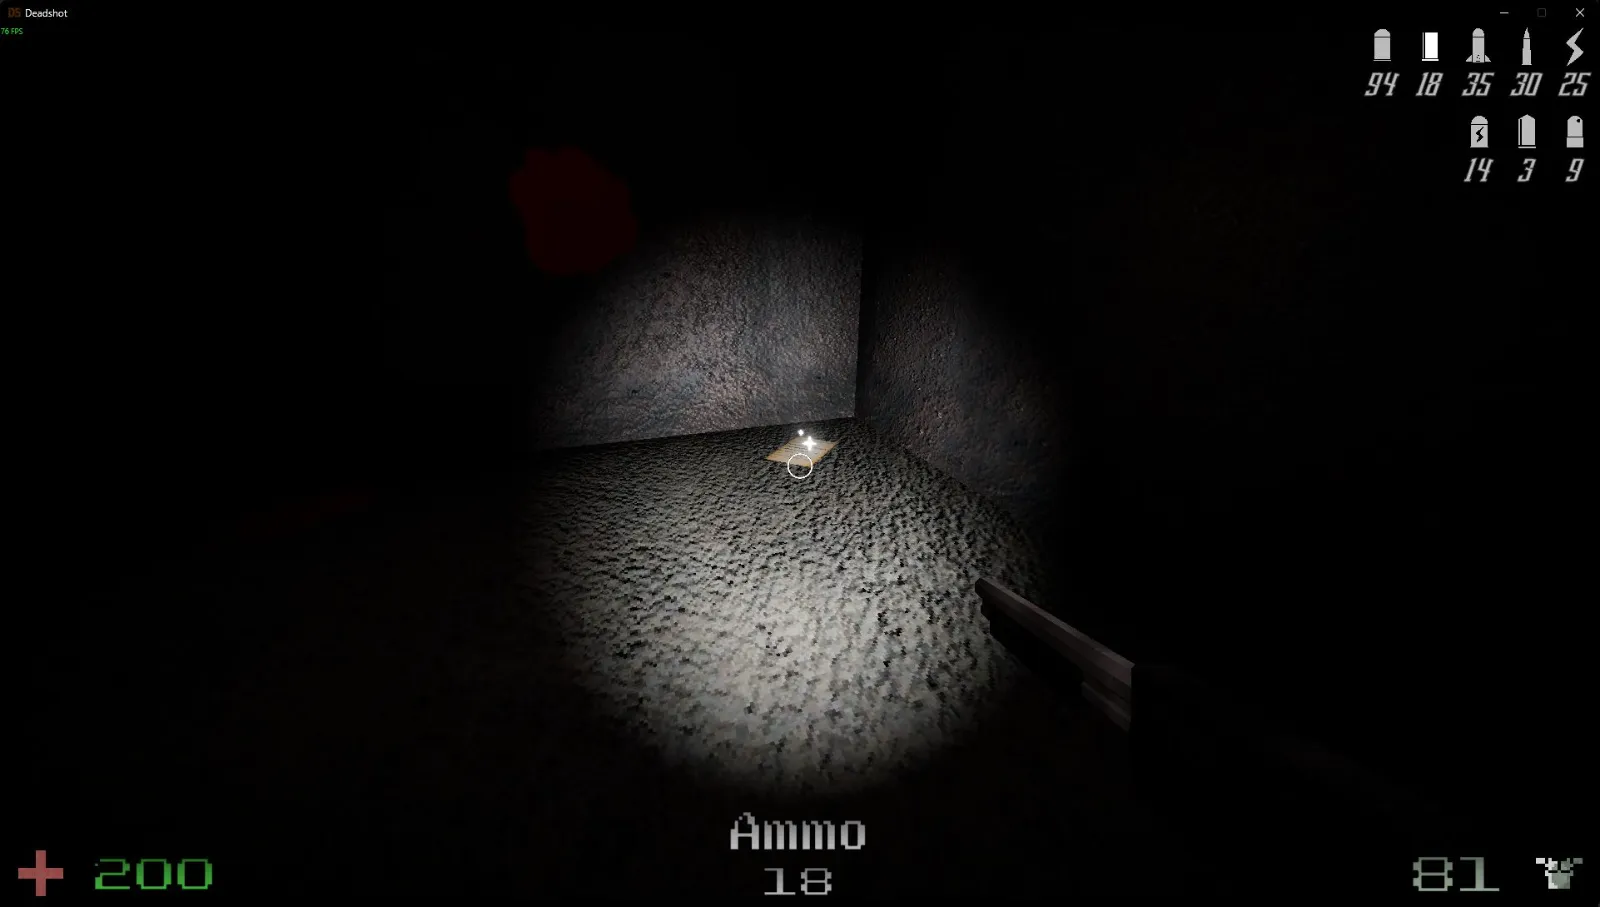
Don’t leave that cell just yet: its vent contains an ammo crate in a secret area.
Collect the next note in the Right Wing.
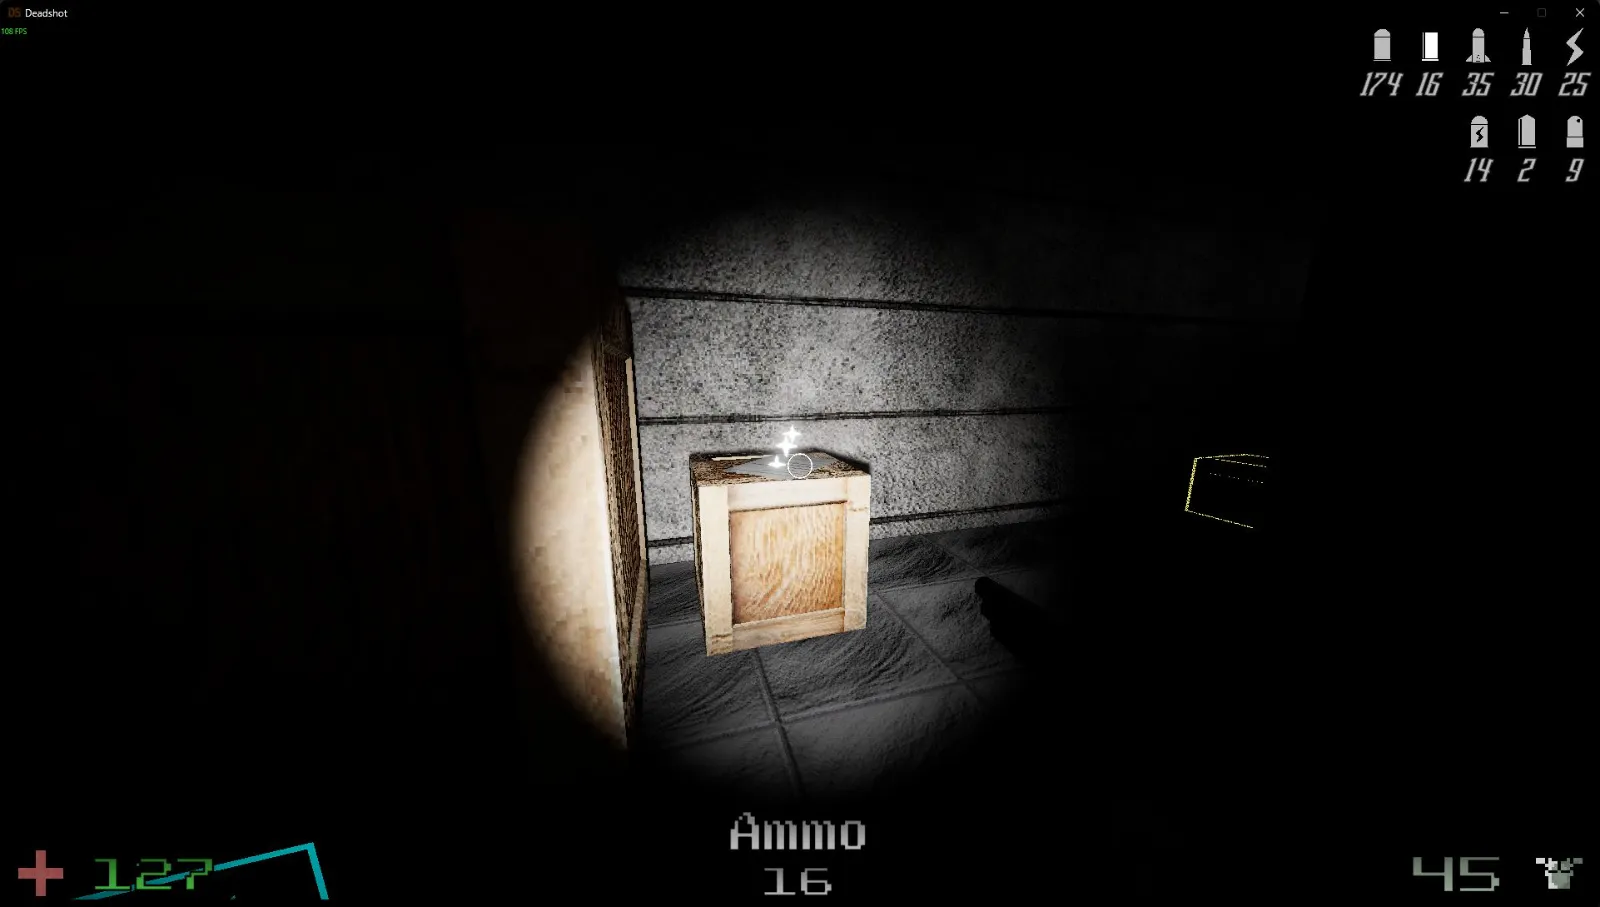
Head to the bottom of the stairs at Sewage Control for the remaining secret.
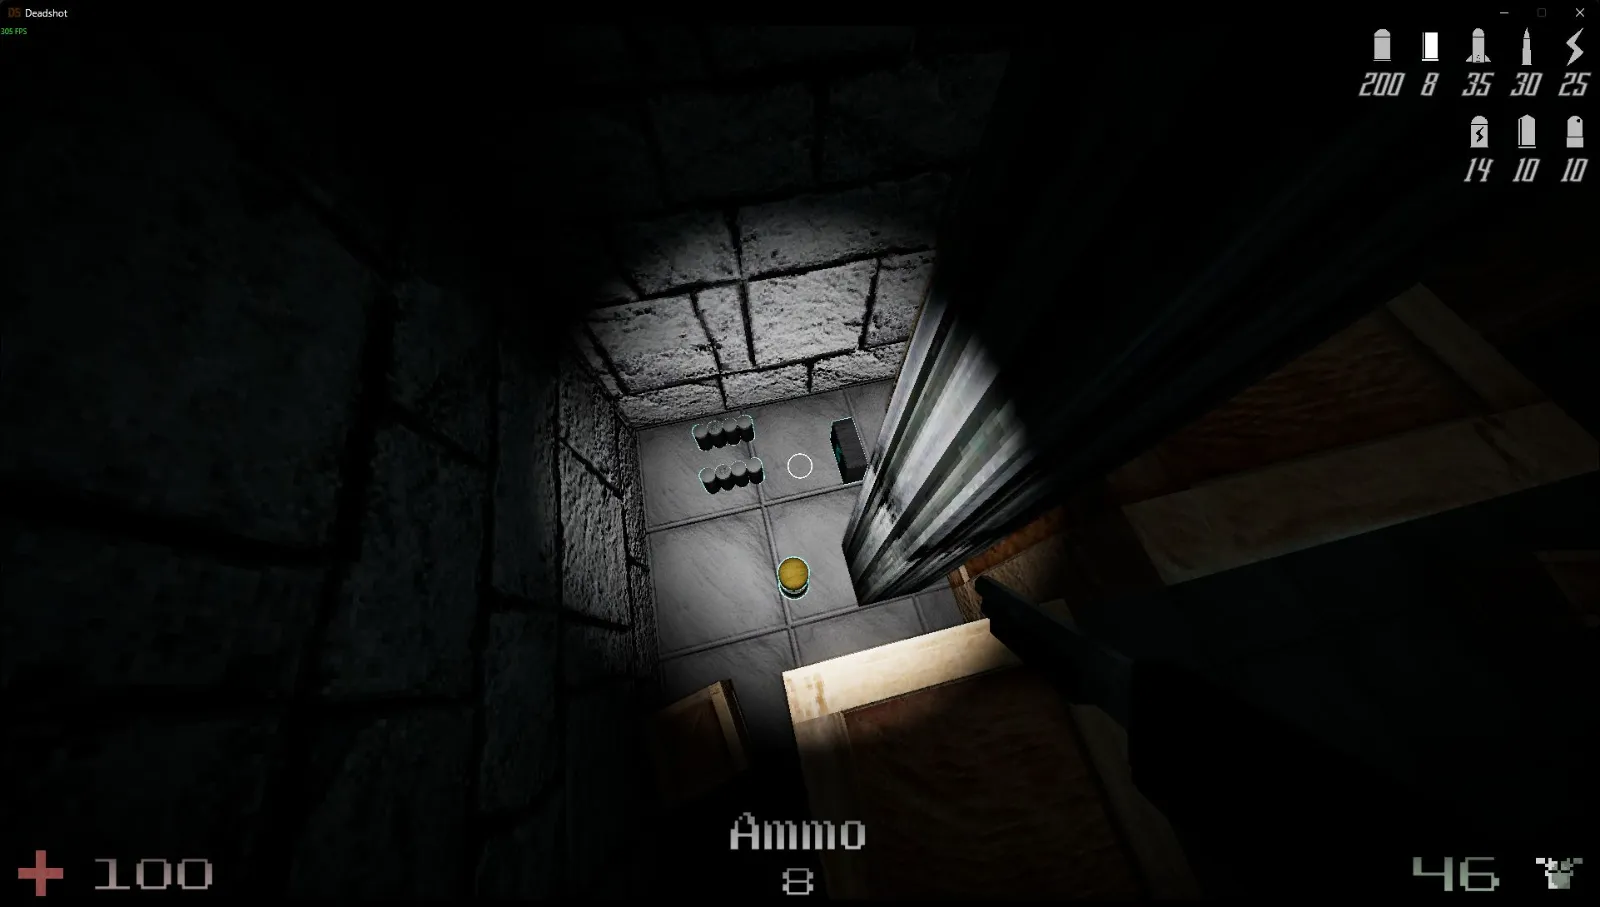
C3L5 — Mutagen
Level total: 3 notes and 2 secrets. Collect the note in the Medical Bay.
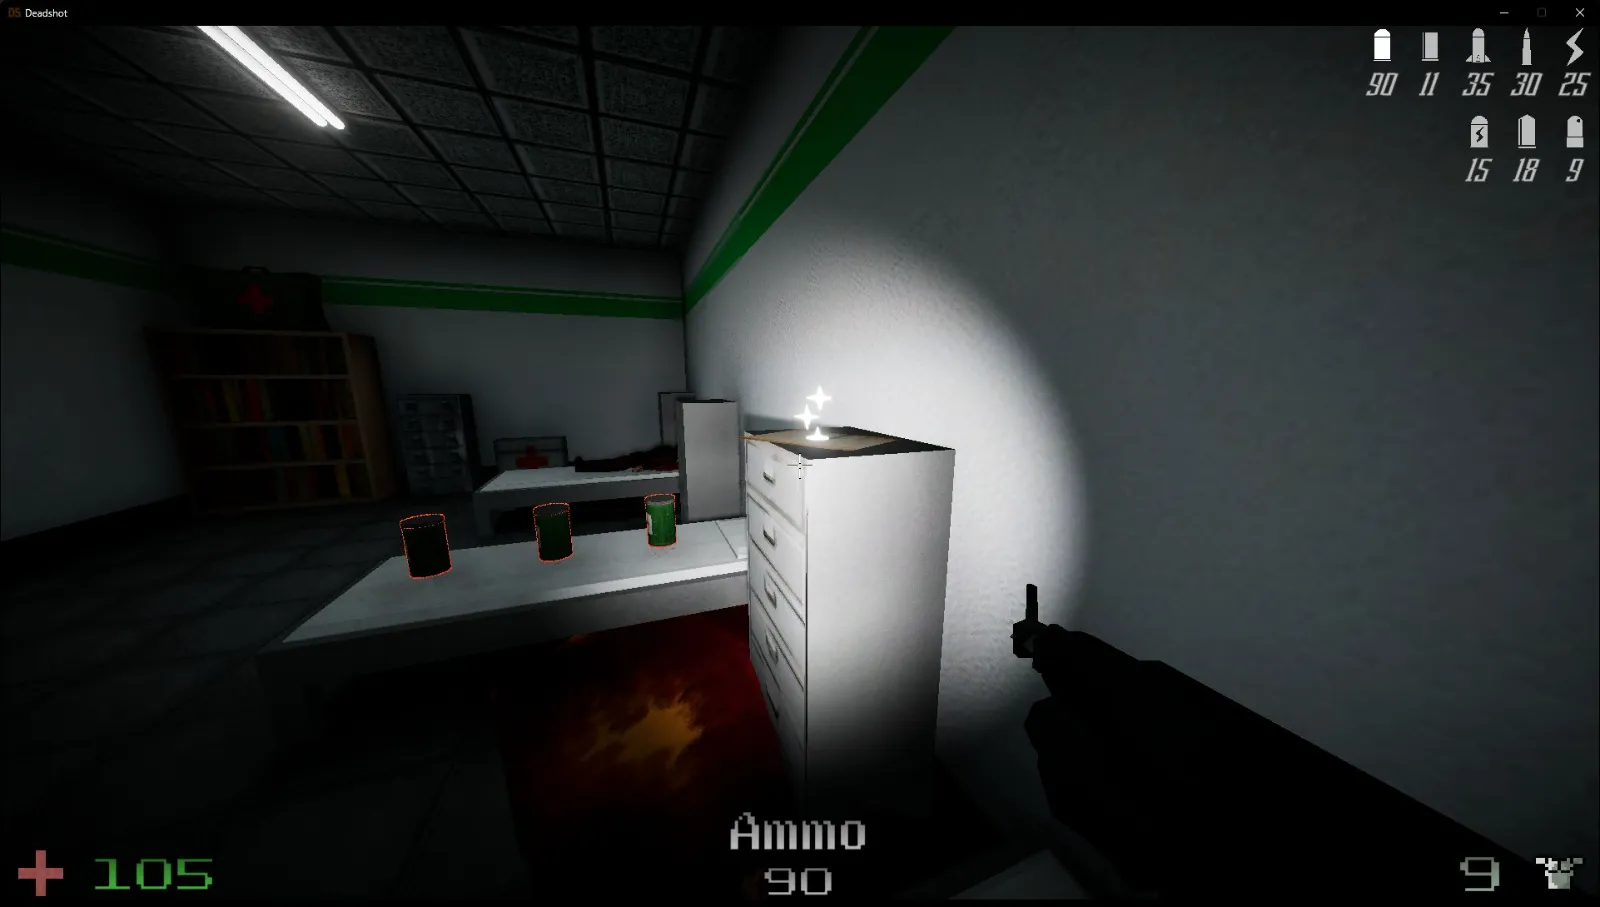
While in the Medical Bay, jump up to reach its secret.

Pick up the next note in the lab.

Look high on the lab wall, near the ceiling. The vent there holds another secret.

In the room after the lab, check underneath the body for the last note in this level.

C3L6 — Dead End
Level total: 2 notes and 1 secret. Search under the stairs for the secret.
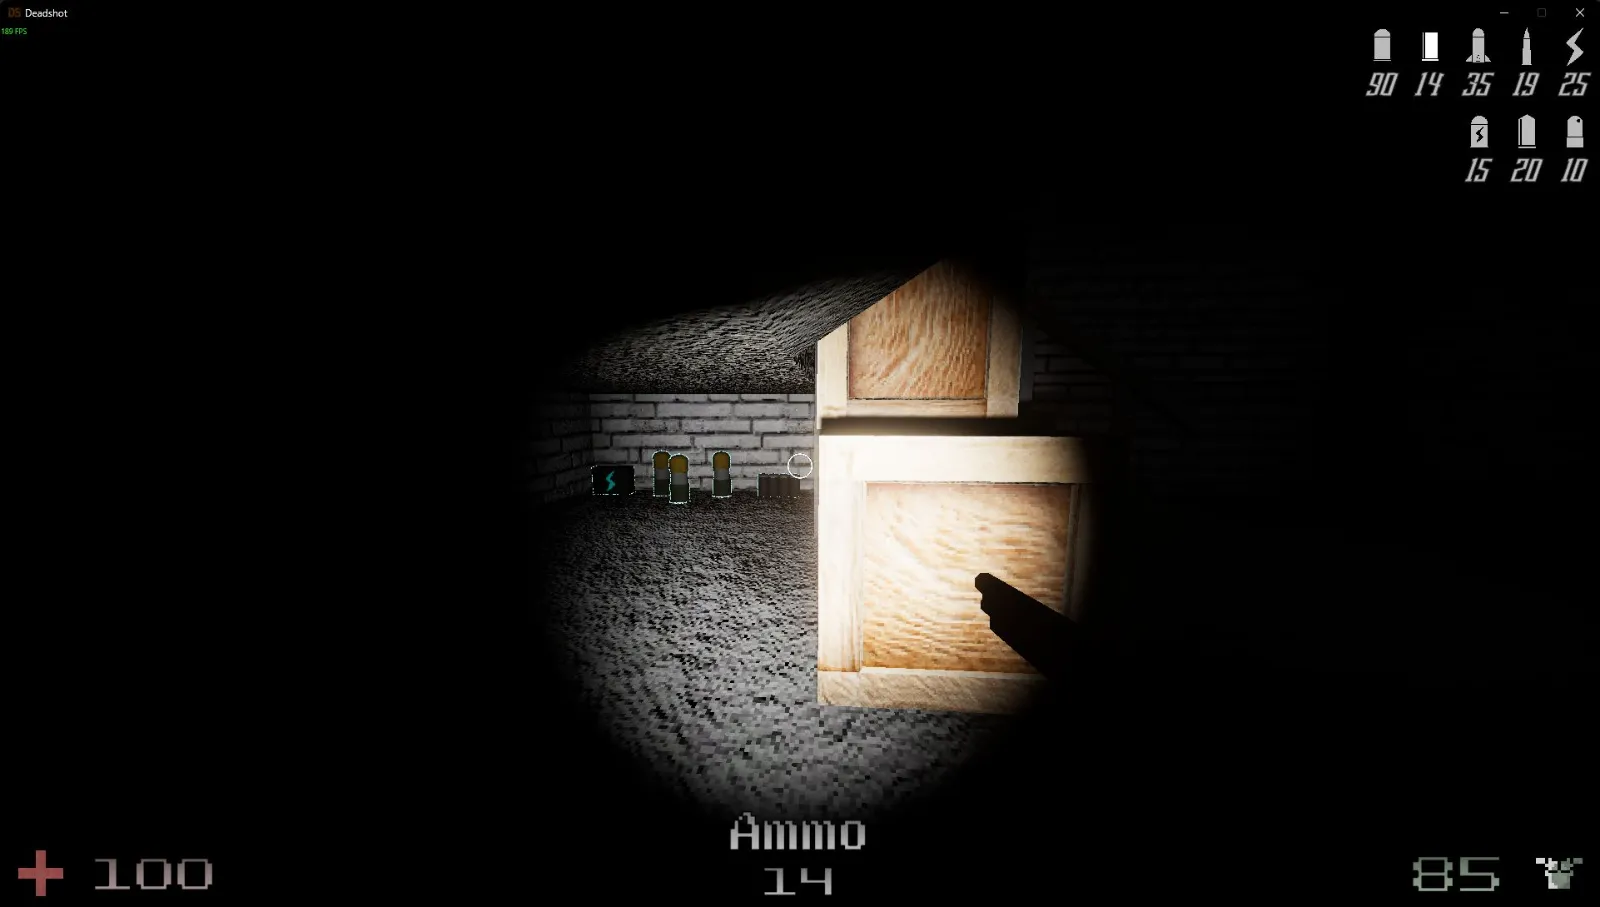
In the control room, collect the note on the chair.
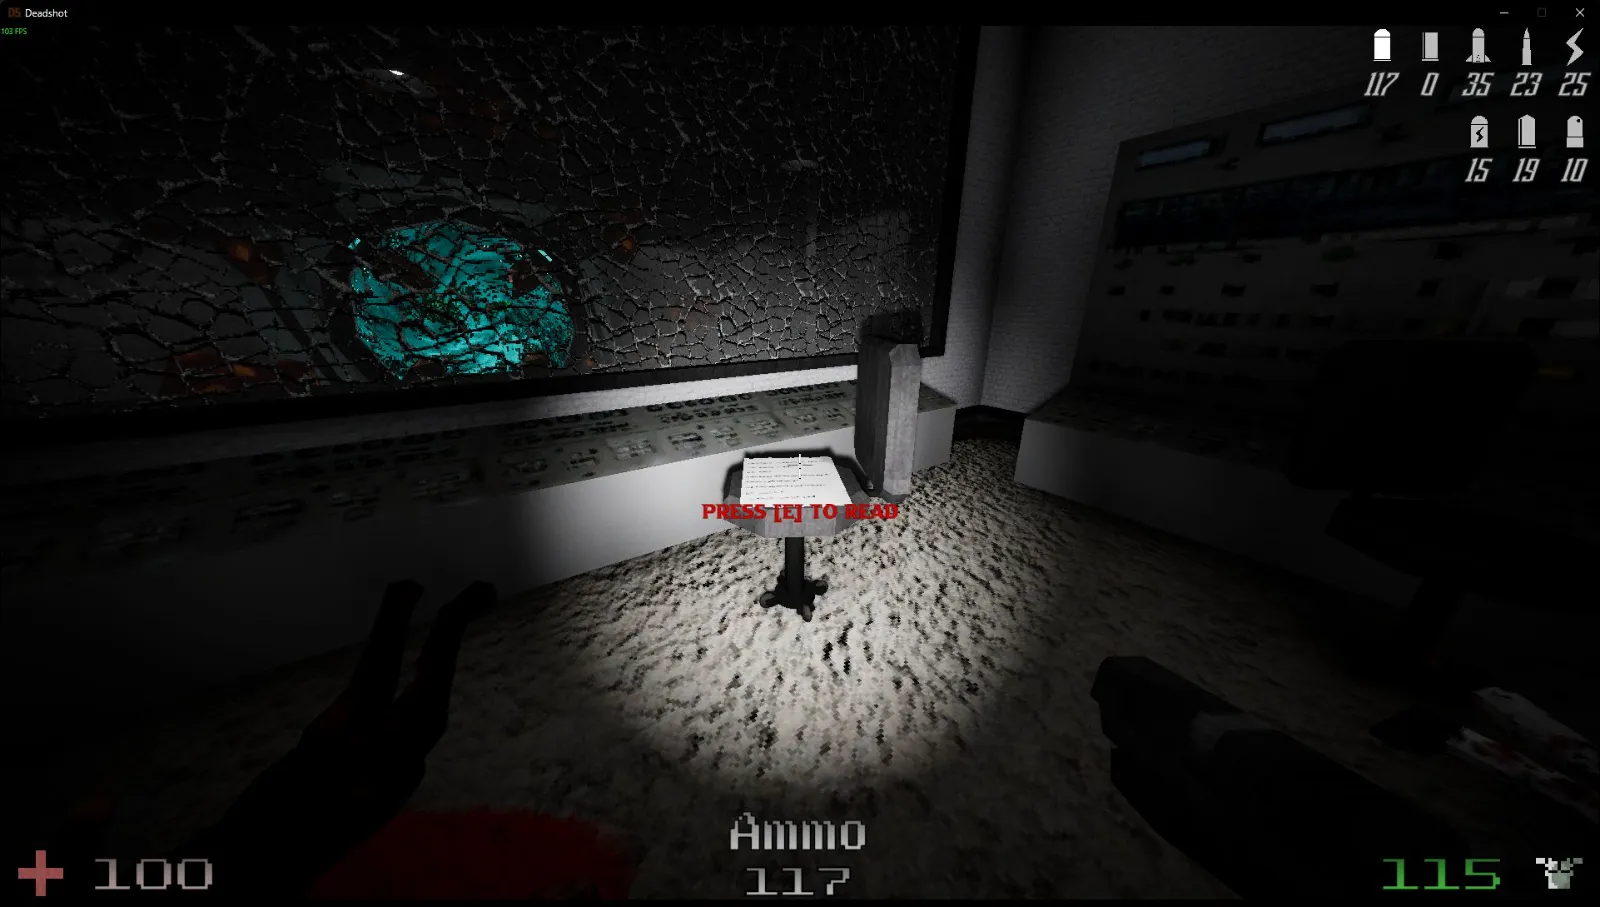
One last check before you’re done: the final note is under the stairs in the final boss room.