



- Route 0: Have We Been Here Before?
- Starting Route 0
- Achievement: So That’s How It Went
- Achievement: That’s Not How It Went
- Route 1: The Dark Forest
- Route 2: Dog-Eat-Dog World
- Route 3: Live, Laugh, Divorce
- Route 4: Ashes and Alliances
- Starting Route 4
- Achievement: A Lonely Death
- Preparing for Session 6
- Route 5: Should’ve Aimed for the Hand
Heartfall — A Tale in Three Lives plunges players into a narrative-rich experience where every choice reshapes the outcome. Mastering how to unlock its various endings and achievements is essential to fully appreciate the story’s depth and nuance.
The game features 12 distinct narrative routes, each tied to specific achievements. Navigating these paths requires understanding the pivotal decisions and knowing when to follow or diverge from the main storyline.
Spoiler Alert: The content below unveils major plot points, including scenes of death and intense emotional moments. Proceed with caution if you prefer to discover the story unspoiled.
Route 0: Have We Been Here Before?
Achievements: So That’s How It Went, That’s Not How It Went
This route acts as the game’s true introduction, closely retracing the core story. Playing it first is advised for familiarising yourself with Heartfall’s mechanics and establishing baseline character relationships.
Starting Route 0
Begin by answering introspective questions about your identity and surroundings: Who am I? Where am I? What am I doing here? These choices ground you in the game’s atmosphere.
Select Let’s move on to push forward with the initial narrative.
Approach the sparkling items nearby to gather essential tools: Pickaxe, Iron Sword, and Wood Axe.
Inspect all nearby sparkles. One allows you to Follow the trail—confirm by choosing You bet?
Check the sparkles to the right until you find footsteps leading to the village. Choose Follow it to proceed.
Inspect the house with paper pinned to the door.
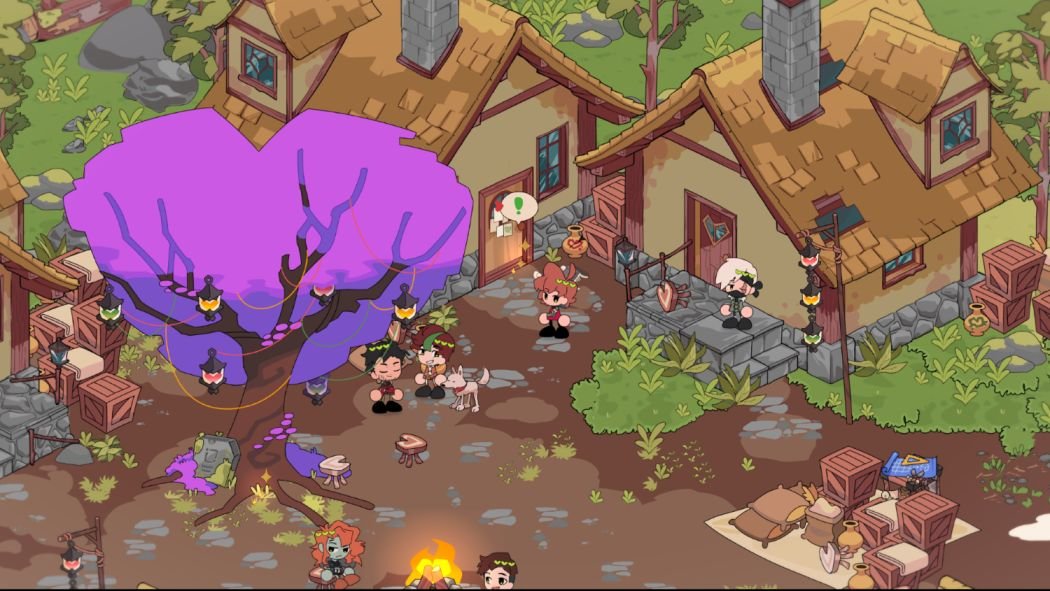
Select these dialogue options when inspecting the paper:
- Take a look
- Time to find out if you are illiterate
When interacting with the character Scar, pick these choices:
- Nope
- Your secret is safe with me
- It’s Grian
- Why’d you think you can trust me?
- Waah! Who said anything about allying? Why even?
- I’m listening
- It’s a little hard to miss
- I like where your head is
Accept the quest titled Cause mischief with Scar?
Leave the village and take the Mountain Trail.
Enter the caves to obtain the flint and steel by interacting with the trolley.

You’ll encounter Bigb and Martyn. Try these approaches:
- Sneak up for a surprise
- Say, HI DUDE!
- Introduce yourself as Grian
- Decline excessive caving for the day
Successfully through this, you’ll acquire Flint and Steel.
Return to the village and hand over the flint and steel to Scar.
Create a distraction for Etho so Scar can burn the Mystic Tree.
At the village entrance, interact with Scar and take the Seek monopoly dialogue choice.
- Seek monopoly
That night, lure a creeper toward Scar to set the stage for the next events.

After Scar’s death, vow to stick with him until your first life is lost.
Journey into the desert and stay alongside Scar through the night.
Before moving forward, save your game in a separate slot to allow replaying for different achievements.
Achievement: So That’s How It Went
Progress through the storyline without altering key choices that would disrupt the default sequence.
When Jimmy and Scott propose a cow heist during your base material gathering, refuse the offer.
Upon meeting Martyn in the village, don’t complain about Scar. Respond with It’s enjoyable.

If Martyn offers to take you along, turn down the offer.
After the magic trick with the tree, Martyn may invite you to commit a crime. Decline his invitation.
During the Dogwarts battle, Martyn attacks both you and Scar with an axe. When the option arises, do not absorb the blow.
Taking the hit results in losing your first life early, forgoing this achievement in the current run.
Continue the story as Scar and other characters engage with BDubs, BigB, Impulse, and the No Kill Pass storyline.
Eventually, Scar will abandon you, leading to the final desert confrontation. Triumph in the fight then choose to jump off the cliff when prompted.
This action unlocks the achievement upon your character’s death.
Achievement: That’s Not How It Went
Replay Route 0 or reload before the Dogwarts fight; keep early choices consistent.
When Martyn attacks, choose to take the blow.
This causes an early first-life loss, diverting the story from its original path.
Scar survives and reconnects with you after respawning. Later in the altered Dogwarts battle, both you and Scar perish.
The achievement is unlocked following this alternate ending.
Route 1: The Dark Forest
Achievements: Alone, Beloved, Die, Together
This path focuses on constructing your own base instead of relocating to Flower Valley alongside Jimmy and Scott.
At your initial village visit, accept the quest Build a little base?

Reject Jimmy and Scott’s invitation to move to Flower Valley.
Follow the main narrative and continue traveling with Scar.
When passing your house with Scar, insist on staying there.
Select Take a close look, one last time.
When prompted about retaining your base, choose Accept.
These selections officially trigger Route 1.
Work In Progress
Route 2: Dog-Eat-Dog World
Achievements: All For Naught, Almost Home, Back Where It Started, I’ll Be Waiting
Follow Route 0 through its first day. Upon arriving at the village, locate and discuss with Martyn.
Select dialogue that expresses complaints about your situation with Scar to initiate Route 2.
Work In Progress
Route 3: Live, Laugh, Divorce
Achievements: Happily Egger After, Hate Loses, Hate Wins, Love Loses, Love Wins
Triggered by accepting Jimmy and Scott’s invitation to settle in Flower Valley.
- Visit the village.
- Construct your house.
- When invited to move, select Accept.
This sequence establishes Route 3.
Work In Progress
Route 4: Ashes and Alliances
Achievements: A Lonely Death, A New Family, A Violent End
The focus here is on your bond with Joel and the Crastle group.
Starting Route 4
- Explore a house, then find Joel west of Jimmy and the cows in the forest.
- Help tame wolves.
- Afterward, speak again to Joel.
- Accept building a cabin together.
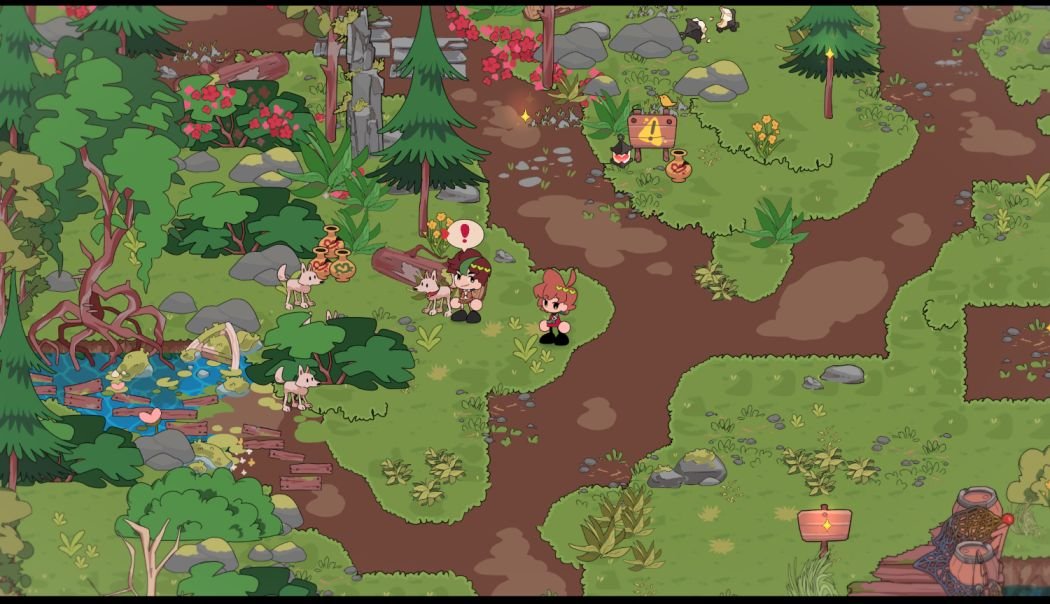
These steps activate Route 4.
Achievement: A Lonely Death
To reach this ending, leave Crastle with Joel during Session 6.
Early events include Joel’s first-life loss in Tango’s Dare to Flare and your own death by a wolf. Subsequently, the cabin ignites while you sleep.
Joel re-enters the burning cabin to save wolves; one escapes, but he and the rest perish.
You find out Cleo started the fire in retaliation for Joel hoarding Mystic Wood, leading to an uneasy alliance offer.
As Dogwarts’ threat rises, you ally with the group but ultimately sacrifice yourself for Joel, completing the story arc.
Preparing for Session 6
Save before Session 6’s morning for branching possibilities.
- Talk with Joel near Crastle on Session 6’s morning.
- Hear out his worries about the upcoming battle.
- Choose Run away with Joel.
This reduces reputation with Cleo and BDubs, leading to the Lonely Death ending.
You and Joel attempt to seek refuge with Jimmy and Scott; Jimmy’s dead, Scott refuses aid, and you head to the beach.
Martyn tracks you down, explains the dire situation, fights you, and Joel sacrifices himself to protect you.
In the aftermath, you don’t retaliate against Martyn, unlocking A Lonely Death.
Route 5: Should’ve Aimed for the Hand
Achievement: Can we go to the desert?
This route starts when Martyn offers to stir up trouble with you.