


- Route 0: Have We Been Here Before?
- How to Start Route 0
- Achievement: So That’s How It Went
- Achievement: That’s Not How It Went
- Route 1: The Dark Forest
- Route 2: Dog-Eat-Dog World
- Route 3: Live, Laugh, Divorce
- Route 4: Ashes and Alliances
- How to start Route 4 After exploring the house, find Joel in the forest west of Jimmy and the cows. Assist him in taming wolves. Talk to him again after the tame sequence. Accept his proposal to build a cabin together.
- Achievement: A Lonely Death
- Save before Session 6
- Route 5: Should’ve Aimed for the Hand
The world of Heartfall — A Tale in Three Lives pulls you into a tangled narrative where every decision shifts your story dramatically. Picking your path wisely doesn’t just affect the plot; it determines which endings you see and which achievements you earn. Getting a handle on how choices impact the story is crucial right now because the game’s multiple routes offer vastly different experiences and outcomes, some dark and disturbing, others filled with alliances and betrayals.
You’ll navigate through twelve distinct story routes, each branching based on crucial dialogue and actions like saving or abandoning characters. Mastering these choices is key to unlocking the full range of endings and achievements in Heartfall.
Spoiler Warning: These details reveal major plot twists, including graphic scenes involving death and body horror. Proceed only if you’re okay with full story exposure.
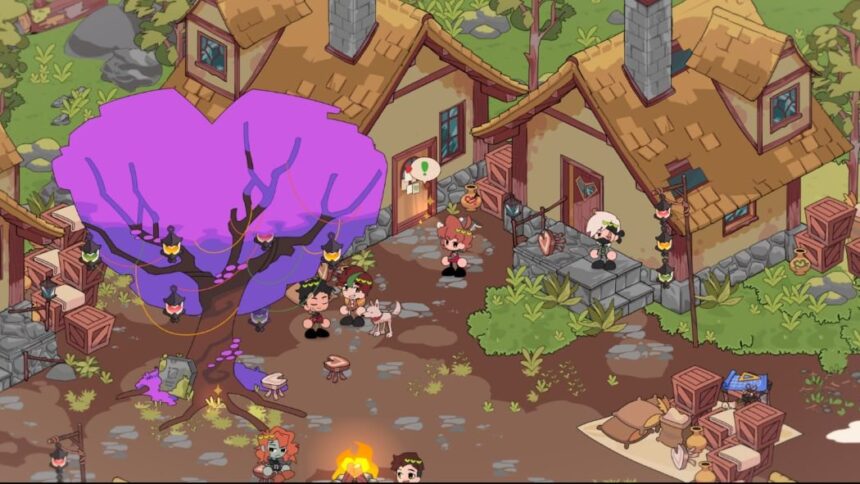
Route 0: Have We Been Here Before?
Achievements: So That’s How It Went, That’s Not How It Went
This route covers the core storyline and is the perfect starting point to familiarize yourself with the game’s mechanics before branching into other paths.
How to Start Route 0
Begin by answering the questions: Who am I?, Where am I?, and What am I doing here? These establish your character’s awareness early on.
After that, click Let’s move on to progress the narrative.
Head to the sparkling object nearby to collect the essential tools: Pickaxe, Iron Sword, and Wood Axe.
Inspect all sparkling points in the vicinity until you get the option to Follow the trail. Confirm with You bet?
Continue inspecting sparkles along the right-side path. Once you spot footsteps leading to the village, choose Follow it to enter the area.
Inspect the house with paper pinned on the door to unlock new dialogue options.
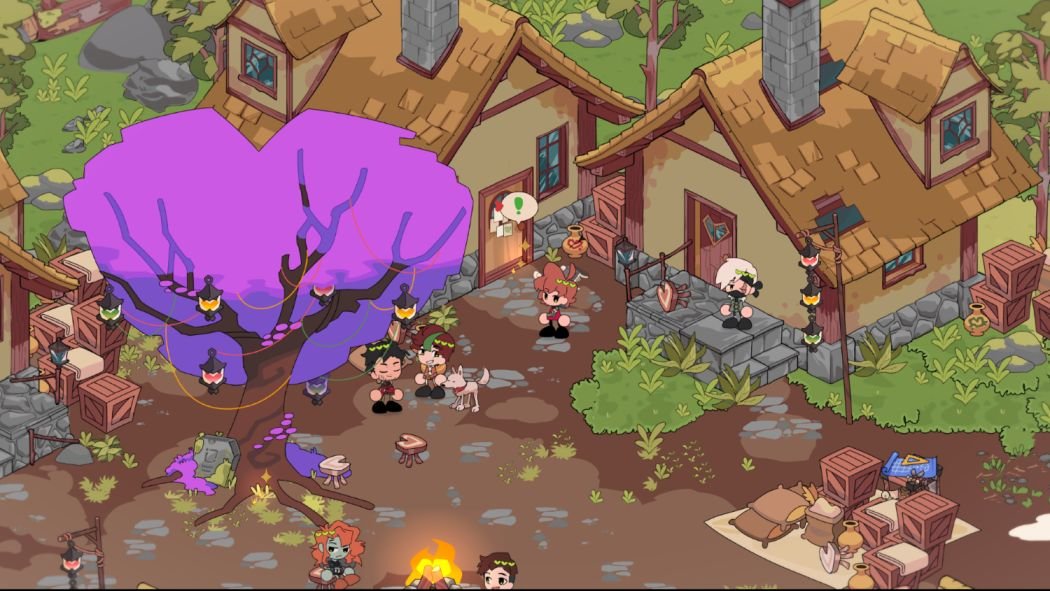
Choose these dialogue options:
- Take a look
- Time to find out if you are illiterate
Interact with Scar and pick these options in order:
- Nope
- Your secret is safe with me
- It’s Grian
- Why’d you think you can trust me?
- Waah! Who said anything about allying? Why even?
- I’m listening
- It’s a little hard to miss
- I like where your head is
Interact with Scar and select these choices:
- Nope
- Your secret is safe with me
- It’s Grian
- Why’d you think you can trust me?
- Waah! Who said anything about allying? Why even?
- I’m listening
- It’s a little hard to miss
- I like where your head is
Accept Scar’s quest titled Cause mischief with Scar?.
Leave the village and take the Mountain Trail to continue your journey.
Enter the caves to locate the flint and steel. Interact with the Trolley inside.

You’ll encounter Bigb and Martyn. Approach them carefully.
Choose dialogue in this order:
- Sneak up and get the jump on them
- HI DUDE!
- The name’s Grian
- Nope, you are out. Too much caving for one day.
After this exchange, you’ll secure the Flint and Steel.
Return to the village and hand over the flint and steel to Scar.
Distract Etho so Scar can ignite the Mystic Tree.
Head to the village entrance and interact with Scar, choosing Seek monopoly.
- Seek monopoly
Lead a creeper towards Scar during the night to orchestrate an attack.

After Scar dies, vow to stay with him until you lose your first life.
Follow Scar into the desert and survive the night by sticking close.
Be sure to save your game in a separate slot before this point, since you’ll want to replay this route to unlock both achievements tied to it.
Achievement: So That’s How It Went
Play through the story without altering the original events significantly. This is the canonical path.
When Jimmy and Scott invite you to join a cow heist, decline to keep the story on track.
When you meet Martyn in the village, do not criticize Scar excessively. Respond with It’s enjoyable.
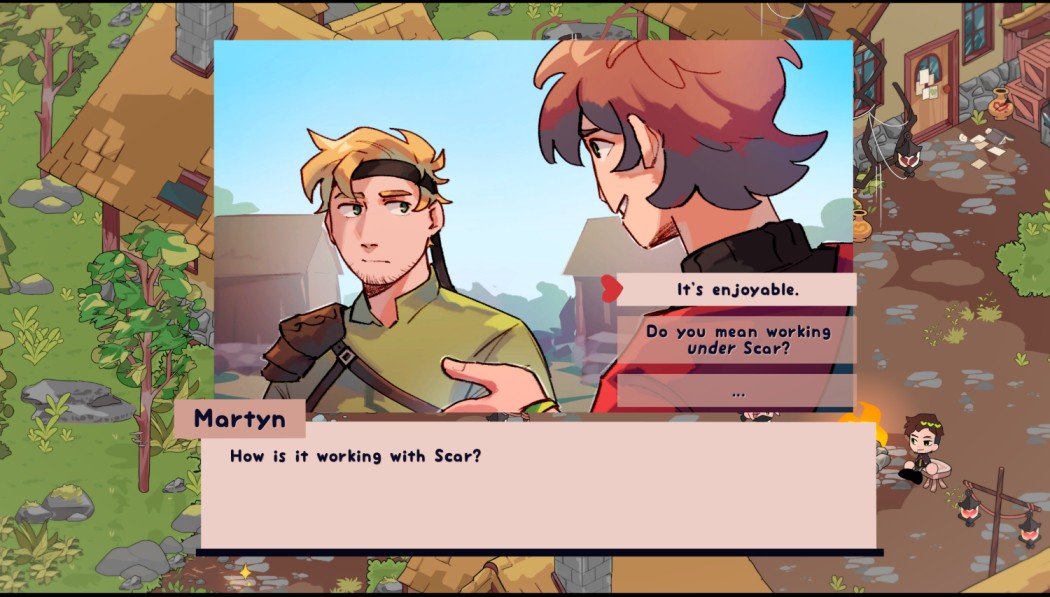
If Martyn asks to take you along, do not accept this offer.
When Martyn requests you commit a crime after the Mystic Tree event, decline.
During the Dogwarts fight, Martyn will try to strike you with his axe. When prompted, avoid taking the blow.
If you choose to take the hit, you’ll lose your first life early and miss this achievement on that run.
The story continues with Scar and others navigating events involving BDubs, BigB, Impulse, and the No Kill Pass.
Eventually Scar abandons you, leading to a final desert showdown. Win that fight, then jump off the cliff when prompted.
This action unlocks the So That’s How It Went achievement after your death.
Achievement: That’s Not How It Went
Reload a save prior to the Dogwarts fight and replicate your original choices up until then.
During the fight, choose to take the blow from Martyn.
This causes you to lose your first life much earlier, altering subsequent events.
Scar survives and reunites with you after your respawn, but in the altered Dogwarts battle, both you and Scar die.
The That’s Not How It Went achievement unlocks after this ending plays out.
Route 1: The Dark Forest
Achievements: Alone, Beloved, Die, Together
This storyline diverges when you decline moving to Flower Valley, instead committing to building your own base.
Upon your first visit to the village, accept the quest Build a little base?.

Reject Jimmy and Scott’s invitation to relocate to Flower Valley.
Proceed on the main quest, continuing alongside Scar.
Pass by your house with Scar and assert that you plan to stay there.
Choose Take a close look, one last time when the option appears.
Select Accept when deciding to keep your base.
This activates Route 1.
Work in Progress
Route 2: Dog-Eat-Dog World
Achievements: All For Naught, Almost Home, Back Where It Started, I’ll Be Waiting
Start Route 0 and on the first day, head to the village and find Martyn.
Speak to him and choose all dialogue options that extensively complain about Scar. This steers toward Route 2.
Work in Progress
Route 3: Live, Laugh, Divorce
Achievements: Happily Egger After, Hate Loses, Hate Wins, Love Loses, Love Wins
This path opens when you accept the invitation to relocate to Flower Valley with Jimmy and Scott.
Steps to start Route 3:
- Visit the village initially.
- Build your house.
- When invited by Jimmy and Scott to join them in Flower Valley, select Accept.
You are now on Route 3.
Work in Progress
Route 4: Ashes and Alliances
Achievements: A Lonely Death, A New Family, A Violent End
This storyline centers on your relationship with Joel and the community at the Crastle.
How to start Route 4 After exploring the house, find Joel in the forest west of Jimmy and the cows. Assist him in taming wolves. Talk to him again after the tame sequence. Accept his proposal to build a cabin together.
- After exploring the house, find Joel in the forest, west of Jimmy and the cows.
- Help him tame the wolves.
- Talk to him again after completing the wolf-taming sequence.
- Accept his offer to build a cabin together.

This will launch Route 4.
Achievement: A Lonely Death
This ending requires leaving the Crastle with Joel during Session 6.
In this route’s early arcs, Joel dies during the Tango’s Dare to Flare, and you lose your first life killed by a wolf. Later the cabin catches fire while you both sleep.
Joel ventures back into the blaze to save the wolves. One wolf escapes, but Joel and the rest perish.
You learn that Cleo started the fire as revenge for Joel hoarding Mystic Wood. Despite her guilt, Cleo offers shelter with BDubs.
As the Dogwarts threat escalates, you and Joel become allies with the group, eventually sacrificing yourself for Joel in battle.
Save before Session 6
Keep a separate save from Session 5 night if you want to explore alternate endings, as the next day’s choice determines your fate.
- On Session 6 morning, converse with Joel near the Crastle.
- Hear his worries about the upcoming fight.
- Select Run away with Joel when prompted.
This causes loss of reputation with Cleo and BDubs, steering you toward this particular ending.
You and Joel try seeking refuge with Jimmy and Scott but find Jimmy dead and Scott refuses help. You retreat to the beach.
Martyn tracks you down and explains your allies’ dire situation. In a fight, Joel takes a fatal blow meant for you.
Without Joel, you don’t retaliate when Martyn attacks, unlocking the A Lonely Death achievement.
Route 5: Should’ve Aimed for the Hand
Achievement: Can we go to the desert?
This route kicks off with Martyn’s proposal to stir trouble alongside you.