


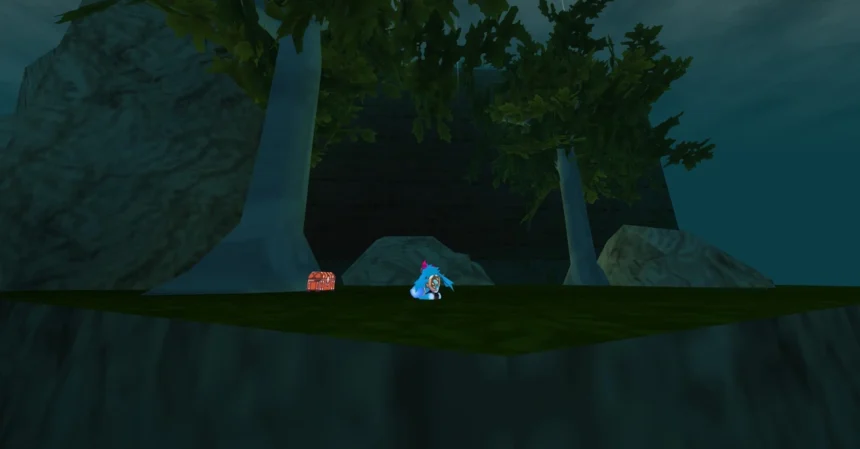
ATLYSS offers an immersive adventure filled with sprawling dungeons and mysterious portals. Understanding the main questline is essential for unlocking the network of space portals that enable faster travel and deeper exploration.

Where to Find Costume Sets in ATLYSS
Loot Drops from Enemies
Catacomb Secret Rooms
How to Get to the East Wing in Crescent Keep
Builds
Guide
All Costumes & Cosmetics

All Chests in Sanctum
All Main Quests
The journey begins by seeking out Angela inside her Tower to receive your first quest, setting the pace for your exploration of the vast Sanctum.
Quests
The quest window categorizes your objectives, distinguishing between one-time missions and tasks you can repeat indefinitely.
One-time quests are marked clearly, as these are unique challenges you undertake to progress in the story.
Repeatable quests offer endless opportunities to gain rewards and experience beyond the main campaign.
When a quest is formally accepted, it will appear tracked on your screen to monitor your progress efficiently.
Upon successful completion, quests update to show they are finished, unlocking further objectives or rewards.
If you’re ever uncertain which quest you’ve completed, a question mark icon will appear above the relevant NPC’s head, guiding you to turn in your quest.
1. Quest
Begin by thoroughly exploring the Sanctum, then return to Angela to report your findings and continue the storyline.
2. Quest
Proceed to the gateway leading to the Outer Sanctum Gate, moving straight ahead to uncover the next area for exploration.
Continue in a straight path, reaching the Outer Sanctum where critical journey milestones await.
Spot the entrance to the Catacombs, marked distinctly by a large purple gem floating above its door.

Inside, you’ll find a World Portal enabling quick travel between the Catacombs and Angela’s Tower—a crucial shortcut for your adventures.
Step through the portal to enter the Level 1-6 dungeon, preparing for combat and exploration challenges ahead.
Clear the dungeon thoroughly and attune to the Sigil found within to progress your questline.
Once the quest tracker signals completion with a green highlight, press G (default key) to teleport back to the Sanctum and hand in your quest to Angela.
3. Quest
Teleport back to the Catacombs and after exiting, take a left following the path toward the large tree marking the Effold Terrace portal to complete this stage.
4.Quest

Once at the Effold Terrace, head left to encounter numerous Slimek enemies. Defeat these creatures until the NPC Diva appears.
5. Quest
Return to Effold Terrace and this time take a right turn towards the portal leading to Woodreach Pass.
Continue advancing toward the Crescent Keep portal accessible within Woodreach Pass.
Stick close to the right wall until you find the Crescent Keep World Portal, an essential access point for your journey.
Approach the nearby pillar and climb by performing a skilled double jump or by using the rope to ascend with precision.
At the top, take a left ramp, then immediately turn right onto the platforms leading toward two diverging paths. Begin by exploring the left path first.
Pass through the gate to attune to the Sigil, then return to the bifurcation to explore the other branch.

Take the right path this time to discover a lever on the left wall. Activate it to open the locked door across the hall.
Proceed until you reach the second Sigil. Attune to it and then report back to Angela to advance the quest.
6.Quest
Return to the vicinity of the second Sigil and proceed toward the door that was previously locked.
On the left side, locate and use the Crescent Grove World Portal to enter the Crescent Grove dungeon.
Clear every enemy and obstacle in this dungeon, attune to the Sigil inside, and head back to Angela to finalize your progress.
The End

With this final quest completed, you have unlocked all current portals available in Beta Version 1.5.8a, greatly enhancing your ability to navigate ATLYSS’s expansive world.