


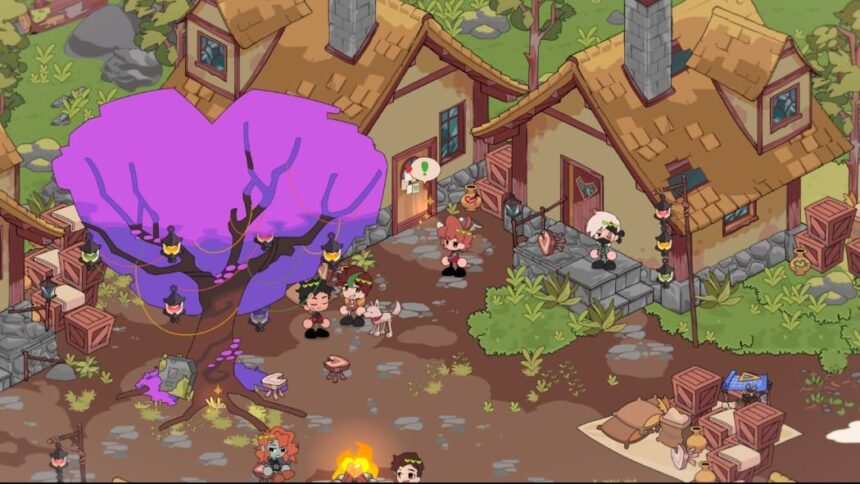
- Route 0: Have We Been Here Before?
- How to start Route 0
- Achievement: So That’s How It Went
- Achievement: That’s Not How It Went
- Route 1: The Dark Forest
- Route 2: Dog-Eat-Dog World
- Route 3: Live, Laugh, Divorce
- Route 4: Ashes and Alliances
- How to start Route 4
- Achievement: A Lonely Death
- Save before Session 6
- Route 5: Should’ve Aimed for the Hand
Heartfall — A Tale in Three Lives puts players in the middle of branching narrative paths where every decision shapes your fate. How you respond in dialogue and which characters you save or abandon matter deeply to the unfolding story and its multitude of endings. Understanding these pathways is crucial if you want to experience everything this layered tale has to offer.
The game offers 12 unique routes, each tied to specific achievements and story conclusions. Playing through these routes unlocks different perspectives on the overarching plot and reveals hidden nuances in relationships and events. Progress carefully to uncover all endings and their associated trophies.
Spoiler alert: The following sections reveal critical story moments and endings. Several routes include intense themes such as death, horror, and body horror that may not be suitable for all players.
Route 0: Have We Been Here Before?
Achievements: So That’s How It Went, That’s Not How It Went
This introductory route closely follows the core storyline and serves as an excellent starting point to familiarize yourself with the game’s mechanics and narrative style.
How to start Route 0
Begin by answering reflective questions to establish your character’s identity: Who am I?, Where am I?, and What am I doing here?
After this self-introduction, select Let’s move on to advance the story.
Approach the nearby sparkling objects to collect your starting equipment: 1 Pickaxe, 1 Iron Sword, and 1 Wood Axe.
Investigate all sparkles around you. One of them will offer the option to Follow the trail. Confirm by selecting You bet?
Continue exploring sparkles to the right, where you’ll discover footsteps leading toward the village. Choose Follow it to proceed.
Inspect a house marked with paper pinned on the door to trigger further interaction.

When interacting with the house, pick the following dialogue options:
- Take a look
- Time to find out if you are illiterate
Next, engage with the character Scar and select these responses:
- Nope
- Your secret is safe with me
- It’s Grian
- Why’d you think you can trust me?
- Waah! Who said anything about allying? Why even?
- I’m listening
- It’s a little hard to miss
- I like where your head is
Accept Scar’s quest titled Cause mischief with Scar?
Leave the village and take the Mountain Trail.
Enter the caves to retrieve the flint and steel. Interact with the trolley to advance.
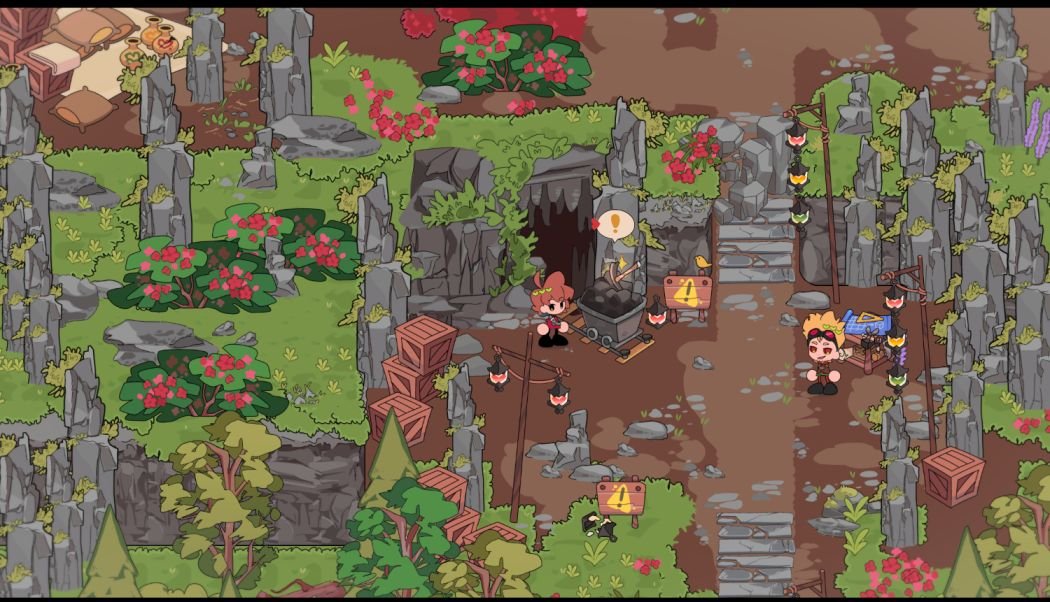
Inside, you’ll encounter Bigb and Martyn.
- Sneak up for a surprise
- Say “HI DUDE!”
- Introduce yourself as Grian
- Decline too much caving for today
Collect the Flint and Steel from this encounter.
Return to the village and hand the flint and steel over to Scar.
Distract Etho while Scar uses the flint and steel to set fire to the Mystic Tree.
Head to the village entrance and interact with Scar.
- Seek monopoly
During nighttime, lure a creeper toward Scar to set events in motion.

After Scar’s demise, vow to stay by his side until you lose your first life.
Accompany Scar through the desert overnight.
Save your game in a new slot before proceeding, as you’ll want to replay this route to unlock both related achievements.
Achievement: So That’s How It Went
Progress through the story without altering key events. This means avoiding choices that significantly deviate from the initial story flow.
When offered a chance by Jimmy and Scott to join a cow heist while scavenging materials, decline the invitation.
Upon meeting Martyn in the village, avoid criticizing Scar too much. Select the line It’s enjoyable.

When Martyn invites you to accompany him, refuse the offer.
After a magical tree trick, deny Martyn’s request to commit a crime with him.
During the Dogwarts confrontation, Martyn attacks with an axe. When prompted, do not take the hit.
If you accept the blow, you lose your first life earlier and won’t earn this achievement on that run.
Carry on with the narrative where Scar and others deal with figures like BDubs, BigB, and Impulse, including the No Kill Pass incident.
Eventually, Scar distances himself, and the story leads to a final desert showdown. Win against Scar and then choose to jump off a cliff when asked.
Your death triggers the achievement unlock.
Achievement: That’s Not How It Went
Reload an earlier save before the Dogwarts fight or restart Route 0 but retain your previous dialogue choices.
This time, when Martyn strikes, choose to take the hit.
Taking this blow will deplete your first life sooner, putting you on critical health status ahead of schedule.
Scar survives the near-fatal battle and reconnects with you after you respawn. Later, during a changed Dogwarts battle, both characters die.
The achievement unlocks after seeing this particular ending.
Route 1: The Dark Forest
Achievements: Alone, Beloved, Die, Together
This storyline shifts focus to building your own base, foregoing the invitation to move to Flower Valley with Jimmy and Scott.
Upon your first village visit, accept the quest titled Build a little base?

Decline Jimmy and Scott’s Flower Valley invitation.
Progress with Scar along this route.
As you pass your house with Scar, insist you want to call it home.
Choose Take a close look, one last time when given the option.
When asked to keep your base, select Accept.
These decisions set you on Route 1.
Guide details are a work in progress.
Route 2: Dog-Eat-Dog World
Achievements: All For Naught, Almost Home, Back Where It Started, I’ll Be Waiting
Begin by playing through Route 0’s first day. Upon arriving at the village, seek out Martyn and engage him.
When Martyn asks about your situation with Scar, respond with complaints. This steers you onto Route 2.
Additional details coming soon.
Route 3: Live, Laugh, Divorce
Achievements: Happily Egger After, Hate Loses, Hate Wins, Love Loses, Love Wins
This route opens when you accept Jimmy and Scott’s offer to move to Flower Valley.
- First, visit the village.
- Build your house.
- When prompted by Jimmy and Scott, accept moving to Flower Valley.
After these choices, you’re firmly on Route 3.
Work in Progress.
Route 4: Ashes and Alliances
Achievements: A Lonely Death, A New Family, A Violent End
This path follows your evolving bond with Joel and the Crastle group.
How to start Route 4
- After exploring your house, find Joel west of Jimmy and the cows.
- Help him tame the wolves.
- Speak with him again once the taming is done.
- Accept his offer to build a cabin together.

Doing this initiates Route 4.
Achievement: A Lonely Death
To achieve this ending, leave the Crastle with Joel during Session 6.
Joel loses his first life early on during the “Tango’s Dare to Flare,” and you follow with your own life lost after a wolf attack. Later, the cabin catches fire as you and Joel sleep.
Joel risks his life rescuing wolves from the flames. One wolf escapes, but Joel and the rest perish.
You find out Cleo set the fire to punish Joel for hoarding Mystic Wood. Feeling remorseful, Cleo invites you both to stay at the Crastle with her and BDubs.
As the Dogwarts threat looms, you ally with Joel’s group. In a later battle, you sacrifice yourself for Joel, with both discussing their readiness to die for one another.
Save before Session 6
To unlock alternate endings on this route, make sure to save separate progress on the night before Session 6. The next morning’s choices determine your path.
- Go outside and speak with Joel near the Crastle early on Session 6.
- Listen as he voices his battle concerns.
- Choose Run away with Joel when prompted.
Choosing this option will reduce your reputation with both Cleo and BDubs, steering you toward this particular ending.
You and Joel try seeking refuge with Jimmy and Scott. Jimmy is dead. Scott refuses assistance, so you flee to the beach instead.
Martyn finds you there explaining the dire battle situation. He fights you while Joel intercepts his attack, dying in the process.
Without Joel, you do not retaliate against Martyn’s assault. This path unlocks the A Lonely Death achievement.
Route 5: Should’ve Aimed for the Hand
Achievement: Can we go to the desert?
This route jumps off from Martyn’s proposition to stir trouble alongside you.