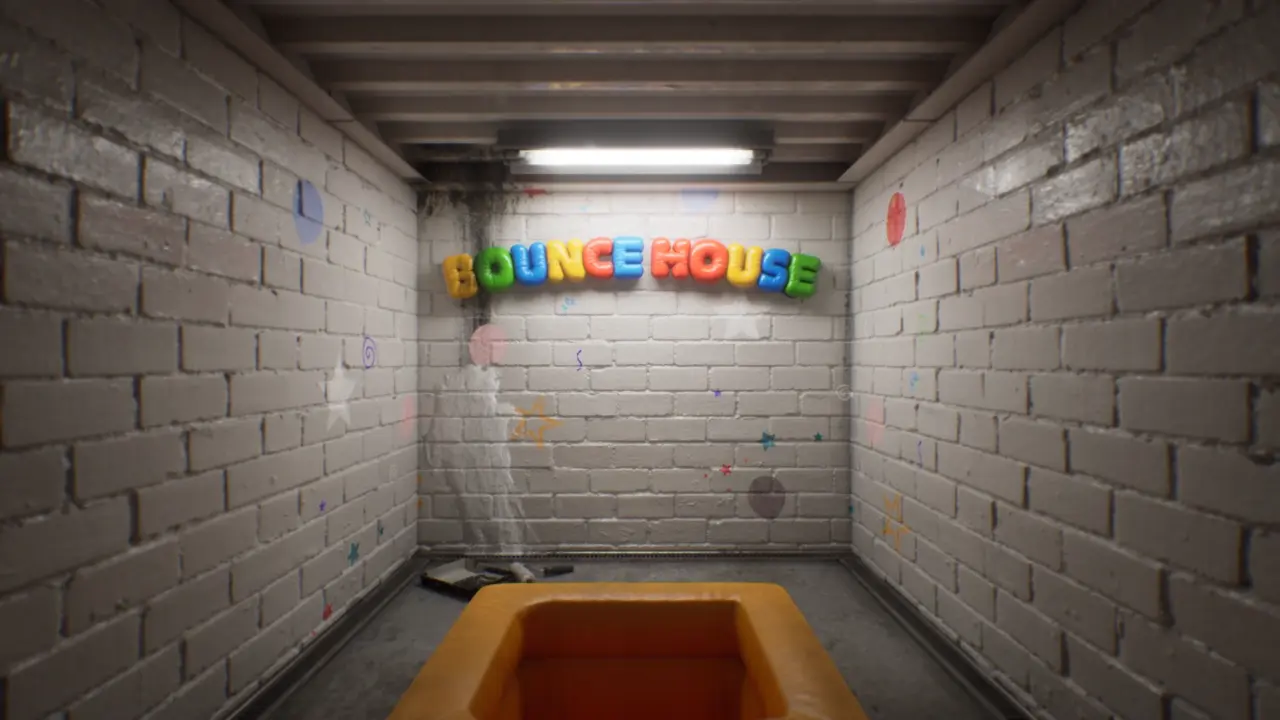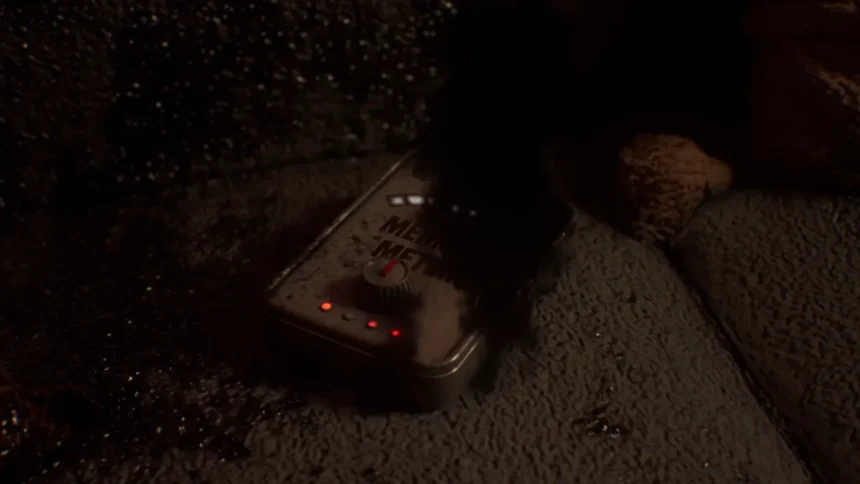
The Maintenance Tunnels in Subliminal present a clever series of puzzles that rely on manipulating lights and sensor bars to open new pathways. Successfully solving these challenges is crucial since they unlock progress deeper into the game’s twisting corridors. The task requires attention to detail and strategic movement, especially as players balance maneuvering through tight spaces while managing various light sources.
All Endings Guide
Bounce House Puzzle Solutions
Walkthrough: All Puzzle Solutions %100
Playplace Puzzle Solutions
Childhood Puzzle Solutions
WaterWorks Puzzle Solutions
Basement Puzzle Solutions
Maintenance Tunnels
Inside the Maintenance Tunnels, expect to shuttle lights between sensor bars and interact with switches to unlock blocked doors. The core mechanic hinges on positioning lights correctly on colored sensor bars to power gates and open your path forward. A critical puzzle featuring a car code demands keen observation of environmental clues.
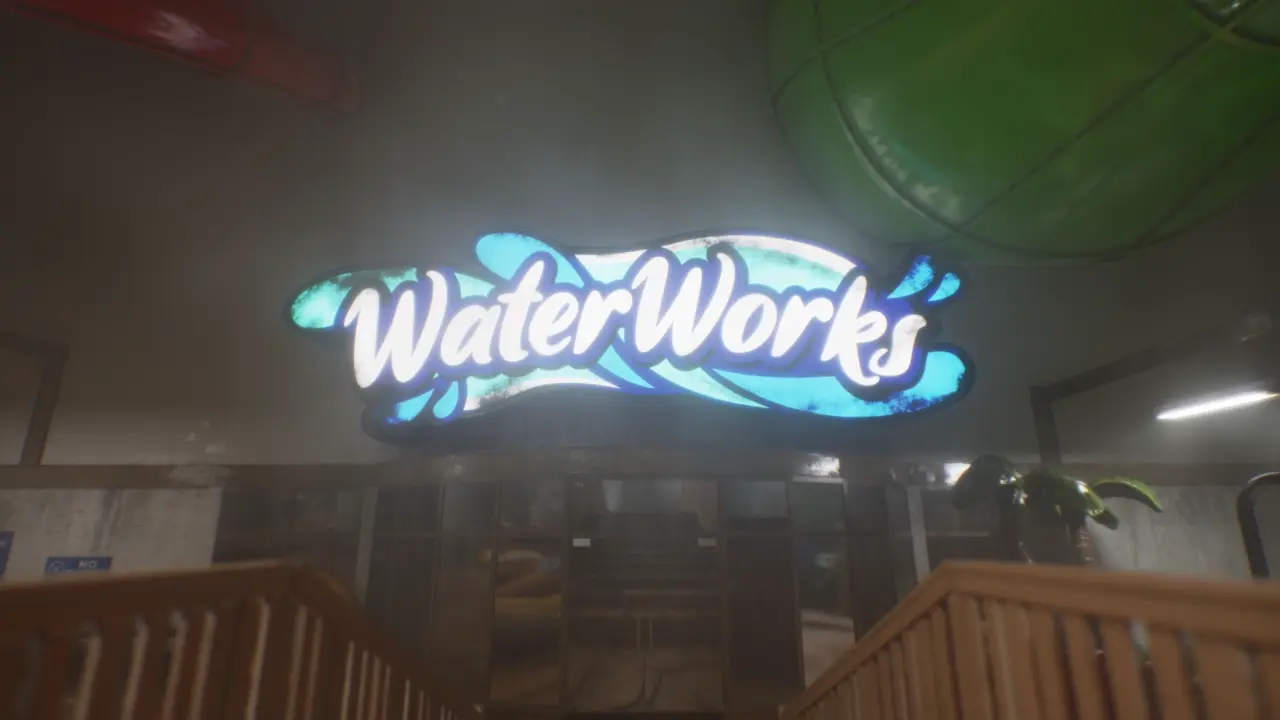
Begin by approaching the WaterWorks door, which will automatically close behind you. This forces you to press onward through the tunnels without backtracking, setting the stage for the looming puzzles ahead.
After the transition animation completes and the screen warps, carefully squeeze through the narrow gap on your right by pressing Space. Tight spaces are a running theme here, so patience and precise movement are key.
Next, retrieve the light from the green sensor bar. You’ll need to crouch with CTRL to get under a half-open gate and grab this light. This move sets you up to power the next sensor bar.
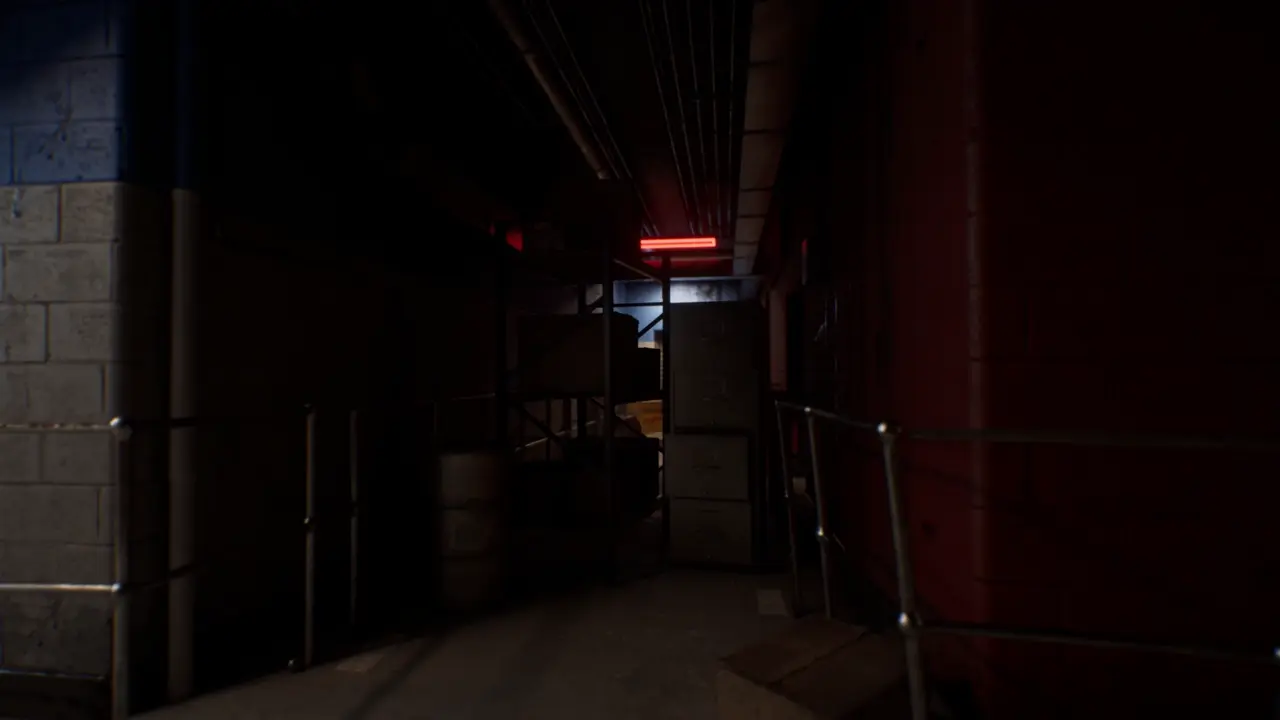
Now, crouch back under the gate, this time carrying the light to place it on the red sensor bar above you. Placing the light here will start opening the path ahead.
Squeeze through the opening you just created and use the right mouse button (RMB) to pull the red sensor bar. Pull it until it triggers the opening of another gate further along the tunnel.
Explore the newly accessible room and flip the switch inside. This action opens a previously closed gate, allowing you to continue deeper into the complex.
Claim the green light positioned inside the room. This will be essential for powering the sensor bars ahead.
Drag the red sensor bar carefully to the correct position using the RMB. This precise placement is necessary to open up the pathway further.
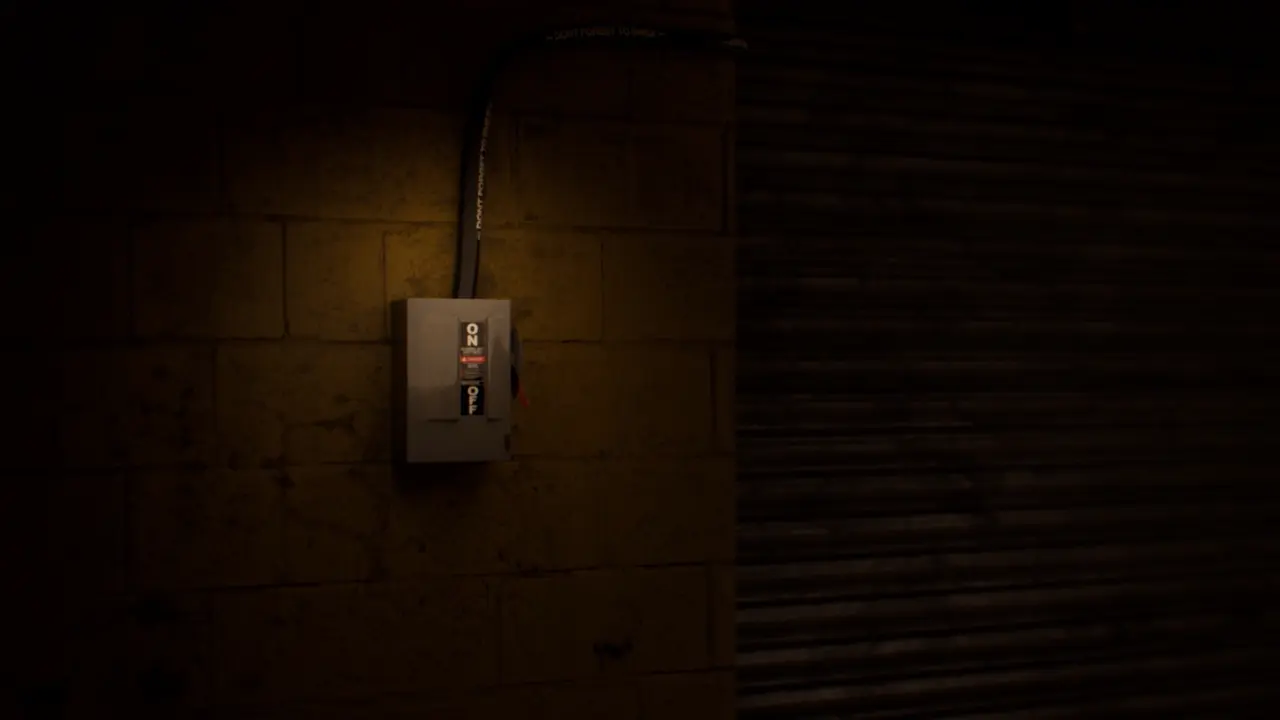
Take the light from the green sensor bar on your right.
Power up the red sensor bar once again and drag it with the RMB to unlock the gate directly in front of you. This chain of powering and repositioning sensor bars is a core mechanic in this part of the game.
Crawl under the newly unlocked gate, making sure to take your light with you. Keeping the light handy is critical as it powers additional sensor bars ahead.
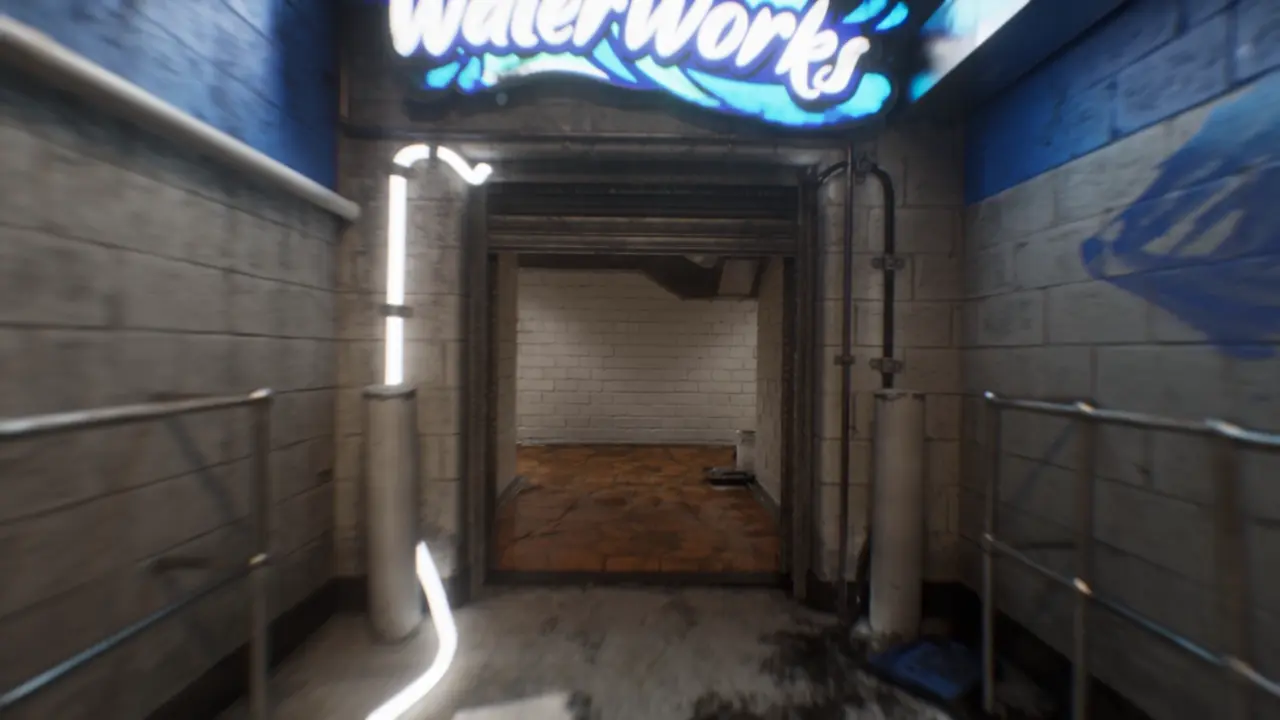
Place it in the purple sensor bar.
Take a moment to study the posters on the table and wall, as well as the toy cars displayed on the rug in front of you. These details are far from decorative; they hold the key to cracking the car code needed to advance.
The cars align themselves in a strict color sequence: Red, Blue, Green, Yellow. Recognizing this order is the first step in solving the code puzzle.
Count the cars carefully: there are 7 Red cars, 5 Blue, 9 Green, and 4 Yellow. These numbers correspond directly to the code you must enter to progress.
Input the code 7594, derived from the car counts in the designated color order. Successfully entering this unlocks further access within the tunnels.
After the door opens, retrieve the new light inside this room to continue your journey.
Proceed through the gap in the wall and position the light you just found onto the red sensor bar. This final step powers up the mechanism necessary to advance.
},{